OpenText HostExplorer is a terminal emulation software that allows users to connect their PC to FAMIS in a secure environment. Users must use a version of OpenText HostExplorer that allows for Transport Layer Security (TLS). The current recommended version of OpenText HostExplorer is version 15.0.5 or higher.
Checking Your OpenText HostExplorer Version
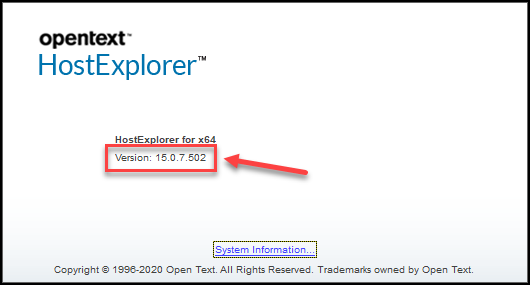
To check the version of OpenText HostExplorer, open Connection Central and click the Help tab. If the version is not 15.0.5 or higher, continue with Downloading and Installing OpenText HostExplorer.

Downloading and Installing OpenText HostExplorer
- Download the OpenText HostExplorer installation file. If you are unable to download and run the file, please contact your university or agency IT Help Desk.
- In the file download window, select Save File and click OK.

- The file will download to your default download directory. After the file has downloaded, right-click on the zip file icon and select Extract All.
- Select a destination to extract the files.
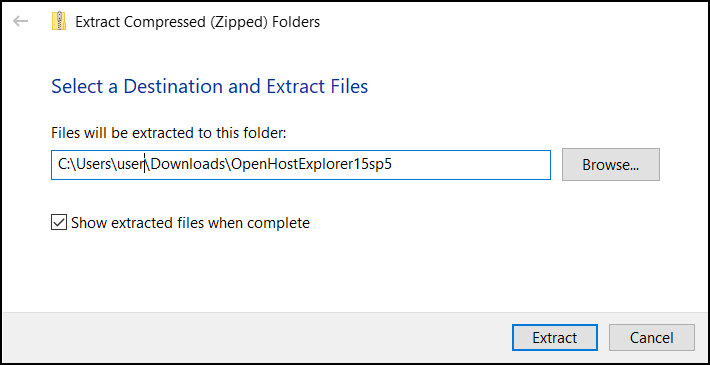
- Click Extract.
- After the extraction is complete, open the extracted folder and double-click Msetup.exe to begin the installation.
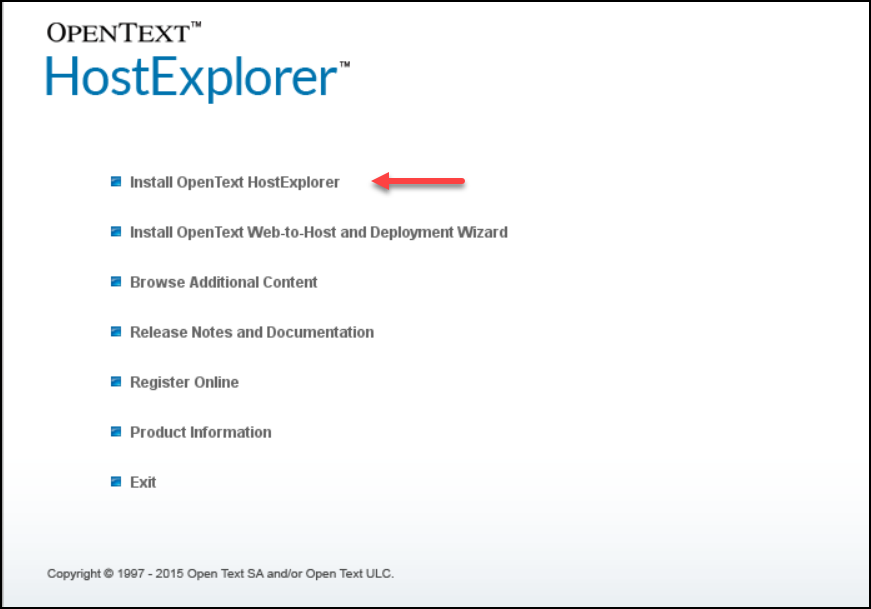
- In the OpenText HostExplorer installation window, click Install OpenText Host Explorer.
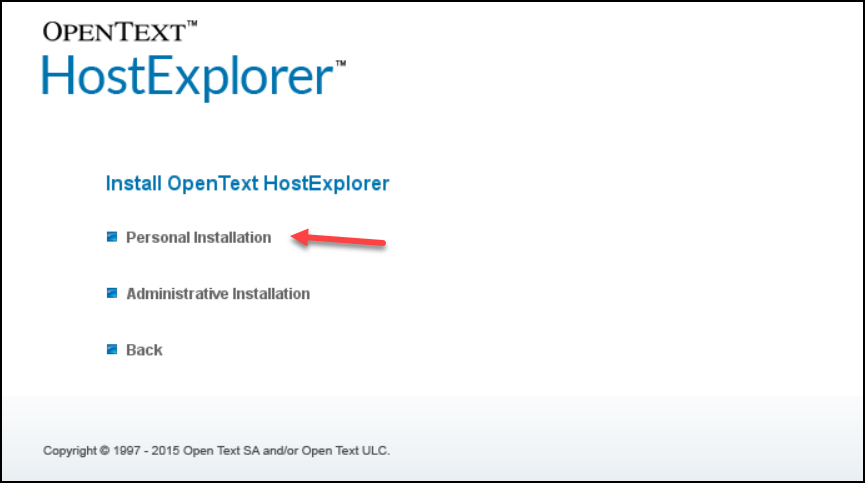
- In the next window, click Personal Installation.
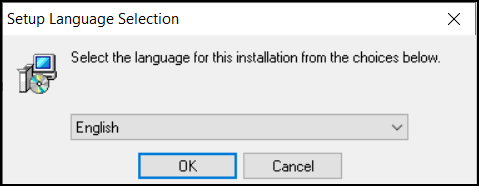
- In the Setup Language Selection window, select the desired language from the drop-down menu and click OK.
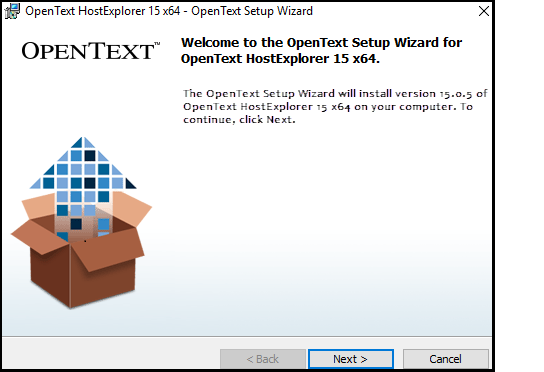
- In the OpenText Setup Wizard window, click Next.
- In the License Agreement window, select “I accept the terms in the License Agreement” and click Next.

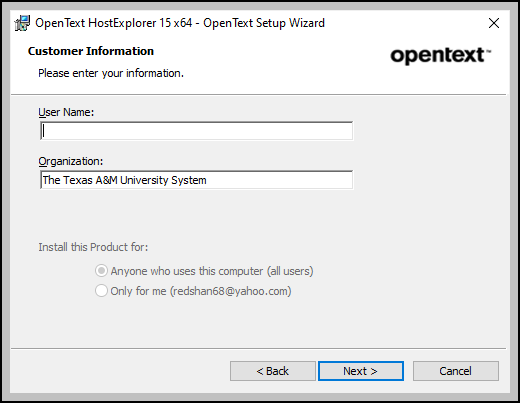
- In the Customer Information window, enter your username and organization and click Next.
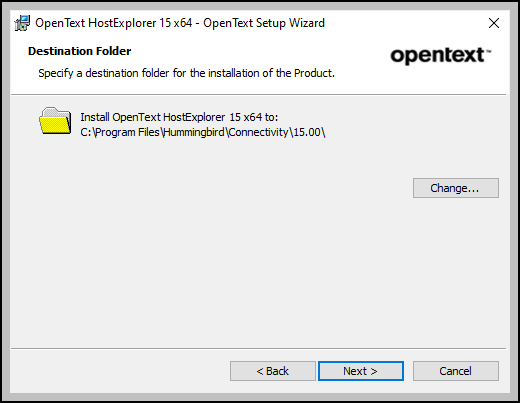
- In the Destination Folder window, click Next to accept the default installation directory.
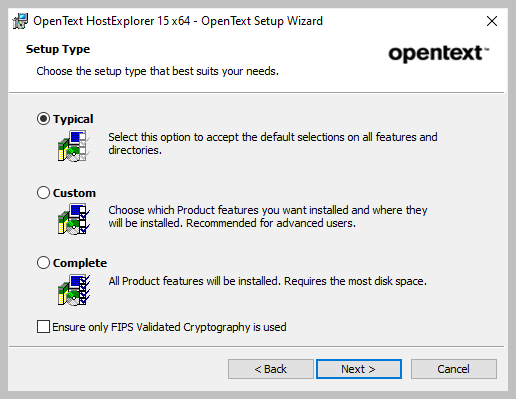
- In the Setup Type window, select Typical and then click Next.
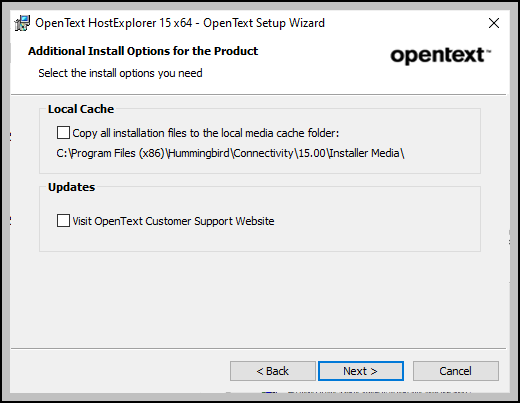
- In the Additional Install Options for the Product window, leave both options unchecked and then click Next.
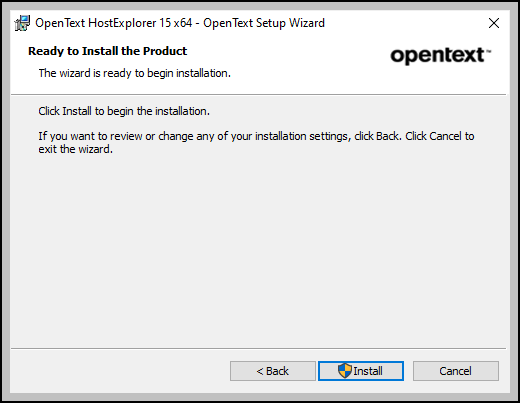
- In the Ready to Install the Product window, click Install.
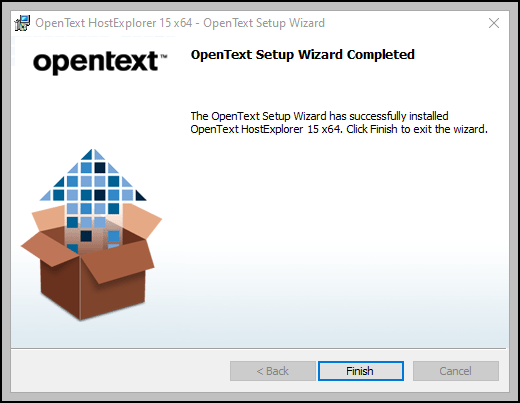
- When the installation is complete, click Finish.
With OpenText HostExplorer installed, a connection profile must be created and configured to connect to FAMIS.
How to Create a Connection Profile
Please see Preparing a Replatformed FAMIS Connection Profile from an Existing Profile to copy and modify an existing profile
OR
Creating a New Replatformed FAMIS Connection Profile to create a new profile from scratch.