This job aid outlines the tasks for an HR Contact to create a position.
Create Position (TAMU)
Last updated on June 17, 2025
This custom job aid is intended for TAMU, TAMUG, and TAMHSC.
Page Loading...Checking SSO..

Prerequisites
- The department is responsible for ensuring appropriate departmental and budgetary approvals are obtained prior to initiating any Create Position event (including any additional approvals required beyond what is configured in Workday).
- The Workday Position Description Template should be completed by the Manager and submitted to their appropriate HR Contact for processing.
Note: An incomplete Position Description Template can mean a delay in processing and creating the new position in a timely manner.
Important Information
- Costing allocations do not dictate when an Employee gets paid. An Employee will get paid if the date is within the annual work period. If no costing allocations are assigned for a period of time the salary will be charged to a System Member’s default account.
- Position number (P-XXXXXX) will be created once the Create Position business process is successfully completed.
Getting Started
- Navigate to the Supervisory Organization in which the position should be created. Check the Staffing tab to see if there is already an available vacant position before creating a new one.
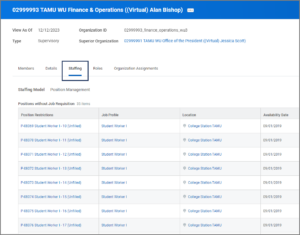
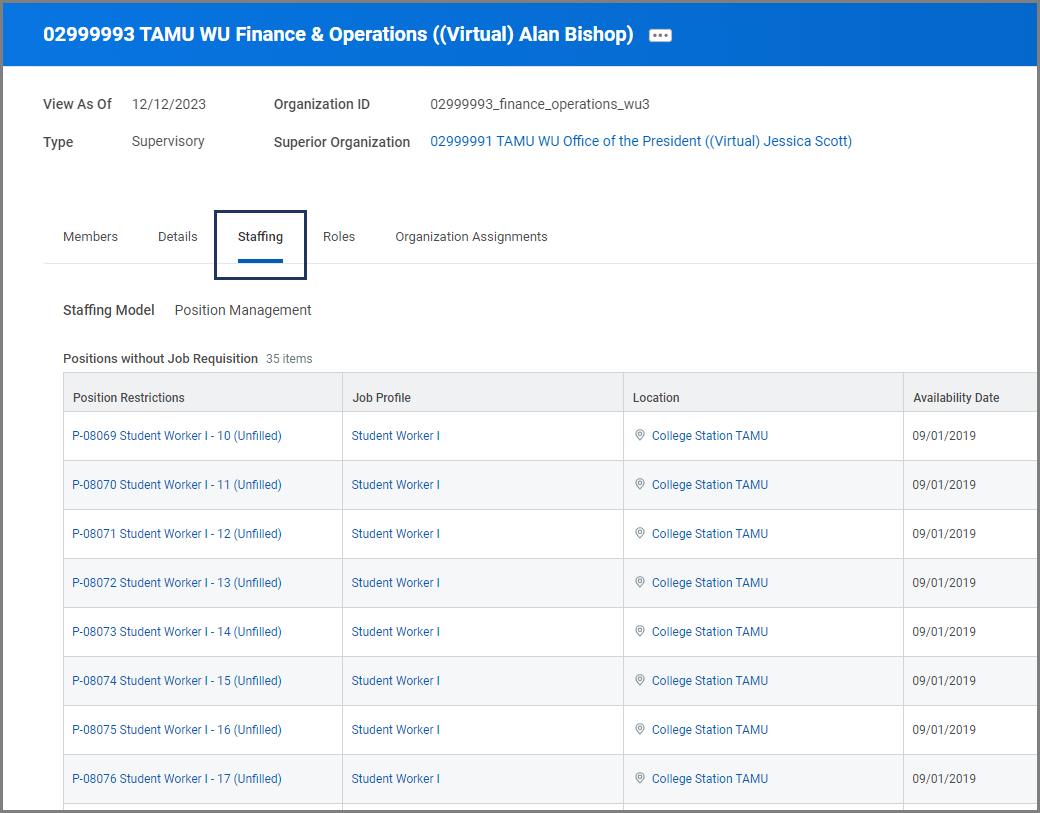
Note: If there is already an available vacant position, and it needs to be updated, please see the Edit Position Restrictions Job Aid.
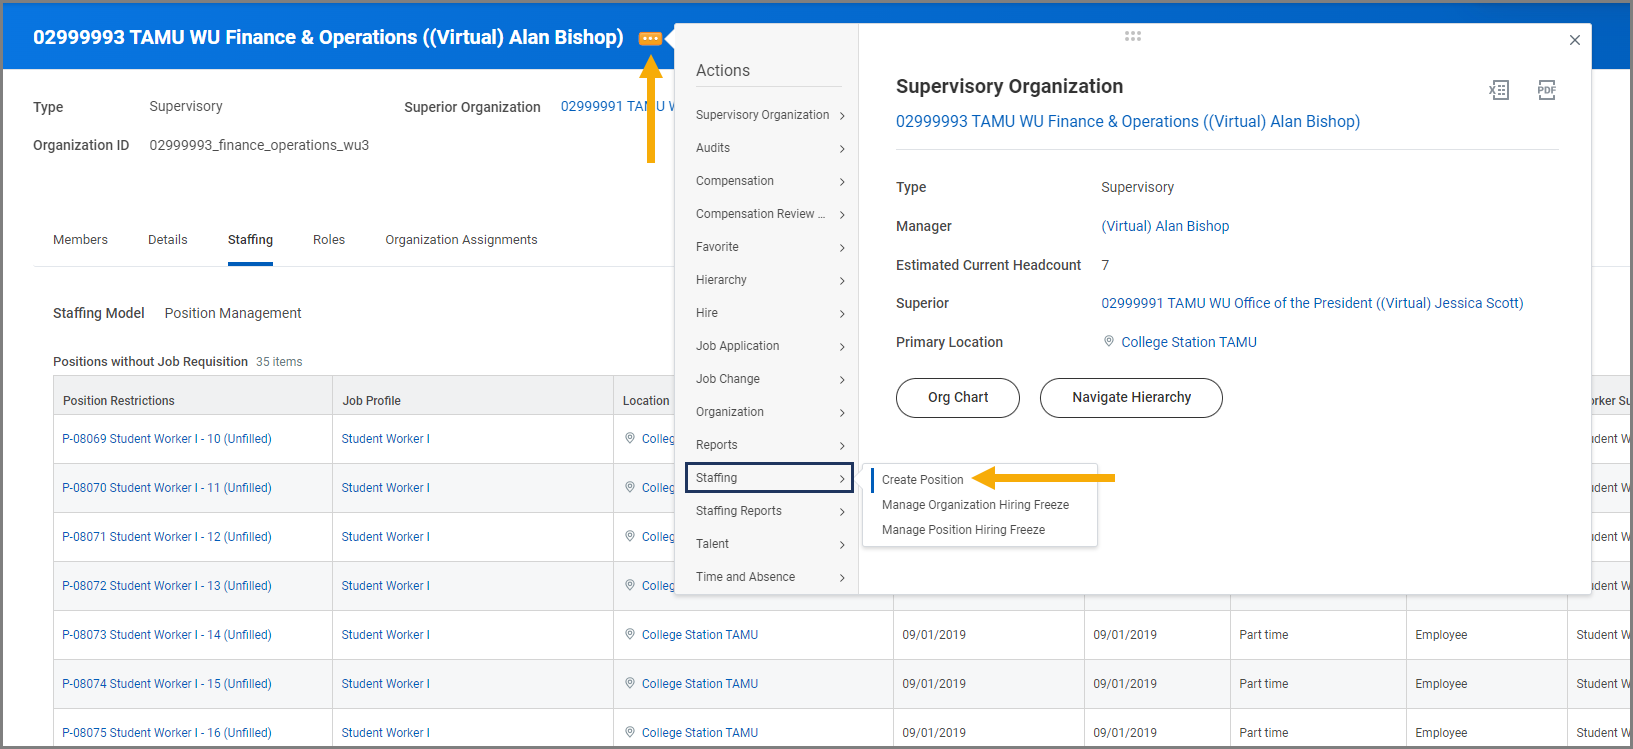
- If a vacant position is not available, select the Related Actions icon next to the Supervisory Organization’s name and select Staffing > Create Position.
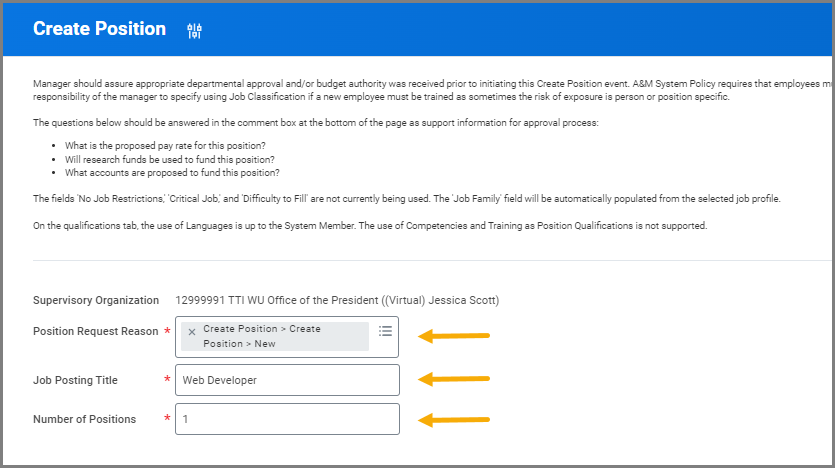
- Complete the following fields:
- Position Request Reason
- Create Position > Job Overlap Period. Select this when creating a position to move a departing Employee into in order to hire their replacement before the current Employee’s departure. Important information regarding this type of request reason should be reviewed at the Temporary Overlap Staff Jobs section of the Job Changes page.
- Create Position > New. Select this when creating a brand new position for the supervisory organization.
- Create Position > Replacement. Select this when the new position is meant to replace a previous position that was closed.
- Create Position > Job Overlap Period. Select this when creating a position to move a departing Employee into in order to hire their replacement before the current Employee’s departure. Important information regarding this type of request reason should be reviewed at the Temporary Overlap Staff Jobs section of the Job Changes page.
- Job Posting Title. This is the business title of the position and may be different from the job title. This is what will appear in job requisitions and on the Worker Profile page once an Employee is hired.
- Number of Positions. Choose how many of this position you want to create. If creating multiple positions, they will all be identical and will be labeled with a numeral at the end of the job posting title to differentiate them (e.g., Program Coordinator-1, Program Coordinator-2, etc.).
- Position Request Reason
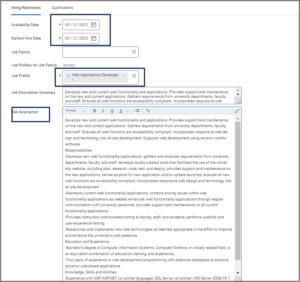
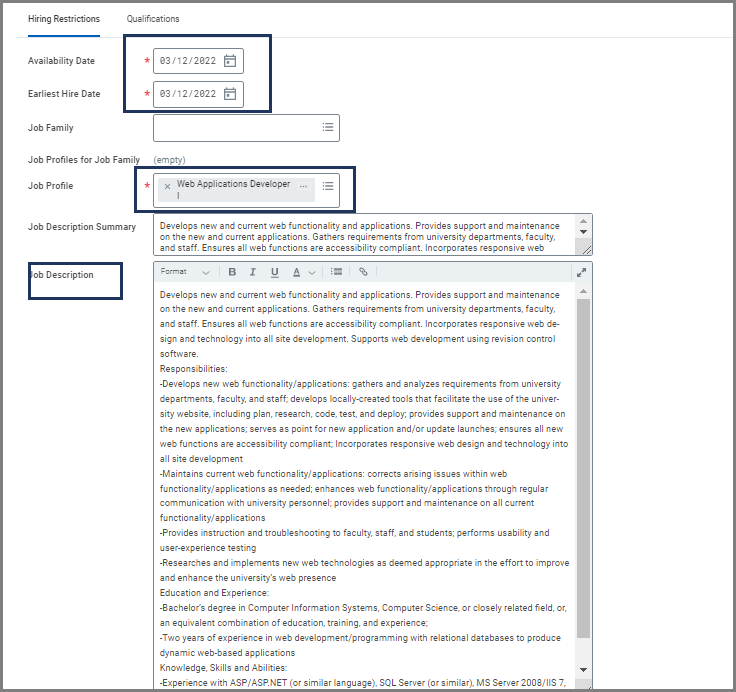
- On the Hiring Restrictions tab complete the following fields:
- Availability Date. This is the first date any event can be initiated on the position, including creating a requisition. It is recommended to put today’s date.
- Earliest Start Date. This date effects the hire date. It is recommended to use the same date for the Availability Date and Earliest Hire Date.
- Job Profile. This will be listed in the Workday Position Description Template provided by the Manager. Select the Job Profile they indicated in their template.
Note: After you enter the Job Profile, the corresponding System wide Pay-Plan Job Description Summary and Job Description will default (if available). You will leave Job Family blank.
-
- Job Description Summary. Use the completed Workday Position Description Template provided by the Manager to copy and paste the Job Description Summary.
- Job Description. Use the completed Workday Position Description Template provided by the Manager to copy and paste the Job Description Summary, Qualifications, Essential Duties/Tasks, and Restrictions and Other sections.
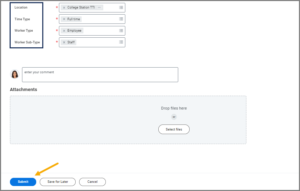
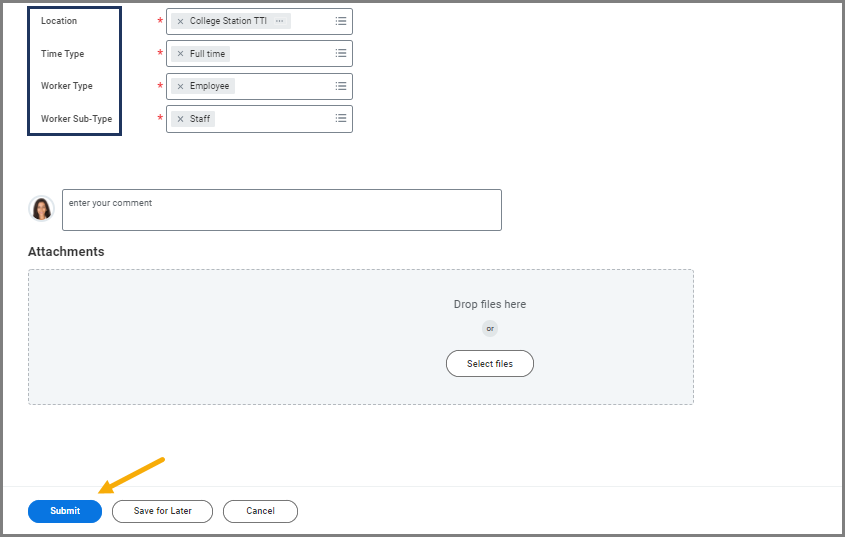
- Location. This is where the position is based (College Station TAMU, Galveston AMUG, Bryan TAMSHC, etc.)
- Time Type. Select Full Time or Part Time.
- Worker Type. Select Employee or Contingent Worker. Contingent Worker is only to be used in some circumstances involving a contract-based worker who is not an A&M System employee nor paid via Workday payroll, but has a business need to have an account in Workday.
- Worker Sub-Type. Select Staff, Faculty, Temp/Casual, etc.
- On the Qualifications tab, complete the following fields that align with the Workday Position Description Template provided by the Manager. If an item is a requirement for the position, be sure to indicate this with the checkmark under the Required column.
- Skills. Select required skills from drop-down menus.
- Education. Choose minimum required experience from drop-down menus; will populate automatically based on generic job description data if any exist.
- Languages. Choose required or preferred languages as well as ability and proficiency (reading, speaking, beginner, fluent, etc.).
- Certifications. Choose licenses and certifications from the drop-down menus; will populate automatically from generic data if any exists.
- Work Experience. Choose minimum required experience from drop-down menus; will populate automatically based on generic job description data if any exists.
- Competencies. Not used.
- Responsibilities. Second space to enter job duties; this information will feed over to performance evaluations allowing managers to rate employees on performance of duties. It is best to divide these job duties into sections, so the evaluation is not done on one large chunk of all duties.
- Training. Not used.
- Comments: Use the Workday Position Description Template provided by the Manager to copy and paste the Overview and Costing Allocations sections into the comment box in Workday.
- Attach any and all appropriate documentation to support the request.
- Select Submit.
Potential Reviews and Approvals
The HR Partner will receive an inbox action item to review the Create Position event.
Navigate to the Up Next tab for the next steps in the process.
Up Next
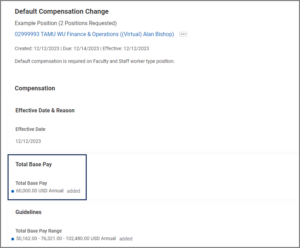
Request Default Compensation Change (HR Contact)
The HR Contact will receive an inbox action for Default Compensation Change. Default compensation is required for a Faculty and Staff worker type position. To edit fields to make changes, select the pencil icon to the far right of a section. After making changes, select the checkmark to accept the completed changes.
- Navigate to your Inbox.
- Select the Default Compensation action item.
- The Effective Date is not editable. It should be the date the action is submitted.
- The Guidelines section will auto populate. No changes should be made.
- Salary or Hourly. Select Add to choose the correct pay group. To determine if a position is Salary or Hourly, see Titles and Salaries .
- Complete the following:
- Compensation Plan (Salary or Hourly). Do not add or change the additional details section, which includes adding an end date to the compensation.
- Amount (Pay Rate). Use the minimum rates provided by Class & Comp which is located at Titles and Salaries. This will either be the minimum of the assigned pay grade or the minimum market rate. Contact Class & Comp for any questions: hrcomp@tamu.edu.
- Frequency (Monthly or Hourly). If the role is non-exempt, the frequency will be hourly. If the role is exempt, the frequency will be monthly. Information can be found at Titles and Salaries. For a salary amount, the section will default to an annual frequency and this needs to be updated to be monthly including the amount.
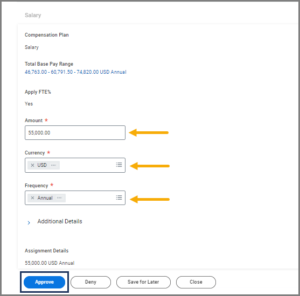

- After making your changes in the Salary section, ensure the salary listed in the Total Base Pay section at the top of the page is correct with your changes.
- Select Approve.

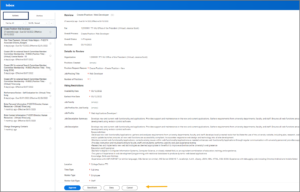
Approve Position Details (HR Partner)
The HR Partner receives an inbox action item to do a consolidated approval on the position.
- The HR Partner will select the Create Position action item in their inbox.
- The HR Partner will review all the details about the position and select Approve, Send Back or Deny.
The business process will then route to the Department Head and/or Executive Approver (if different than the Department Head) for Faculty or Staff position approvals. Graduate Assistants, and Temp/Casual positions will only route to the Department Head for approval.
Assign Costing Allocation (Budget Contact)
The Budget Contact receives the inbox action item to assign costing allocations for the Position Restrictions. Refer to the reference guide Costing Allocations for an overview of Costing Allocations or the Assign Costing Allocations (TAMU) job aid for more detailed information regarding Costing Allocations.
Note: Assigning Costing Allocation is not required for positions with Student Worker types.
- Navigate to your Inbox and select the Costing Allocation for Create Position action item.
- On the Assign Costing Allocation for Create Position page, click Add to assign the costing allocation for the position.


Important: You are assigning costing allocations for the Position Restrictions, not the worker. This information is used to encumber after 9/1 (if new and unfilled) and used when the position is vacated.
When the Hire business process begins, the Assign Costing Allocations business process will be initiated again, but this time for the worker themselves.
- Complete the following fields:
- Start Date. When creating a position, it is recommended to put this date as the day you are creating the position.
- End Date. (Optional). This date indicates the last date that the salary / wages will be charged to the designated account. It is best to leave this field blank until you need to make a new cost set.
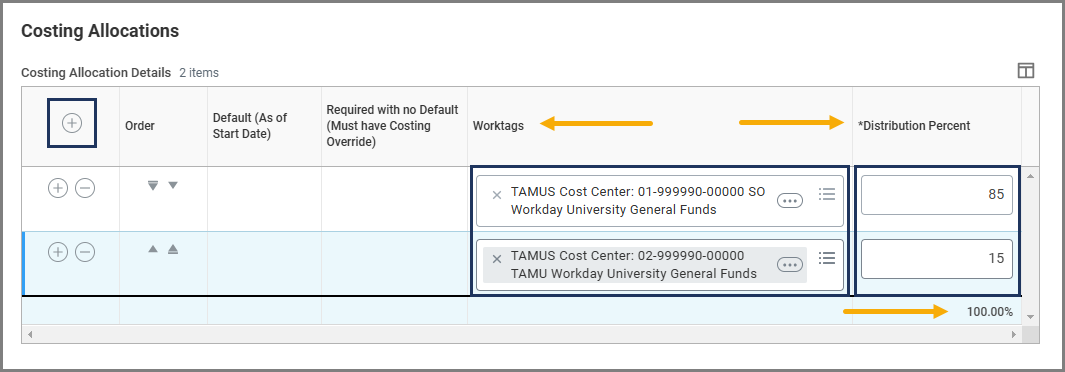
- Worktags. Select the Prompt icon to select the TAMUS cost center from which this position will be paid. One or more cost centers may be needed.
- Distribution Percent. If the position will be paid out of one cost center, the cost center’s Distribution Percent will default to 100.


Note: Projects are searchable from the Worktags field, but should not be selected.
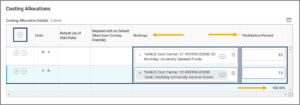
- If the position will be paid out of multiple cost centers, select the Plus Sign (+) icon to create a new row and add additional cost centers as needed. Designate the appropriate percentage for each cost center under the Distribution Percent column, ensuring that the percentages from all cost centers add up to 100%.
- In the event you need multiple cost sets for different time periods, you will need to enter an End Date for the previous cost set(s) so the dates do not overlap with the new cost set. Then select the Add button above the table. For the new cost set, repeat the steps above.

- Select Submit.

Reviews and Approvals
The Assign Costing Allocation business process will route to any Cost Center Approvals that are necessary. Once approved, the Create Position business process is complete. A notification is sent to the Manager and HR Contact when a new Faculty or Staff position is successfully created. A notification is not sent for Graduate Assistants, Temp/Casual, or Student Workers.
This completes the Create Position business process.