This job aid outlines the process for an Employee to request overtime in advance in Workday and to view the status of the request.
Time Requests (Request Overtime)
Last updated on November 18, 2025
Page Loading...
Checking SSO...
Prerequisites
All Employees who enter time can request overtime.
Important Information
- To comply with System Regulation 31.01.09, employees need to request overtime in advance. However, employees still need to enter time worked in order to be paid for these hours.
- A Manager, Employee, or Timekeeper can initiate the Time Request business process. For more information on how to initiate this business process for your Employee, see the job aid Request Overtime for Your Employee.
- If a Timekeeper initiates the business process, the Employee and Manager will receive an approval step.
- The final section of this job aid shows how the Employee can view the status of overtime requests.
Getting Started
From the Workday Home page:
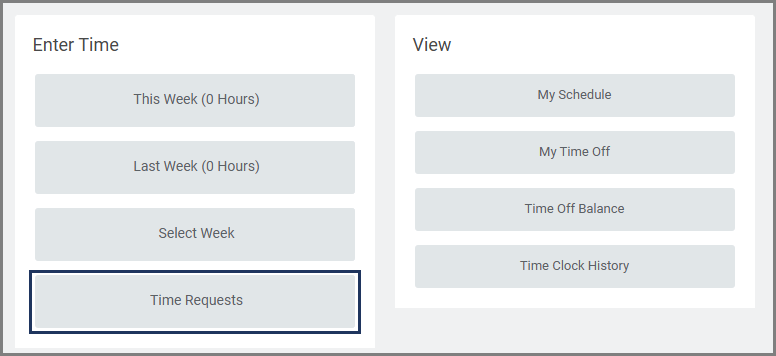
- Select the Time application.

- Under Enter Time, select Time Requests.

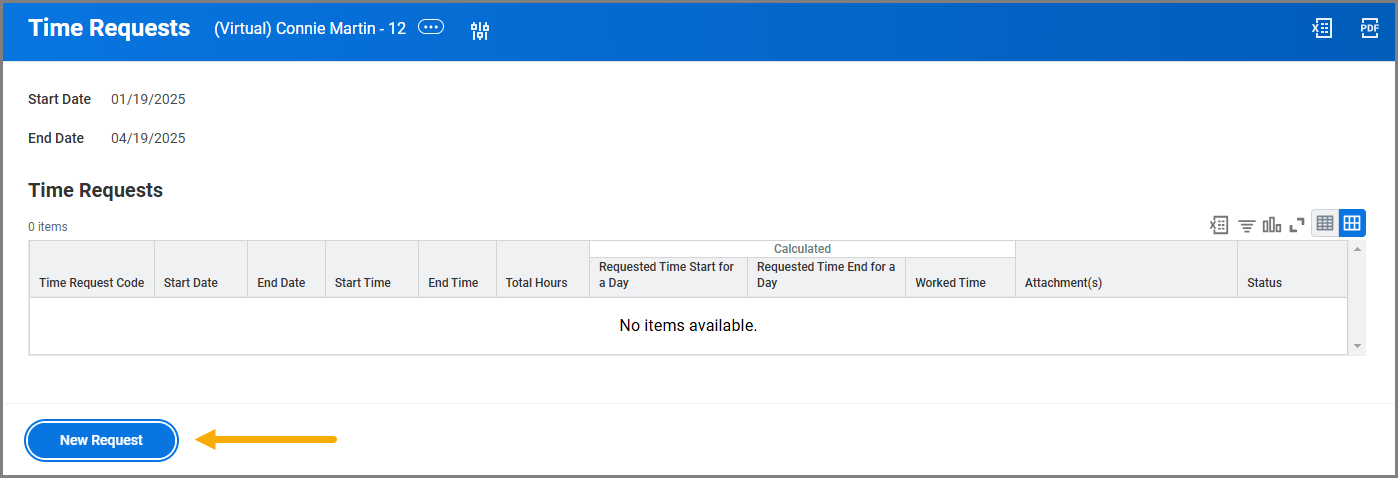
- Select a Start Date and End Date to define the time range for the requests you want to view, then select OK.

- Select New Request.

- In the Request Time window, complete the following fields:
- Start Date.
- End Date.
- Time Request Code. This field will auto-populate with Request Overtime.
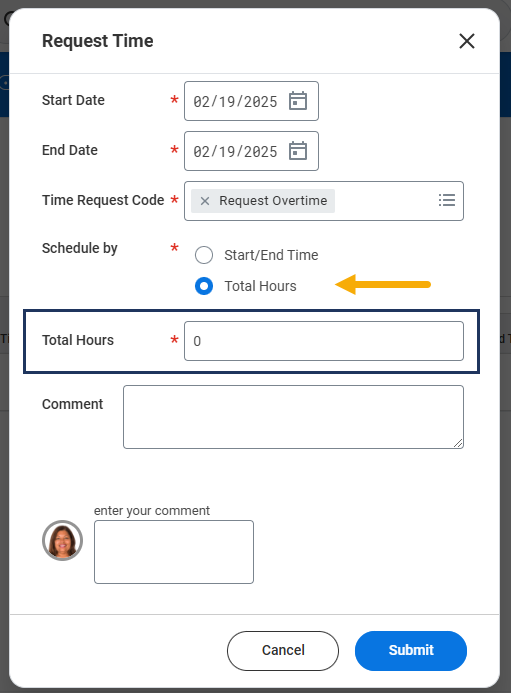
- Schedule by. Each option will cause different fields to appear:
- When Start/End Time is selected, the Start Time and End Time fields will appear.

- When Total Hours is selected, the Total Hours field will appear. Requests for overtime that are on the same day of the request will reflect as a past overtime request.

- Comment. Provide a reason why you are requesting overtime. This field is visible only to the Manager or Timekeeper approving the request.
- Additional Comment. This is the field next to your photo. As with the Comment field, you can provide a reason why you are requesting overtime. Unlike Comment, this field is visible to anyone with the appropriate security role.
- When Start/End Time is selected, the Start Time and End Time fields will appear.


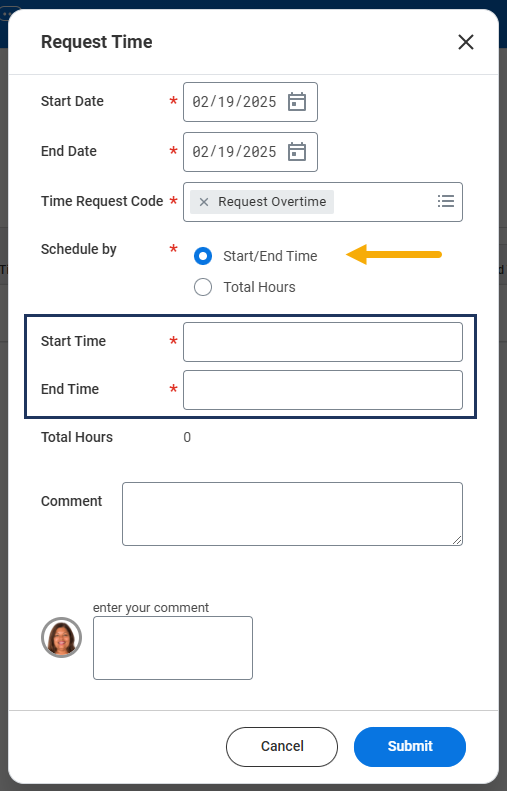
- Select Submit.
Up Next
Review Time Request (Manager)
The Manager will receive the inbox action item Request Time and has the option to Approve, Send Back, or Deny the request for overtime.
Important: Once your hours are worked, be sure to enter your time accordingly. The total number of Hours worked would include your overtime hours for that date. Refer to the job aid Enter Time for details.
View Request Time Status (Employee)
- Repeat Steps 1 – 2 in the Getting Started tab.
- The overtime request status will appear under the Status column. Select the Magnifying Glass icon under the Details column for additional information on your request.

Note: The Overtime Request information will also appear on the Employee’s timesheet.
This completes the Request Time business process.
Edit Request Time Status (Employee)
- From the Time Requests page, select the Edit button.
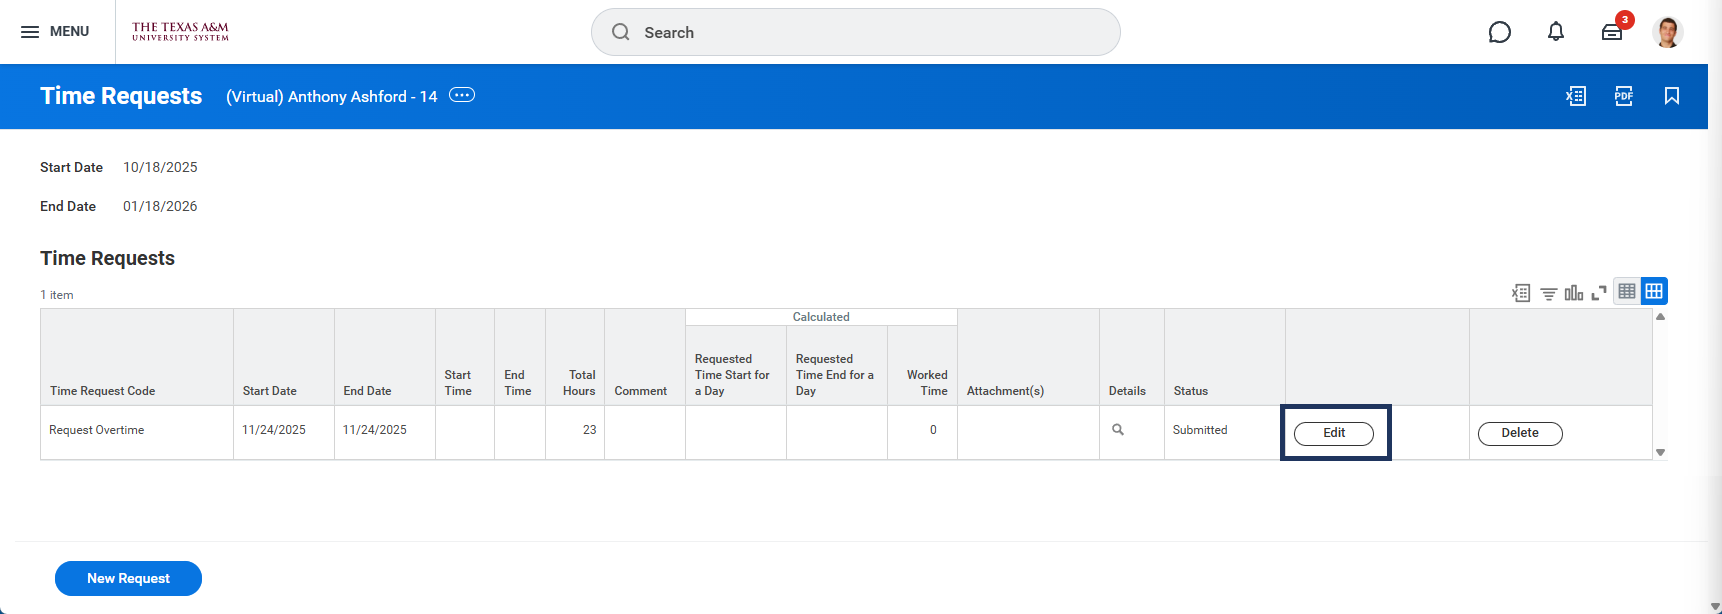
- Make changes to your submitted or approved Time Request.
- Select Submit when you are done editing the Time Request.

- The request will route to the employee’s manager for approval.
Delete Request Time Status (Employee)
- From the Time Requests page, select the Delete button.
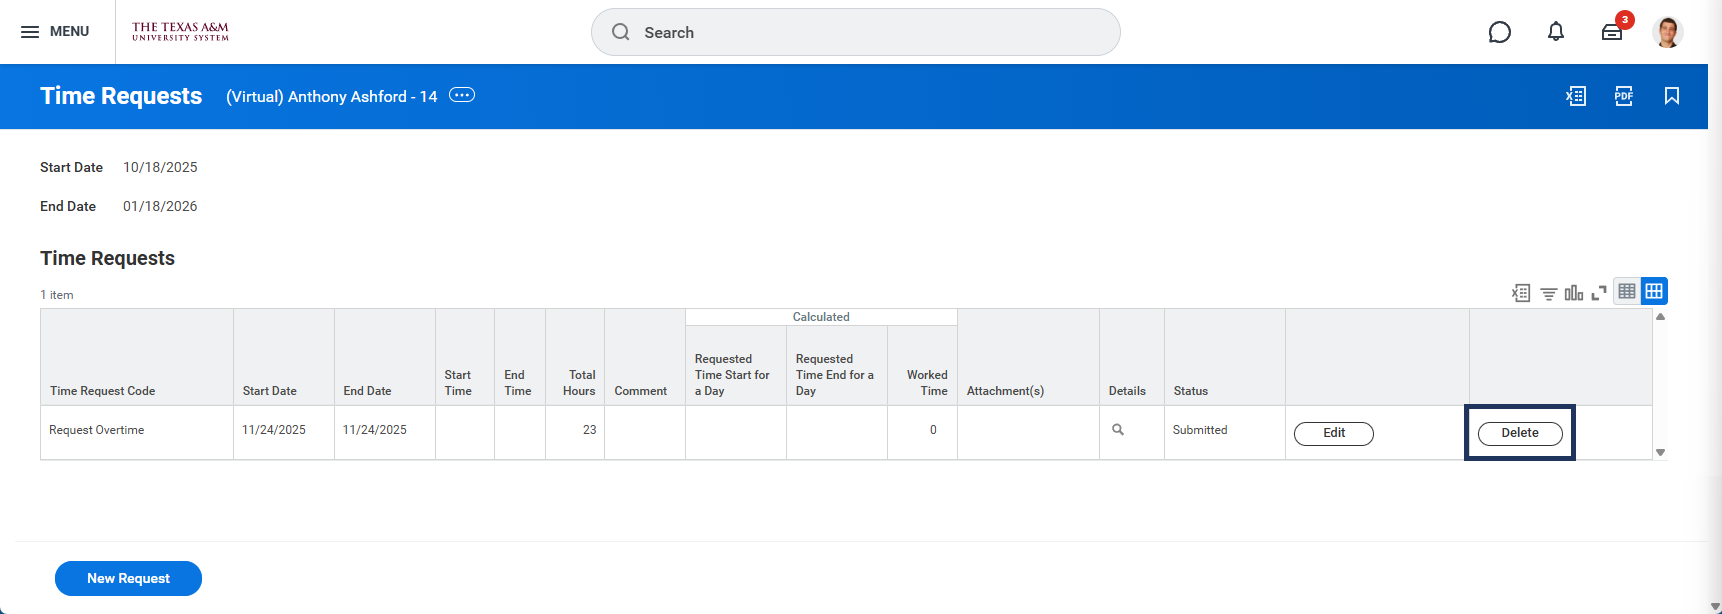
- Select Submit to confirm deletion.

The Manager will be notified that the Time Request has been deleted.