This job aid outlines the process for an Employee to manage payment elections during the onboarding process.
Payment Election Enrollment Event (Onboarding)
Last updated on September 21, 2026
Page Loading...
Checking SSO...
Important Information
After Payment Elections are made in the Onboarding process, you can still manage your elections by selecting the Payment Elections link in the Benefits and Pay Hub on your Workday Home page.
Getting Started
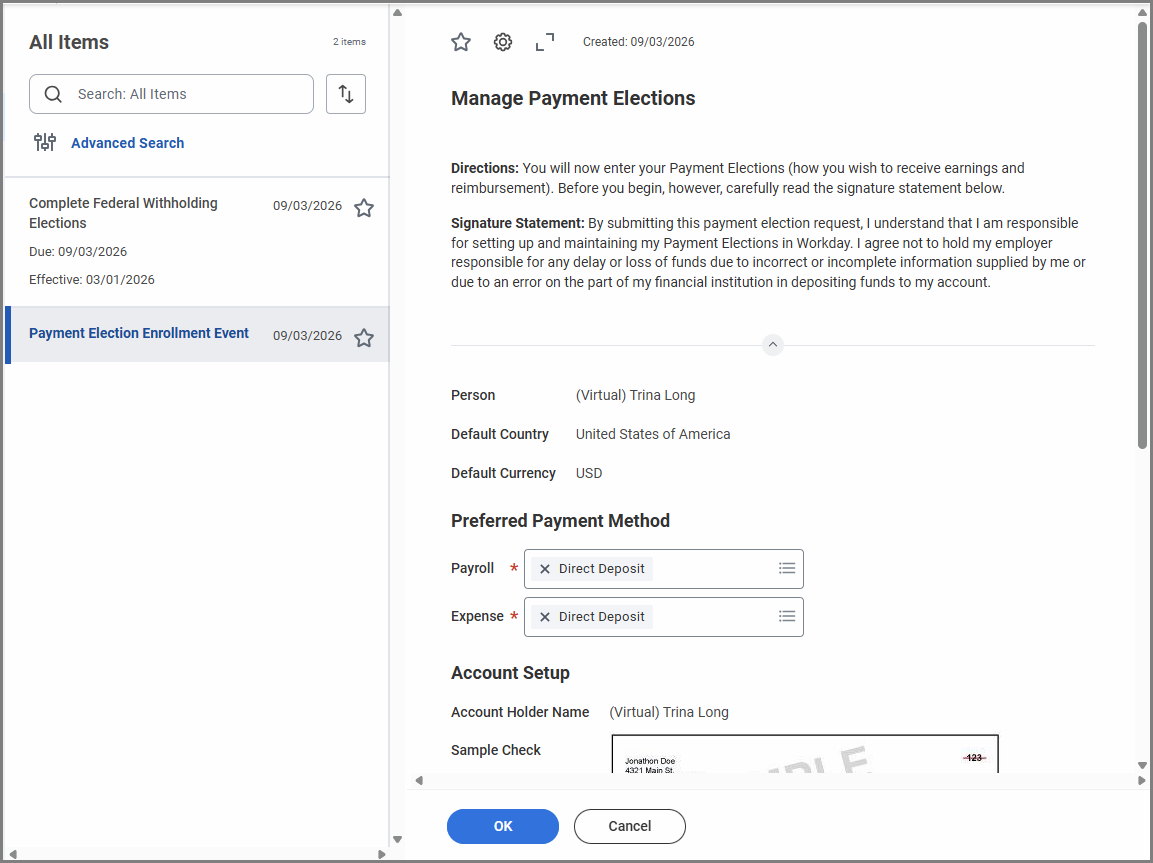
- Select Payment Election Enrollment Event action item located in your inbox.
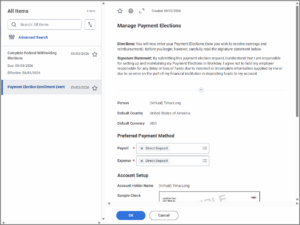
- Select a Preferred Payment Method. The default selection is Direct Deposit for both Payroll and Expense. If you prefer to receive a check, you can change the method to Check and select OK.Note: Payroll represents the Employee’s paycheck and Expense represents reimbursement payments made to the Employee.

- In the Account Information section, add the information:
- Account Type.
- Routing Transit Number. This is a nine digit number found on a check, deposit slip, or in your online banking information.
- Account Number. This is located on a check, deposit slip, or in your online banking information.Note: By default, your account number will be hidden. To see the account number, select the eye icon in the Account Number field.
- Bank Name. This is the name of your bank (e.g., Bank of America).
- Account Nickname (Optional). Workday Services recommends you use this to distinguish between accounts.
 Note: The Bank Identification Code field is not currently used.
- Select OK.
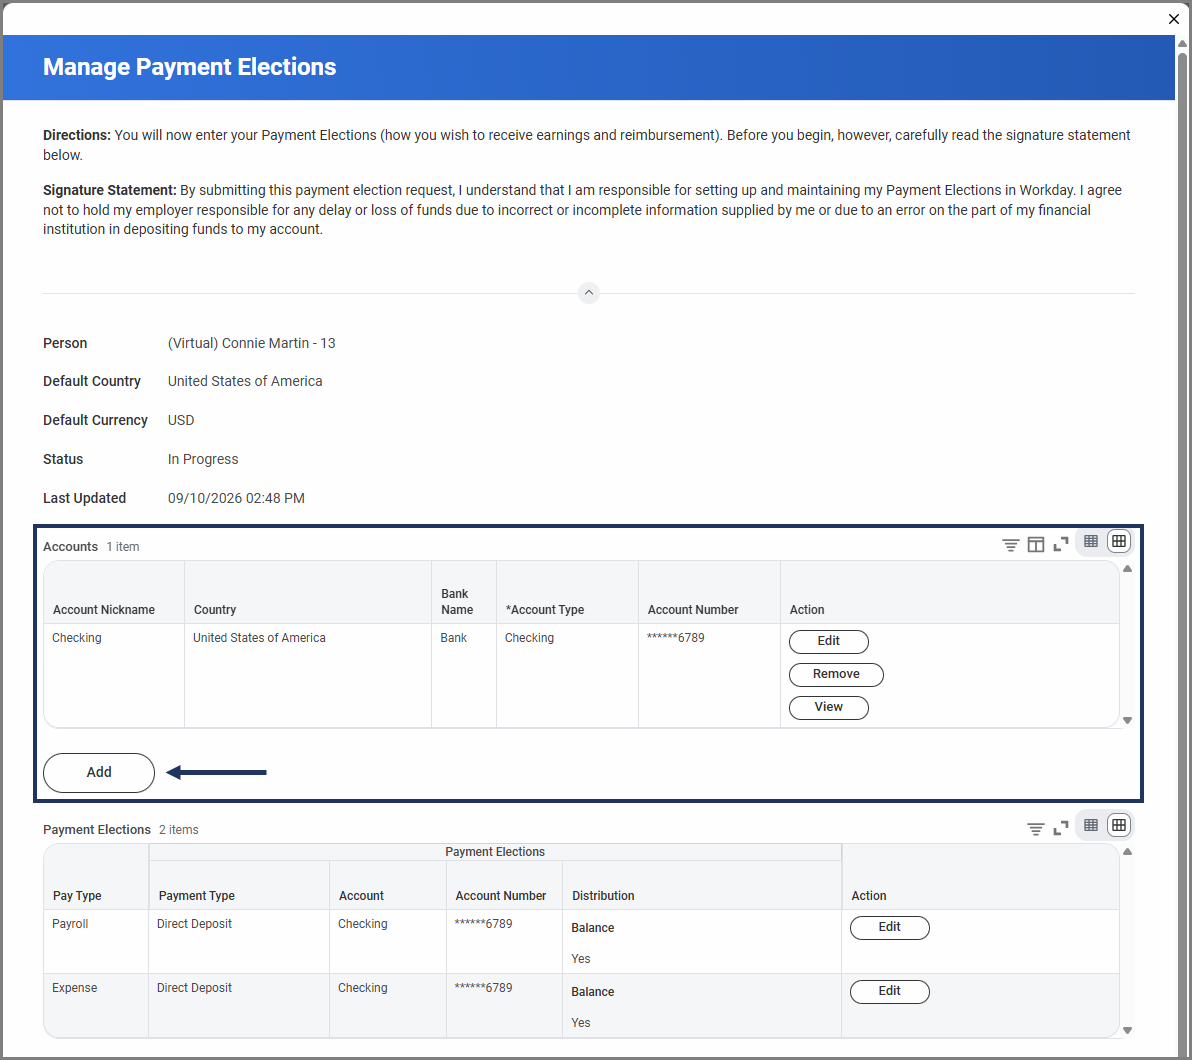
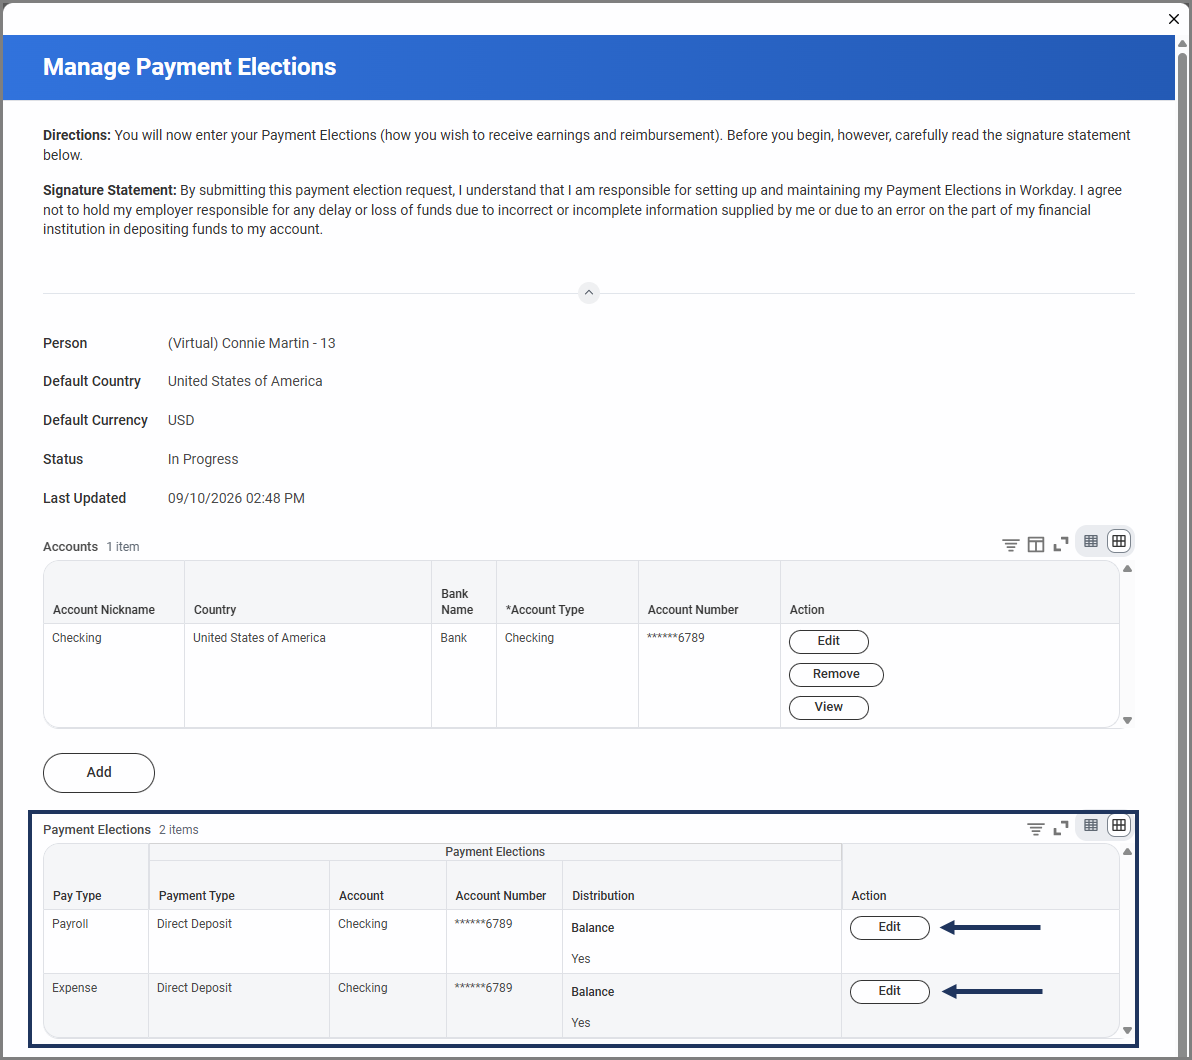
- On the Manage Payment Elections screen, verify everything is correct on the Accounts Table.
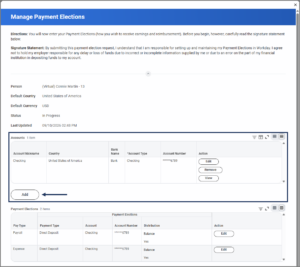 Note: You can add additional bank accounts using the Add button if you would like part of your funds to be distributed over multiple accounts. You may distribute funds up to 5 different accounts using the Distributing Payment Over Multiple Accounts section below.
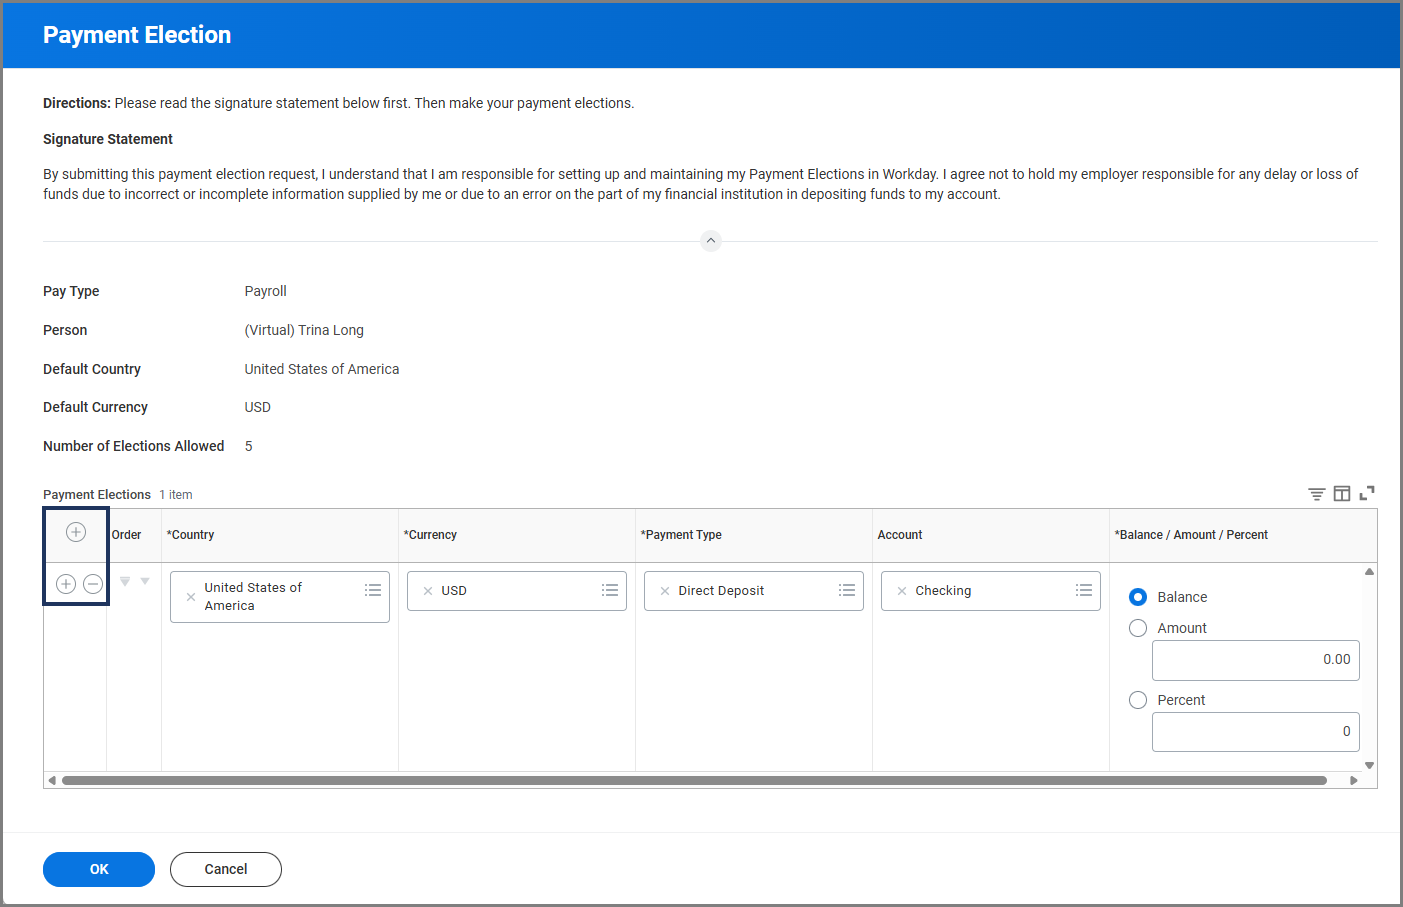
 - To change your Payment elections from the default selection, select Edit in the Payment Elections section.
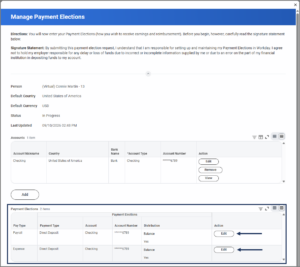
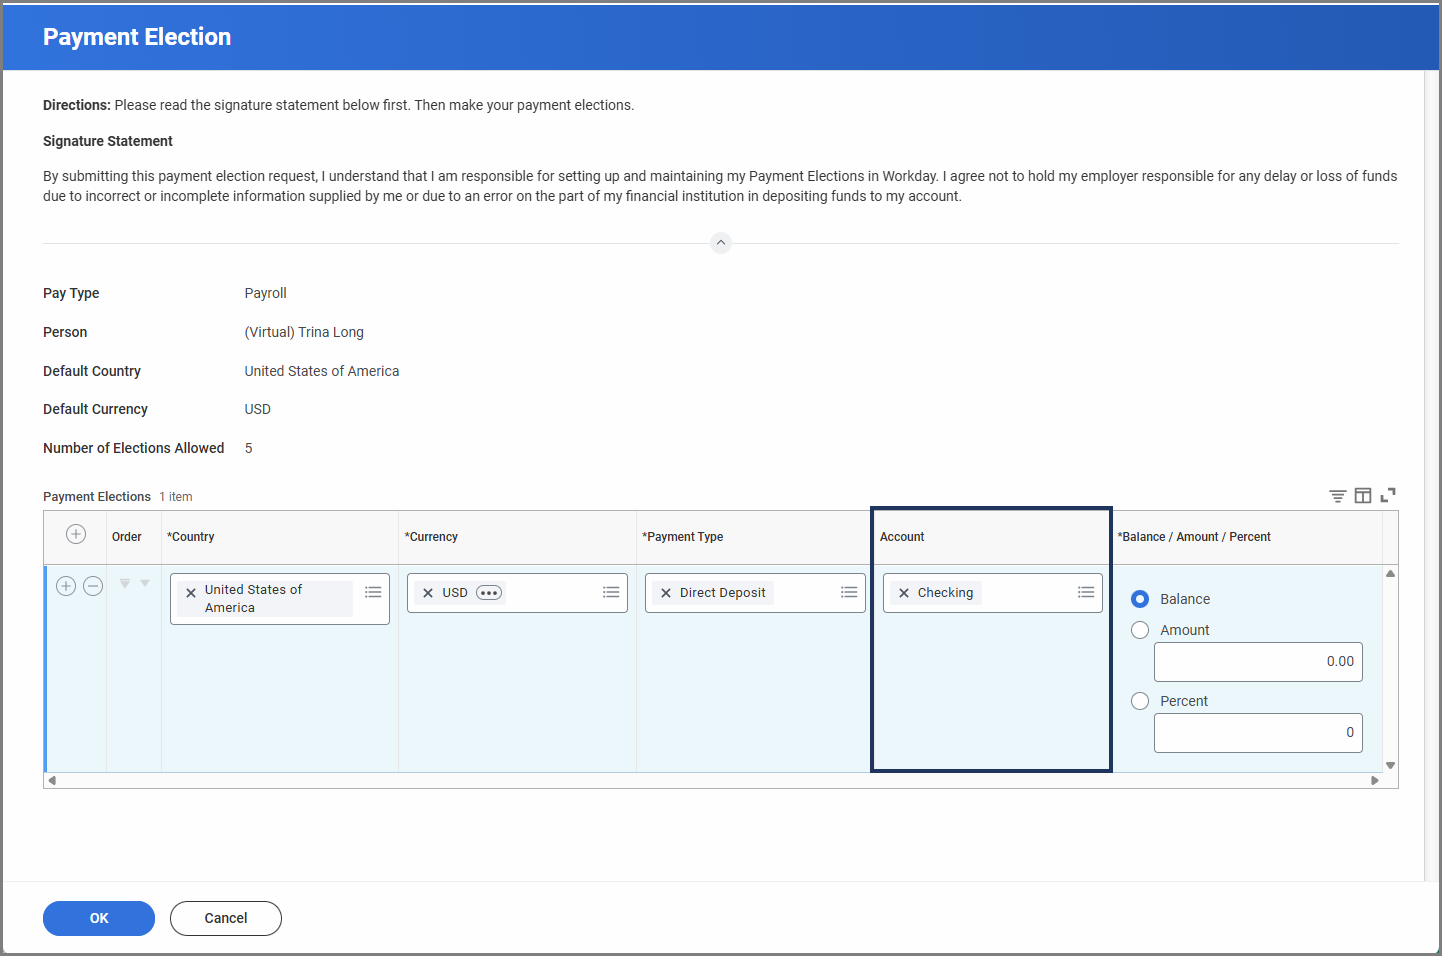
- For security purposes, the full account number used for the payment election must be entered before editing the election.Important: There are five attempts allowed. If all attempts are used, contact your Payroll Office for assistance.
- Select the correct account in the Account column.
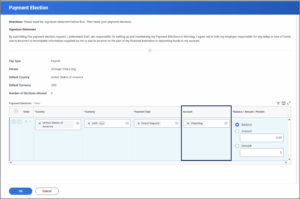
- Select OK.
- Enter comments if necessary.
- Select Submit.

This completes the Payment Election Enrollment Event (Onboarding) process.
Distributing Payment Over Multiple Accounts.
If you need to split funds between multiple accounts, use the following steps beginning at step 6 in the above procedure.
- Select the Plus Icon (+) to add a new row and fill out the following fields as needed:
- Country. This will auto-populator to United States of America.
- Currency. This will auto-populate to USD.
- Payment Type. Select Direct Deposit or Check.
- Account. Select an account
 Note: You can select Minus Sign (−) icon to remove a payment election.
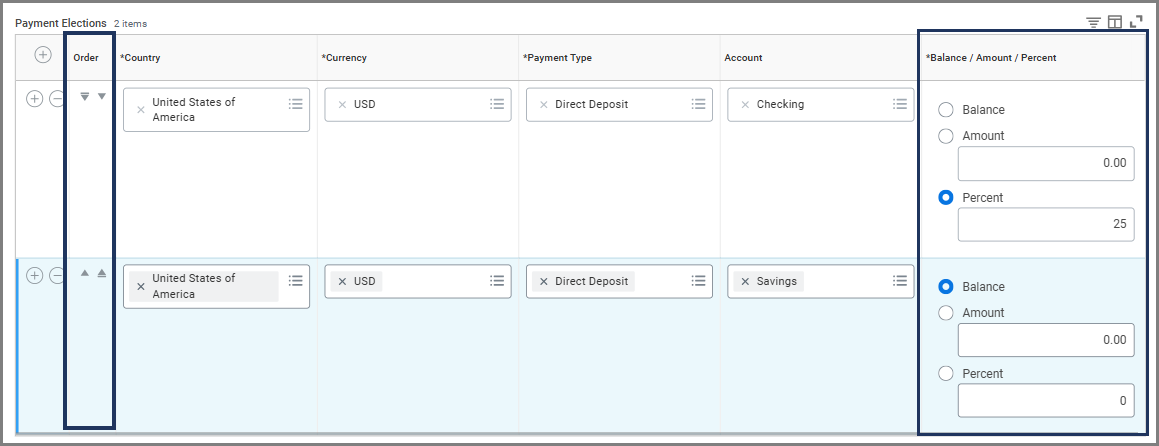
- In the Balance / Amount / Percent section, select one of the following options.
- Balance. Only one account can have a Balance distribution. Whatever amount or percent of funds not already assigned to another account will be deposited into this account.
- Amount. You can select an exact amount to be deposited into an account (e.g., $2,000).
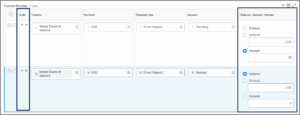
- Percent. You can select a percentage of your payment to be deposited into an account (e.g., 25%).Important: If Balance is selected, it must be placed last on the list. When using multiple accounts use the arrows in the Order column to arrange them. Example: 25% may be deposited into the first account, and the remaining balance deposited into the second account.
- Select OK.