This job aid describes how Timekeepers and Absence Partners can manually advance a business process (Enter Time and Request Time Off) for workers they support.
Manual or Mass Advance
Last updated on March 15, 2025
Page Loading...Checking SSO..

Important Information
- Use the Employee’s Worker History to manually advance a single transaction (Enter Time or Request Time Off) for an Employee.
- Use the Mass Advance Business Process task to manually advance a group of transactions (Enter Time or Request Time Off) for employees.
Getting Started
Manual Advance (for One Employee)
- Navigate to the Employee’s Worker Profile and select Actions > Worker History > View Worker History.
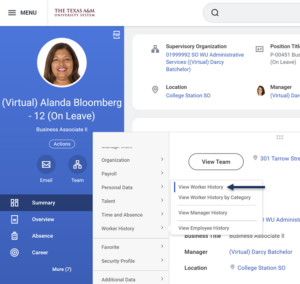
- Locate the business process you need to move forward. Select the Related Action button next to the Employee’s name and select Business Process > Advance Manually.

- On the Advance Business Process page, check the box for the business process under the Confirm column. If desired, add or change the text in the Reason for Advancing Business Process field.


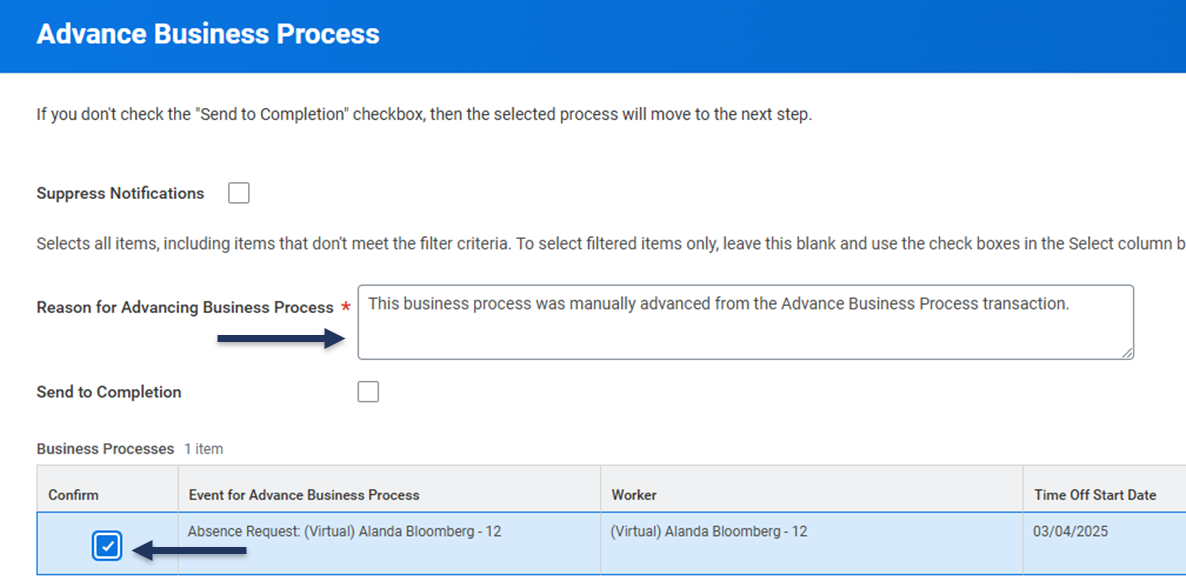
Note: Checking Suppress Notification is not recommend as it is helpful for configured notifications to initiate as they typically would. Checking Send to Completion will manually advance the business process all the way to completion, auto-completing any future steps in the business process. In the case of Enter Time and Request Time Off, there is only one additional step needed after initiation by the Employee: the approval of the Employee’s Manager. Therefore, checking this box is unnecessary.
- Select OK.
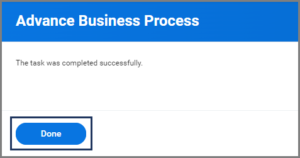
- Select Done.

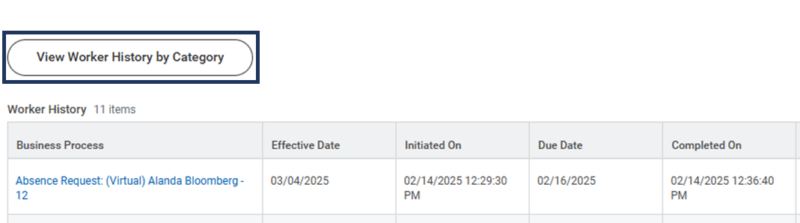
The Worker History will now display the business process as Successfully Completed.
This completes the Manual Advance business process.
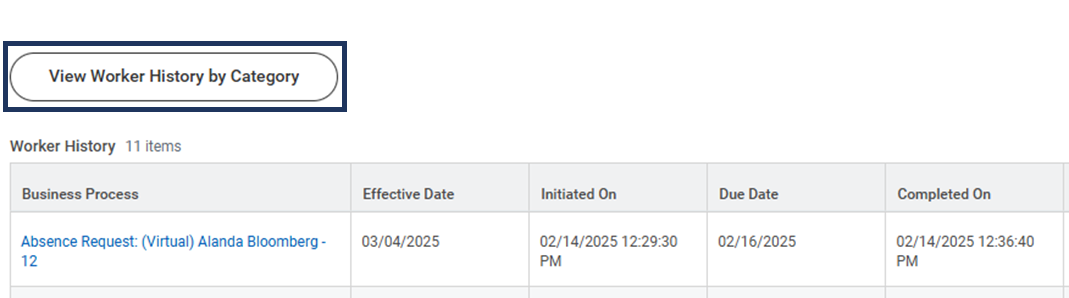
View Worker History by Category
If you experience difficulty locating the business process you are trying to manually advance, you can sort business processes by category to locate it.
- After completing Step 1 of the previous section, select View Worker History by Category.
- Business processes will be located under their respective category. Select the tab pertaining to the business process you are looking for. To locate an Absence Request, for example, select Time Off and Leave.


Note: The categories you see here are based on the selected Worker. Therefore, your screen may display additional/different categories.
- Now follow the same steps outlined in Step 3 of the previous section in order to manually advance the business process.
Mass Advance (for Multiple Employees)
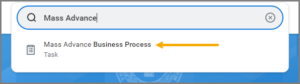
- Search for the Mass Advance Business Process in Workday.
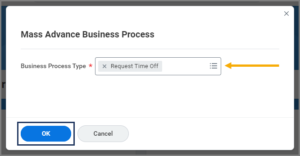
- In the Mass Advance Business Process window, select a Business Process Type in the presented field (e.g., Enter Time or Request Time Off).
- On the Mass Advance Business Process – Filter page, you will need to enter a Time Period or Worker. (You may only choose one.)
- The dates and times under Initiated in Date Range will filter for all business processes that were initiated within that time frame. In the From Moment (beginning date and time) and To Moment (ending date and time) fields, enter the dates and times for the desired time frame.
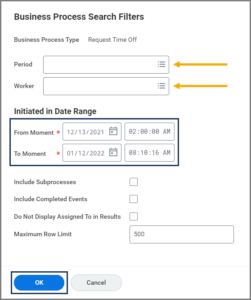


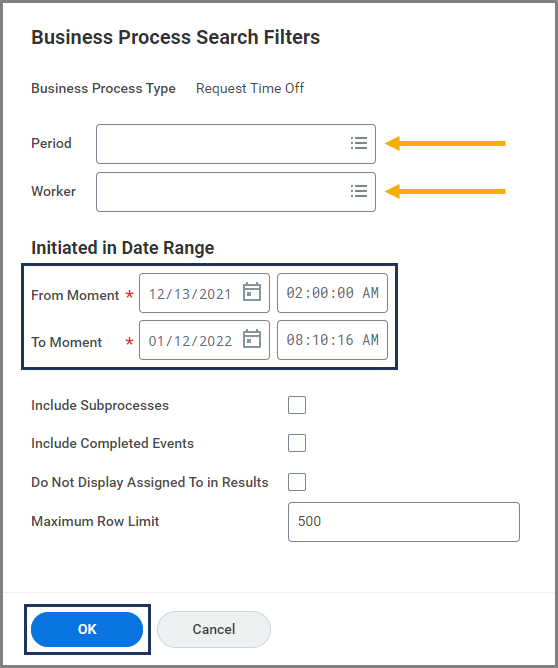
Note: Checking the Include Subprocesses, Include Completed Events, Do Not Display Assigned To in Results options is not necessary, but doing so will help filter the results further. Entering a Maximum Row Limit may be desirable when there are many business process to sift through.
- Select OK.
- Business processes will appear based on the information you entered in Step 4. Select the business processes you wish to advance, by selecting their respective checkboxes. (Alternatively, if you wish to select all the presented business processed, select the Select All checkbox).
- If desired, add or change the text in the Reason for Mass Action field.

Notes: Checking Suppress Notification is not recommend as it is helpful for configured notifications to initiate as they typically would. Checking Send to Completion will manually advance the business process all the way to completion, auto-completing any future steps in the business process. In the case of Enter Time and Request Time Off, there is only one additional step needed after initiation by the Employee: the approval of the Employee’s Manager. Therefore, checking this box is unnecessary.
- Select OK.
- Select Done.

This completes the Mass Advance business process.