This job aid outlines the process for HR Contacts, HR Partners, and Organization Partners to view, assign and remove security roles on an Employee’s position.
Managing Security Role Assignments for an Employee
Last updated on August 7, 2024
Page Loading...
Checking SSO...
Important Information
- Security roles are assigned on the position, not the Employee. Therefore, assigned roles will stay with the position when vacated by an Employee and will be inherited by the next Worker in the position. Refer to the Security Roles reference page and select the Assignable Roles tab on the Workday Services site for definitions of security roles used in Workday.
- After role assignments are submitted, they will route for approval to the designated Role Maintainer who is either a Security Partner within your organization or a Security Administrator with Workday Services.
- Security Partners should regularly audit assignments using monthly security logs and a yearly audit.
Getting Started
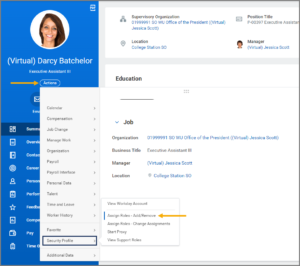
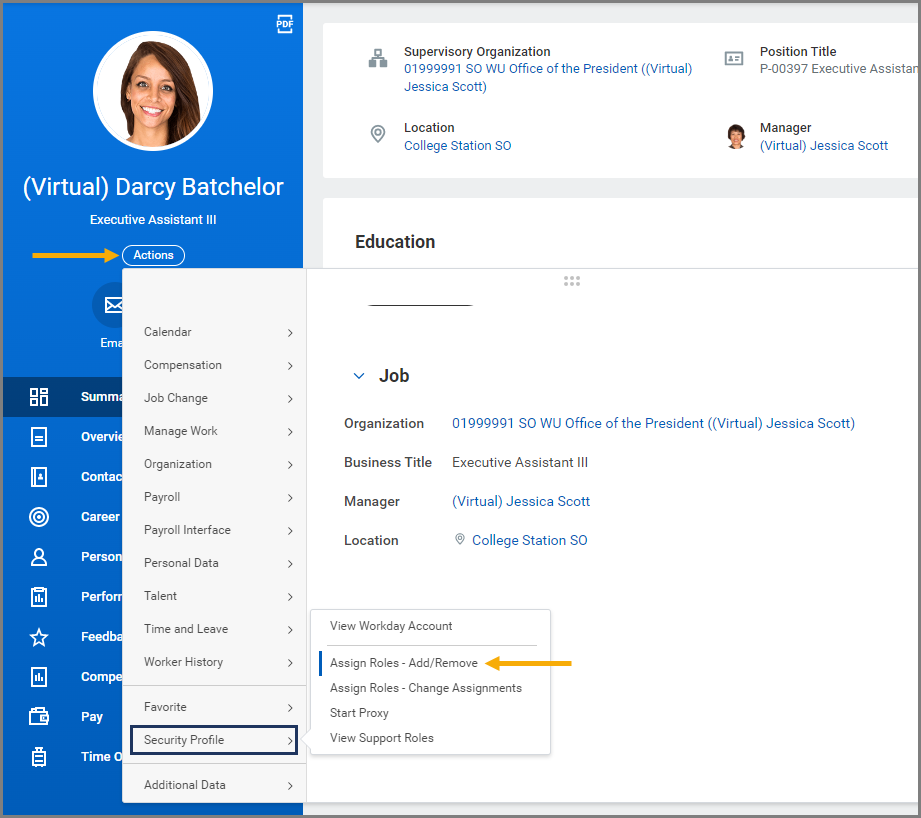
- Navigate to the Employee’s Worker Profile.
- Select Actions > Security Profile > Assign Roles – Add/Remove.
- The Assign Roles – Add/Remove screen will display. This page allows you to copy security role assignments from another Employee’s position or remove all roles for an Employee. If you do not need either of these options, leave the Effective Date populated by Workday and select OK to move forward to additional options.
- Effective Date. Today’s date will populate.
IMPORTANT: To avoid downstream impacts, Workday Services recommends you do NOT edit the Effective Date. - Copy Role Assignments from. This feature allows you to choose security role assignments from another Employee’s position. You will be able to review the assignments prior to finalizing. Enter the UIN or name of the Employee with these security roles.
- Remove All Roles for Assignee. Check the box to remove all security role assignments from the position. You will be able to review the role assignments prior to finalizing.
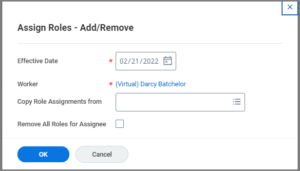
- Effective Date. Today’s date will populate.

Note: You will be able to make any adjustments on the next screen.
- Select OK.
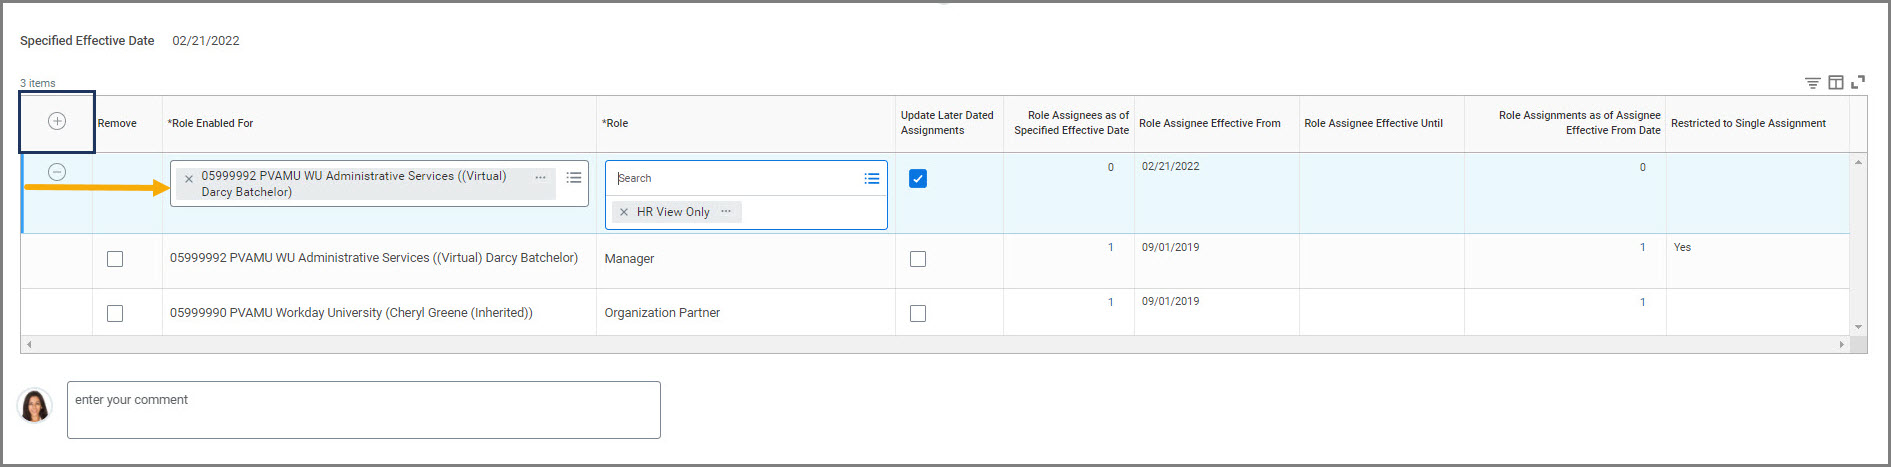
- Select the Plus Sign (+) icon to add rows or check the box under Remove to remove an existing role.
- Role Enabled For. Enter the name of the Supervisory Organization where the role will be assigned. Do NOT use the dropdown menu on the right.
- Role. Select the security role to be assigned.
- Update Later Dated Assignments. Do NOT modify this field.
- Role Assignee Effective From. Leave the date populated by Workday.
- Restricted to Single Assignment. Workday will populate this field when required.
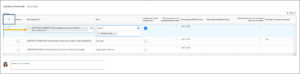
- Enter any comments, as needed.
- Select Submit and Done.
Navigate to the Up Next tab for the next steps in the process.
Up Next
Approve Security Role Assignments
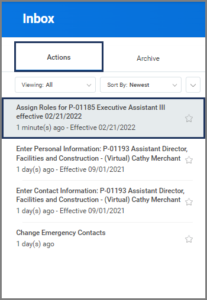
The Role Maintainer will receive an Inbox task to approve Assign Roles.
- Navigate to your inbox and select the Assigned Roles task.
- Review the Changed Role Assignments request.
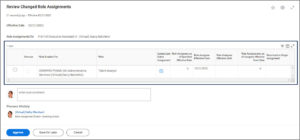
- Select the Minus Sign (−) icon to remove the row and decline the Role Assignment. Otherwise, if you approve of the change, make no edits and select Approve.


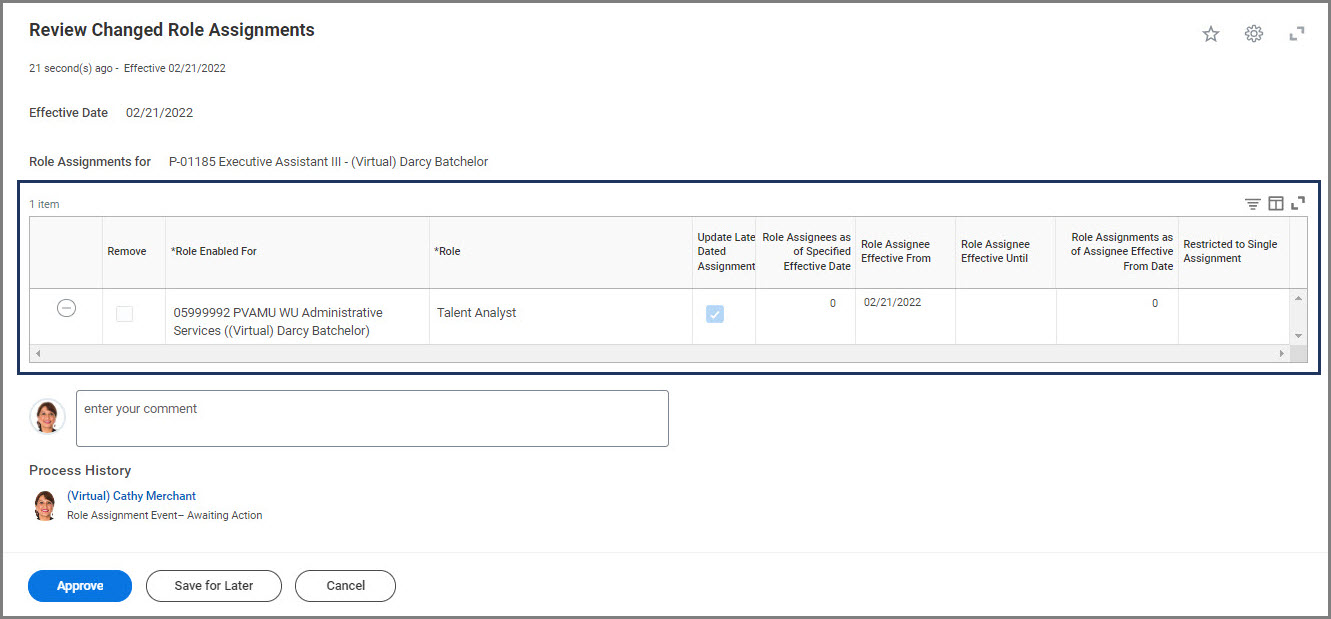
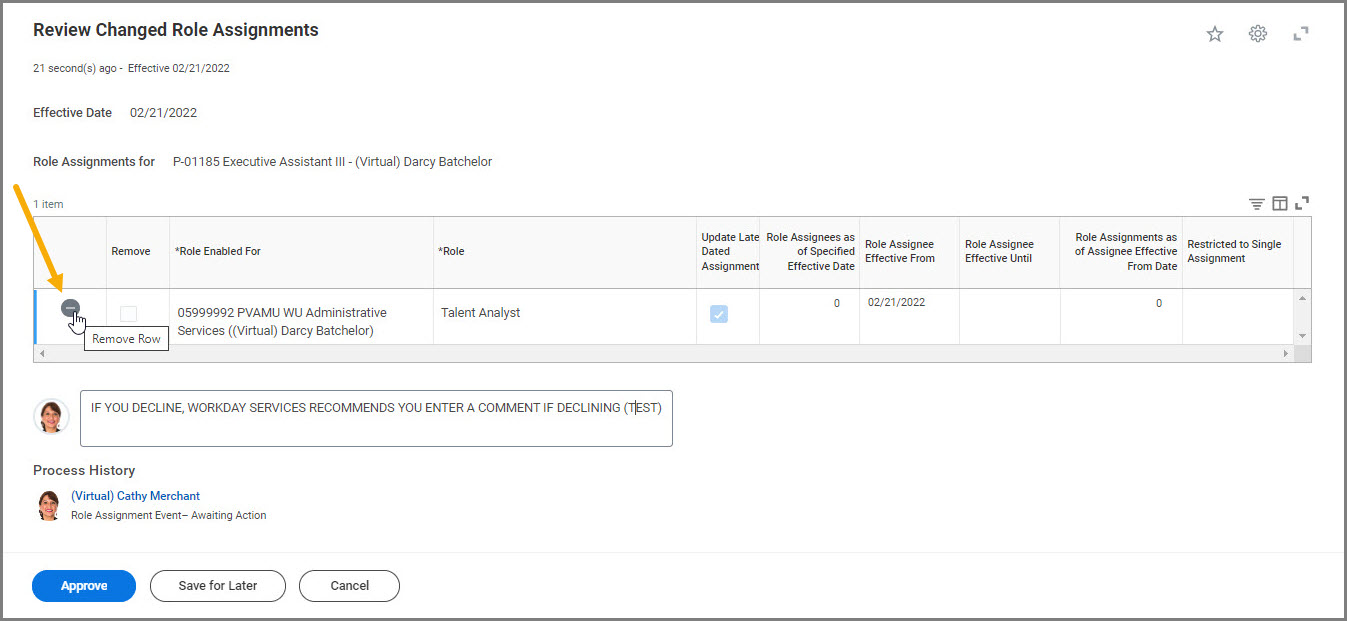
Note: Workday Services recommends you enter a comment if declining.
This completes the Managing Security Role Assignment business process.