All requisitions are managed by the Recruiting Coordinator, Recruiting Partner and Manager of the Supervisory Organization within which the job requisition is housed. This job aid outlines the entire job application process from the Manager’s perspective and provides instructions for when a Manager can participate and move the Candidate forward to the next step.
Job Application Process (Manager)
Last updated on August 29, 2025
Page Loading...
Checking SSO...
Prerequisites
The Recruiting Partner or Recruiting Coordinator has moved the Candidate to the Screen stage.
Important Information
- Managers should speak to their HR representative within the department to find out who is the Recruiting Coordinator and Recruiting Partner for the Supervisory Organization where the manager is recruiting.
- The job application process includes six stages that vary by member: Initial Review, Screen, Interview, Offer, Background Check, Reference Check, and Ready for Hire. Managers can complete the Screen, Interview, Offer, and Reference Check stages of this process. However, managers should speak to their Recruiting Coordinators to find out how managers are involved in the job application process in their respective departments.
- A Candidate can be dispositioned at any stage by declining them for various reasons and will be notified automatically via email. However, a Candidate can be reactivated after being dispositioned.
- When documents are attached within the knockout questionnaire, they will only show up in the questionnaire’s results tab. They do not show up on the Attachments screen unless attached within that screen.
Getting Started
Members may move candidates through the job application process in a different order than what is shown here.
Screen
You will receive an Inbox item to screen the Candidate. 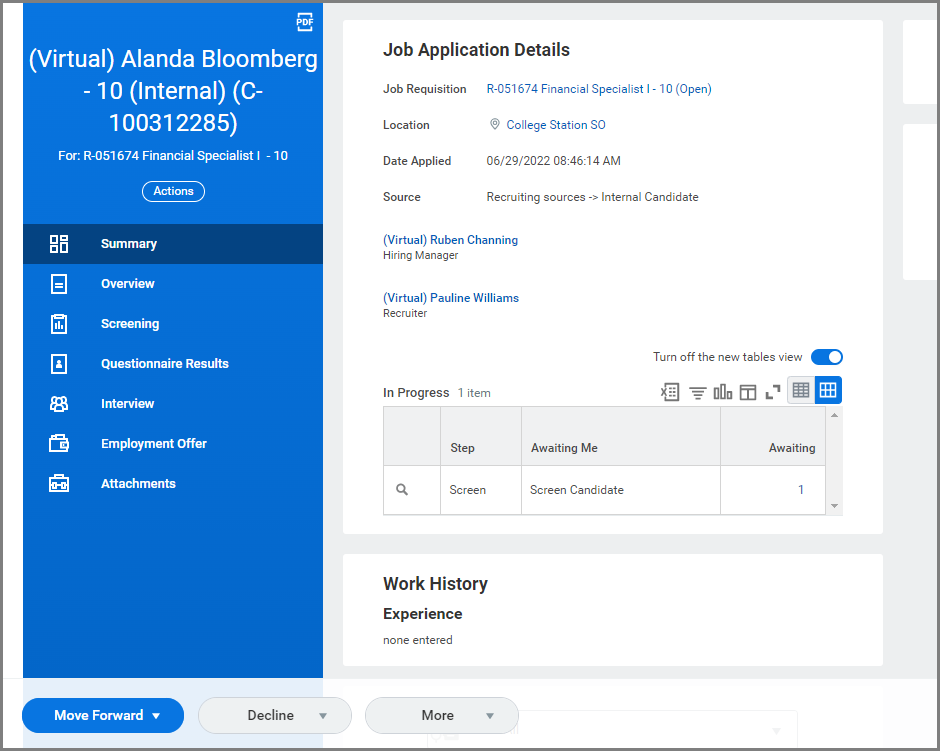
The Manager, Recruiting Coordinator, or Recruiting Partner screens candidates by reviewing their skills, experience, resume, etc. Then the Manager, Recruiting Coordinator, or Recruiting Partner will return to the Inbox task and determine whether they will move the Candidate forward to the next stage or disposition. This example will show the Manager moving the candidate forward.
Some members do not allow their Managers to disposition from the Screen stage.
Moving the Candidate Forward from the Inbox Task
- From the inbox task, select the the individual Candidate you would like to take action on.
- Select Move Forward (or Decline). In this example, the Candidate is being moved forward to the Interview stage.

Up Next
The Recruiting Partner will receive the To Do: Review Candidate for Duplicates. Once the Recruiting Partner submits the To Do, you will receive an Inbox Task to make an interview decision. You will complete the task once you have completed the Interview with the Candidate.
Interview
There is no documentation of the interview process within Workday. After the interviewing the Candidates, you are ready to make a decision on which candidate to move forward,
Interview Decision
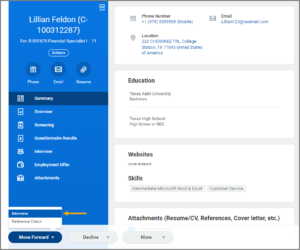
You will return to the Inbox Item Interview for the candidate, it simply displays the candidate profile and the option to Move Forward or Decline.
Note: If you select Decline, you will need to select from the list of reasons for your decision to decline the Candidate.
In this example, we will select Move Forward. To Make an Interview Decision, follow the steps below:
- Select the inbox task Interview.
- Select Move Forward and select one of the following options:
- Another Interview
- Background Check
- Reference Check

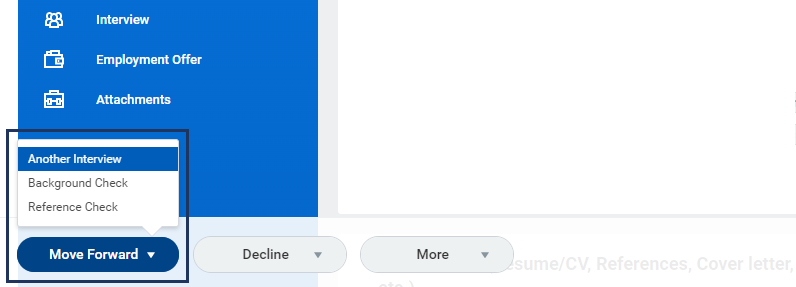
In this example we will move the candidate forward and select the Reference Check option. The Recruiting Partner will receive an Inbox Task, Reference Check for Job Application. This task will require them to check for duplicate records.
Reference Check
During the reference check you will do three things. First you will conduct the reference check, next you will document contact information inside of Workday for whom you contacted, and lastly you will make a decision to move the Candidate forward or decline.
You will receive the inbox task Reference Check for Job Application for the candidate, here you can fill out the Reference Check Questionnaire. You can add up to three references.
Note: This task serves as documentation for contact information only used to complete the reference check, not details of information acquired. Reference checks are completed outside of Workday.
- Enter the Name of reference, Date of reference check, and Reference check contact information.
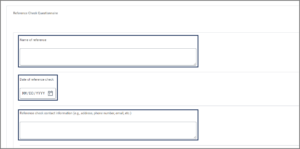
- Select Submit.

Once you have completed the Reference Check Questionnaire, you will receive another task to make a Reference Check Decision.
Reference Check Decision
Based on your reference check you will decide whether to move the Candidate forward. If your member has opted to utilize this step, you will receive an inbox task to make this decision.
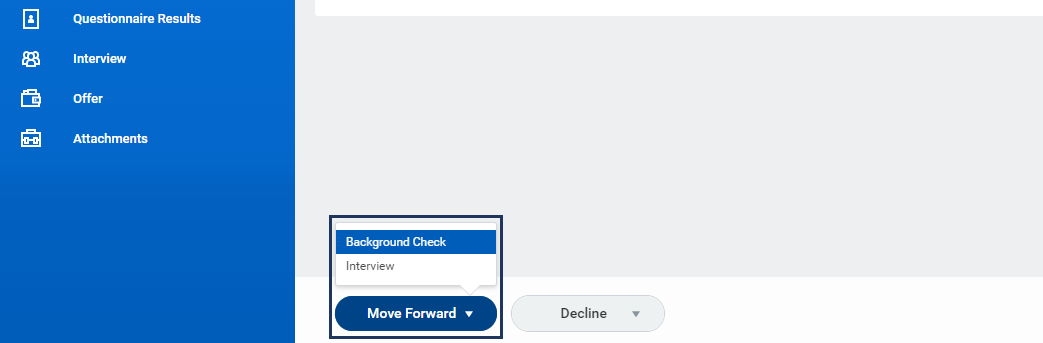
- Select the inbox task Reference Check for Job Application.
- Select Move Forward and select Background Check or Interview from the dropdown. In this example, the Candidate is being moved forward to the Background Check stage.

Up Next
The Recruiting Partner will complete a Background Check on the Candidate and complete the remainder of the process to move them to Ready for Hire.
This completes the Job Application Process (Managers) business process.