This job aid outlines the activities for a Benefits Partner to finalize an ORP event if the Employee has not enrolled by the due date.
Finalize ORP and Enter ORP Waived Custom ID
Page Loading...Checking SSO..


Important Information
After finalizing the event, the Benefits Partner needs to enter the custom ID to indicate that the ORP has been waived by the Employee.
Getting Started
Finalize ORP Event if Event in Progress Is Beyond Due Date
- Search for the Finalize Open Benefit Events task in the Search Bar and select it.

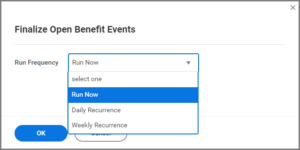
- Select a Run Frequency and select OK.
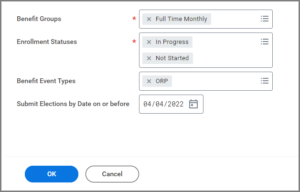
- Complete the following fields.
- Select OK.
- The background process screen that finalizes the event will display. Select the ORP event you want to finalize.
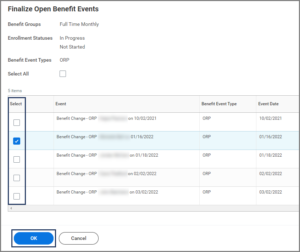
- Select OK.
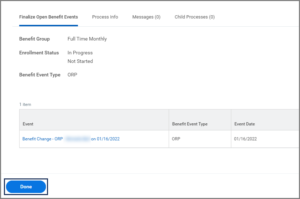
- Select Done.
- The status of the event is now finalized and it will no longer appear in the Worker’s inbox. ORP Coverage is now waived for the workers you selected.
Update Custom ID ORP Participation to Waived
As a final step, the Benefits Partner should now update the Custom ID for ORP Participation to waived.
- Navigate to the Employee’s Worker Profile.
- Select Actions > Personal Data > Edit Other IDs.
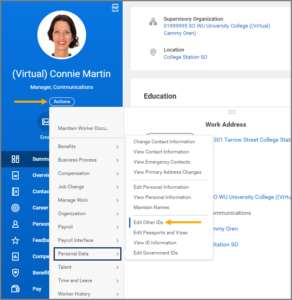
- Select the Plus Sign (+) icon to add a row for a new Custom ID. Complete the following fields.
- Select Submit.
The completes the Finalize ORP business process and how to enter the Waived Custom ID.

