This job aid outlines the process for a Recruiting Partner to edit a job requisition that can be used to recruit for open positions.
Edit Job Requisition
Last updated on November 16, 2023
Page Loading...
Checking SSO...
Getting Started
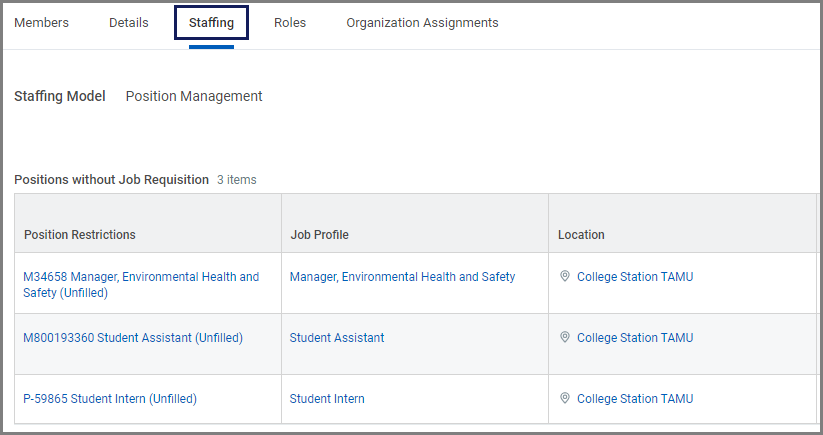
- Navigate to the job requisition by locating the Supervisory Organization where the position tied to the requisition is located.
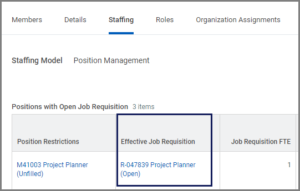
- Select the Staffing tab.
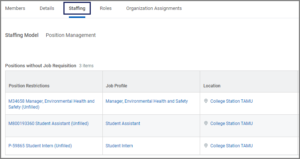
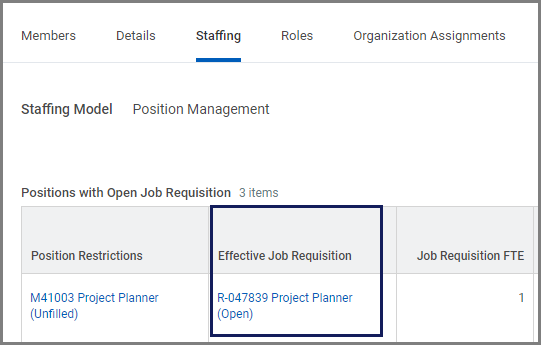
- On the the Positions with Open Job Requisition table, locate the job requisition you need to edit under the Effective Job Requisition column.
- Using the job requisition’s Related Actions icon, select Job Change > Edit Job Requisition.
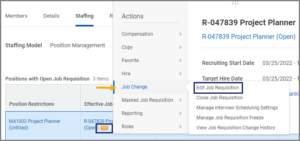 Note: Alternatively, you can start by searching for the Edit Job Requisition task.
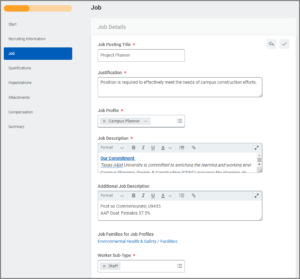
 - Use the Guided Editor to navigate to the section of the job requisition you need to edit. Select the Edit Icon to add or edit information.
- In the Recruiting Information section, add or edit the information.
- Select Next.
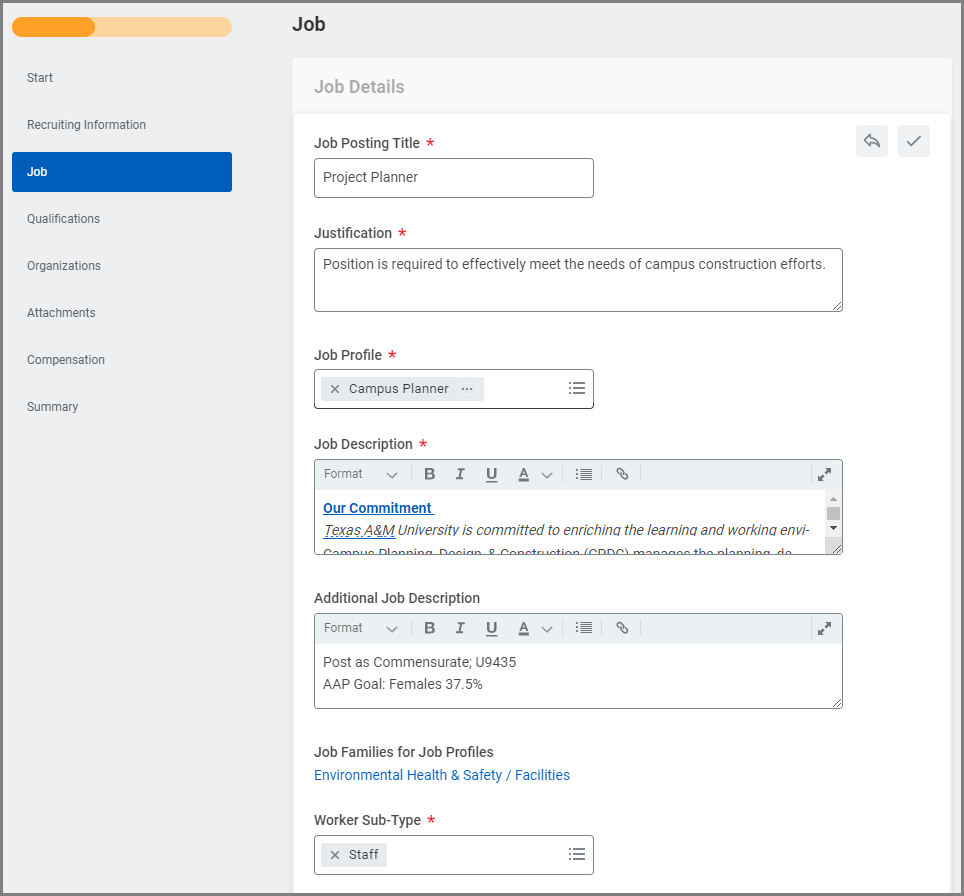
- In the Job section, add or edit the information as needed.
- Link to Evergreen Requisition if needed.

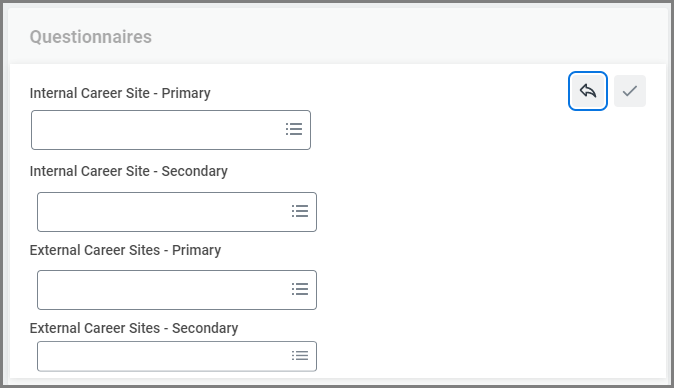
- Link the Primary Questionnaire to the internal and external career sites as applicable. Note: Refer to the Recruiting Instructions to determine whether one or both of the internal and external sites need the Primary Questionnaire linked. A primary questionnaire is required The Recruiting Partner can add a secondary questionnaire, if applicable. Additionally, if a candidate has already applied to the job requisition, questionnaires will not be editable.


- Select Next.
- The Qualifications section is only visible to Recruiting Partners and should be skipped. No edits should be made here.
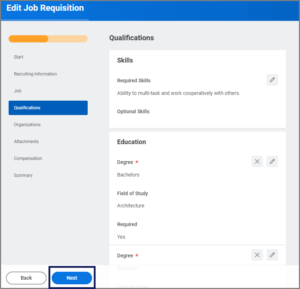
- Select Next.
- In the Organizations section, select the following for the requisition: Company (System Member) and TAMUS System Member Hierarchy.
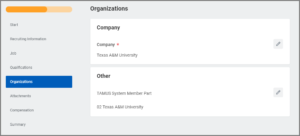


- Select Next.
- In the Attachments section, attach any documents related to the job requisition.
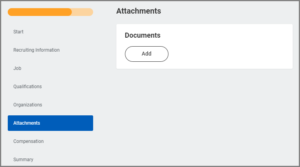
- Select Next.
- In the Compensation section you can edit the various plans provided.

Note: Many fields may already be populated based on the position. The Compensation Package and Grade Profile will pre-populate from the position, and serve as guidelines to assist the hiring department in determining the monthly or hourly rate.
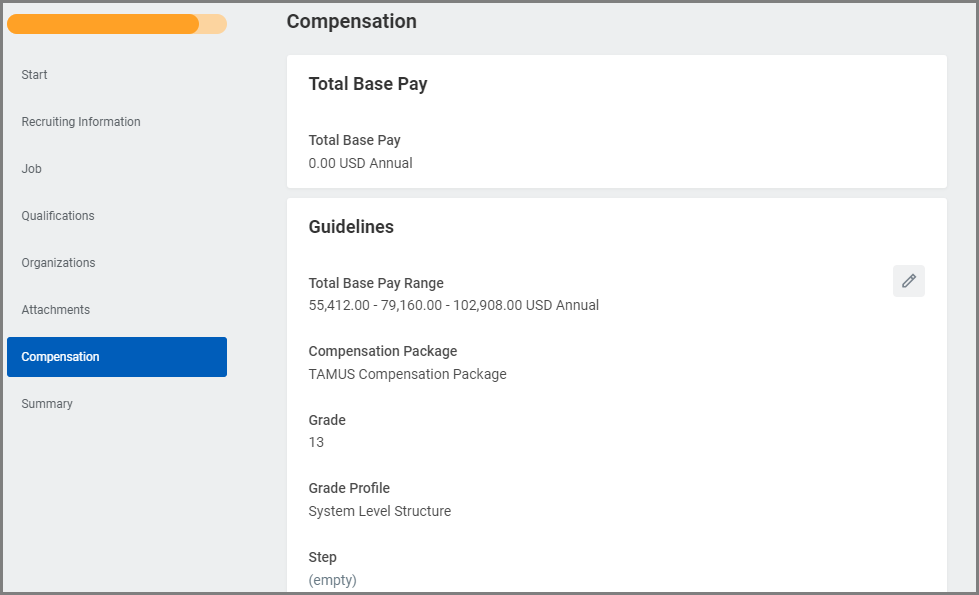
IMPORTANT: At times the compensation plan details will be removed (showing a red X). If so, select the arrow to restore the compensation before proceeding.
- Select Next.
- In the Summary section, review all details before submitting the requisition. Note: You can also make edits to fields on this page or select Guide Me icon to go back to the Guided Editor.
- Select Submit.
Navigate to the Up Next tab for the next steps in the process.
Potential Reviews/Approvals
- A notification will be triggered to the Manager and Recruiting Coordinator when the change is initiated and completed.
- The business process will route to the Department Head and Executive Approver for approval.
Navigate to the Up Next tab for next steps in the process.
Up Next
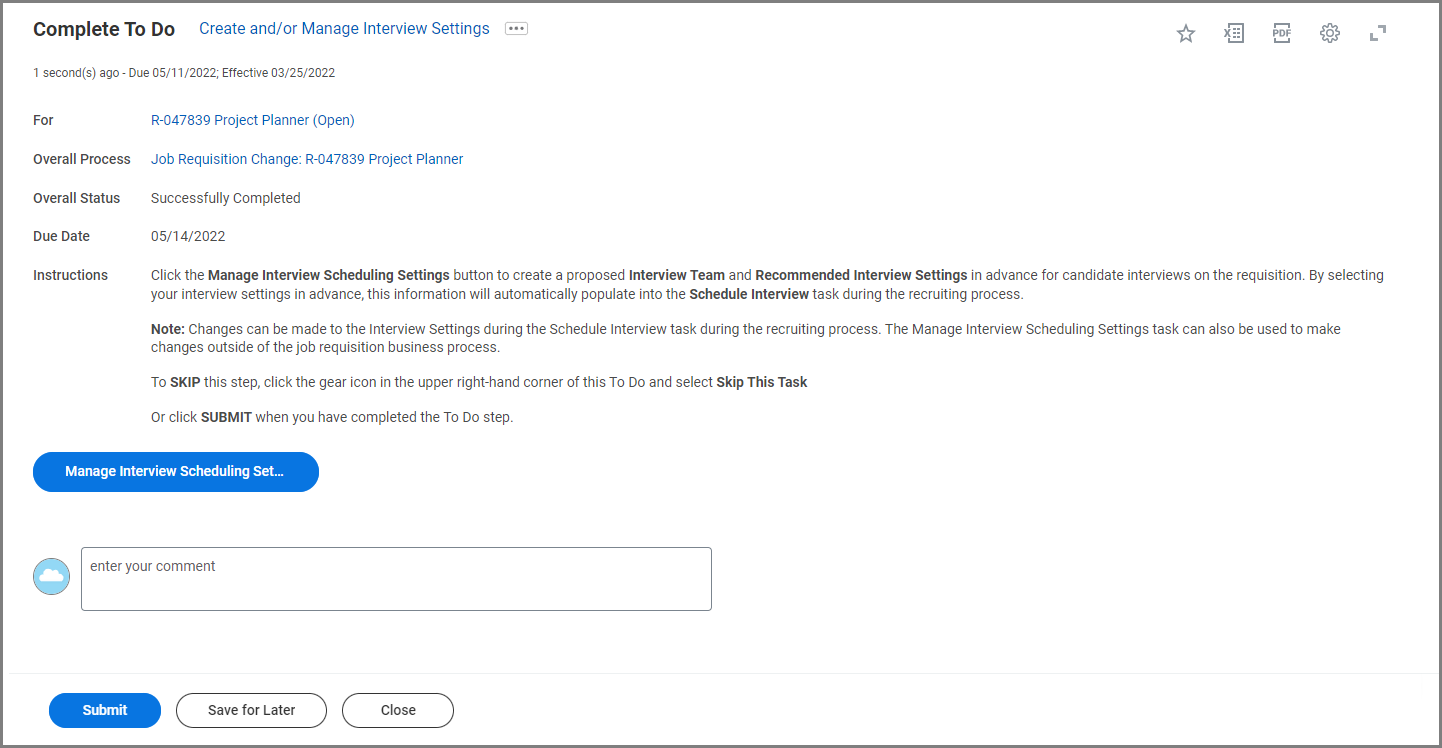
Create and/or Manage Interview Settings
The Recruiting Coordinator, Recruiting Partner and Manager may receive the To Do Create and/or Manage Interview Settings depending on member configuration.
This step allows you to create a proposed Interview Team and provide setting for the interview schedule prior to Candidates applying for the position. If changes are needed, you can use the Manage Interview Scheduling Settings task at any time during the recruiting process to make those changes. Changes will automatically update the proposed Interview Team for all Candidates who enter the interview stage for the first time when a Candidate is rescheduled or another round of interviews is requested.
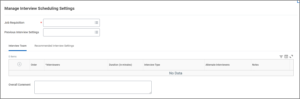
- From your inbox, select the To Do: Create and/or Manage Interview Team.
- Select Manage Interview Scheduling Settings.
 Note: If you need to create the Interview Team later during the Job Application process, you may skip this To Do using the gear icon found at the top right of the screen.
 - Add or remove Interviewers as needed by selecting the plus or minus icons.
- Interviewers. Enter one or more interviewers.
- Duration. Enter the length of the interview in minutes.
- Interview Type. Select in-person, phone or video conferencing
- Alternate Interviewers. Enter none, one or more employees designated as backup interviewers.
- Notes. Enter any necessary comments for the Interviewer(s).
IMPORTANT: The Manager must be on the Interviewer list to be able to provide feedback from the interview.
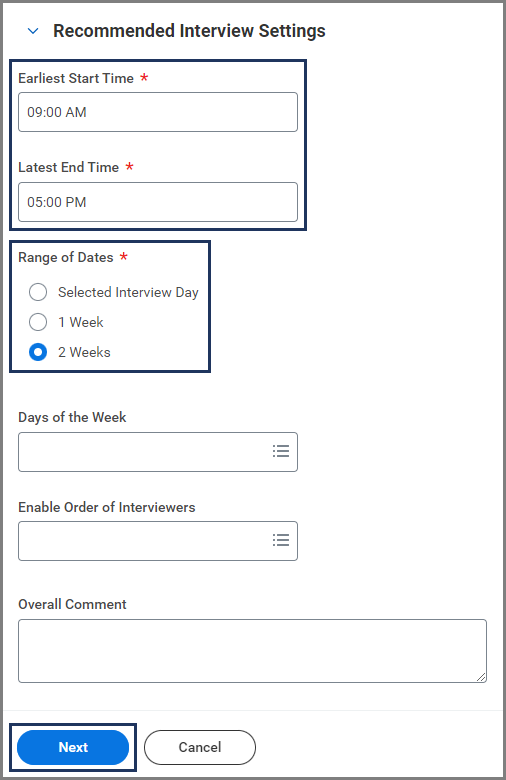
- The Recommended Interview Settings allow you to add parameters for the interview schedule that can be produced during the Schedule Interview Task for a Candidate.
- Earliest Start Time. This is the earliest an interview can start during the day.
- Latest End Time. This is the latest an interview can end during the day.
- Range of Dates. This indicates the time frame for which you would like schedules produced.
- Days of the Week. Select which days of the week are to be used.
- Enable Order of the Interviewers feature indicates which interviewers are required to fill specific interview spots based on the proposed interviewers’ grid.

- Select Next.
- Select Submit.

To Do: Update the Job Posting
The Recruiting Partner will receive a To Do to Update the Job Posting. The Recruiting Partner needs to determine if an update is needed. If so, the Recruiting Partner will need to complete the Unpost Job and Post Job process to push the changes to the career site(s).
This completes the Edit Job Requisition process.