• Skip to primary navigation
  • Skip to main content
Workday Services
Logo, Texas A&M University System, Office of Information Technology
  • Home
  • About
    • Workday
    • Governance
    • Key Performance Indicators
  • News and Updates
    • Alerts
    • Release Notes
    • Schedules
    • Upcoming Training Events
    • Monthly User Meetings
    • Biannual Workday Releases
  • Reporting
  • Training
    • Job Aids
    • Reference Guides
    • Video Help
    • Workday Curriculum
    • About Security Roles
    • Online Courses
    • Webinars
    • Learning Hubs
    • Glossary
  • Support
    • Frequently Asked Questions
    • Common Tasks
    • Request Forms
    • Get Help
  • Office of Information Technology
    • Services
    • Contact the Office of Information Technology
    • Search OIT
Home / Job Aids / Create Succession Pools in Workday

Create Succession Pools in Workday

Last updated on November 30, 2023

Print

This job aid outlines how a Talent Partner can create a Succession Pool in Workday with employees to track succession for a specific Job Profile.

Page Loading...Checking SSO..
Login with SSO to see this content.

Getting Started

Create a Succession Pool

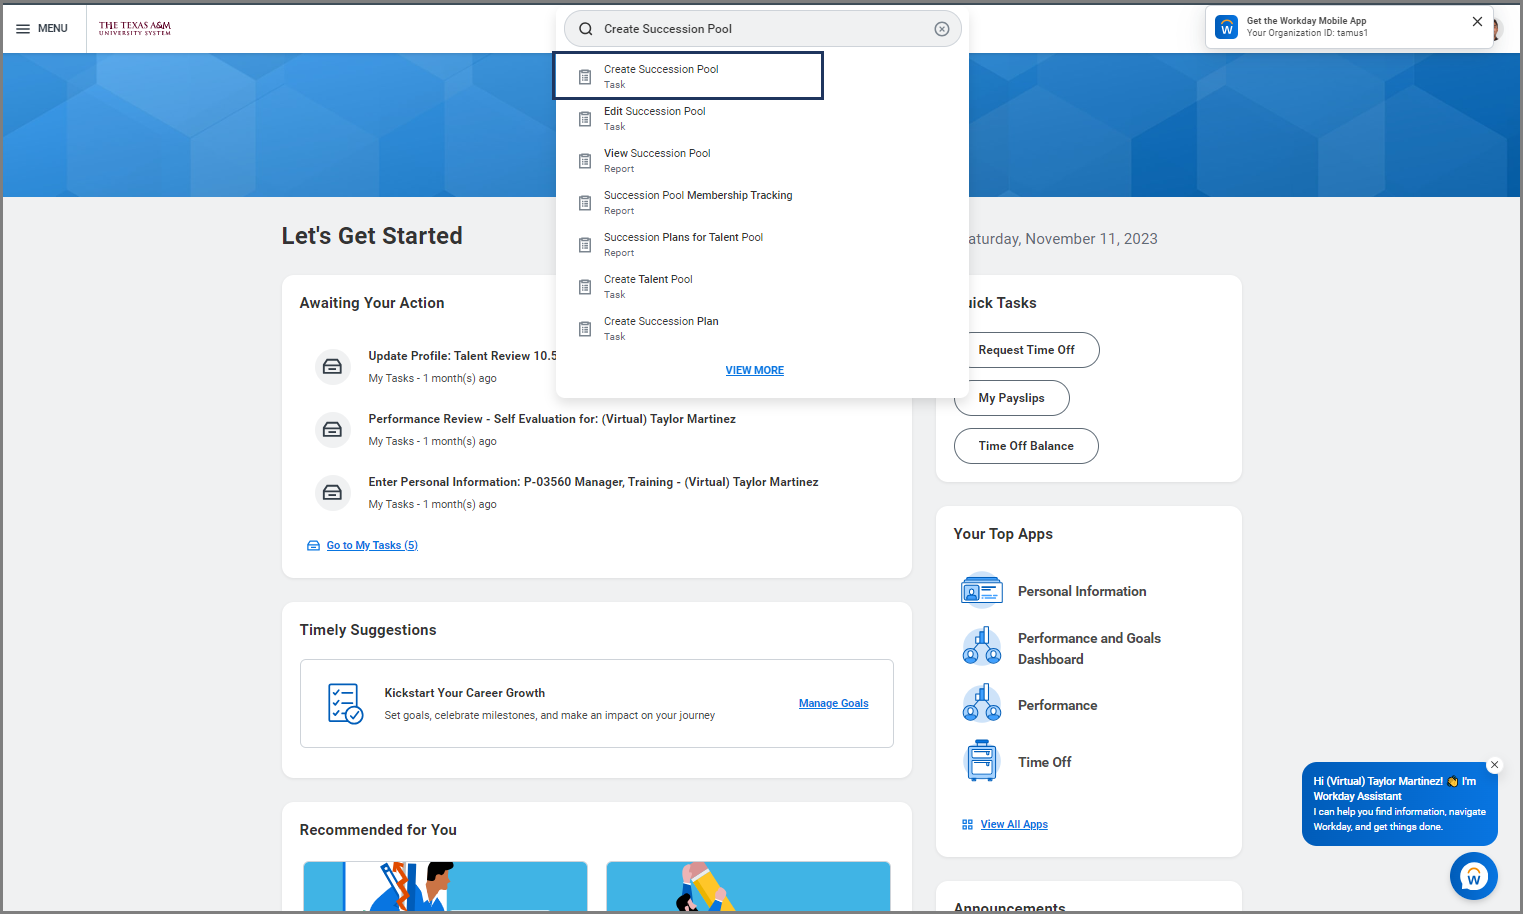
  1. Search for the Create Succession Pool task in the search bar.Search for the task Create Succession Pool
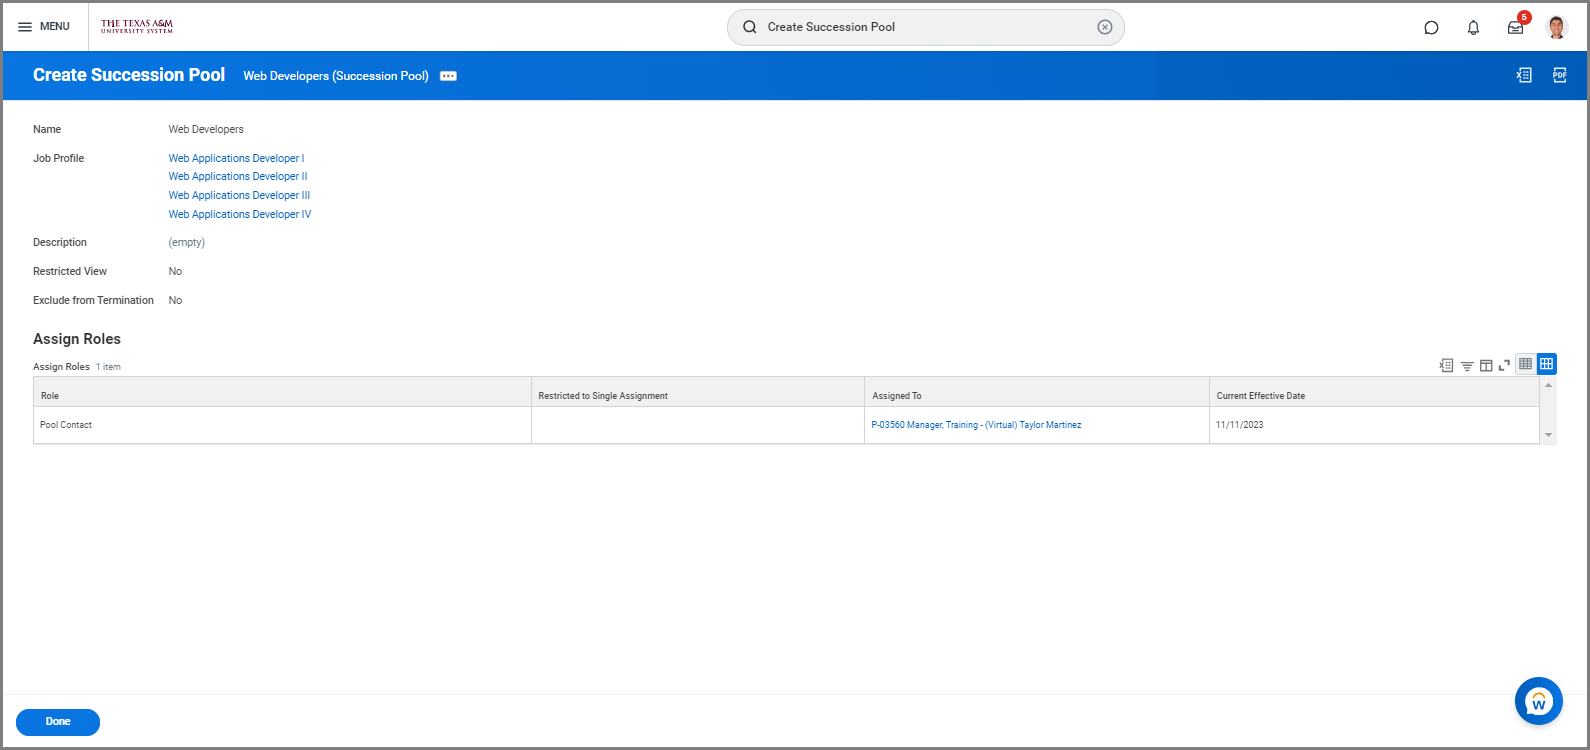
  2. On the Create Succession Pool page, fill in the following fields:
    • Name. Enter the name of the Succession Pool.
    • Job Profile. Enter the name of the Job Profile you would like to have included in the Succession Pool. Select all that apply. 
    • Assign Roles. This allows you to add additional Pool Contacts or Pool Managers, which allows them to view the Talent Pool you have created. You will be automatically assigned to both roles as the creator.
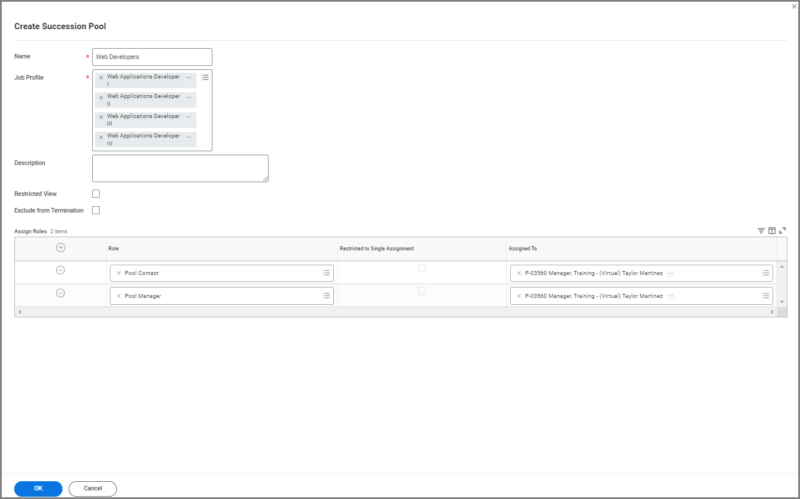
Create Succession Pool Page
  3. Select OK and DoneReview Page
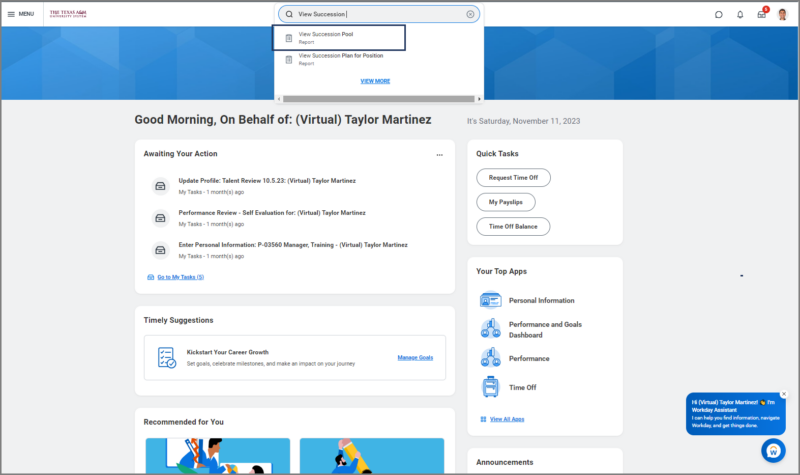
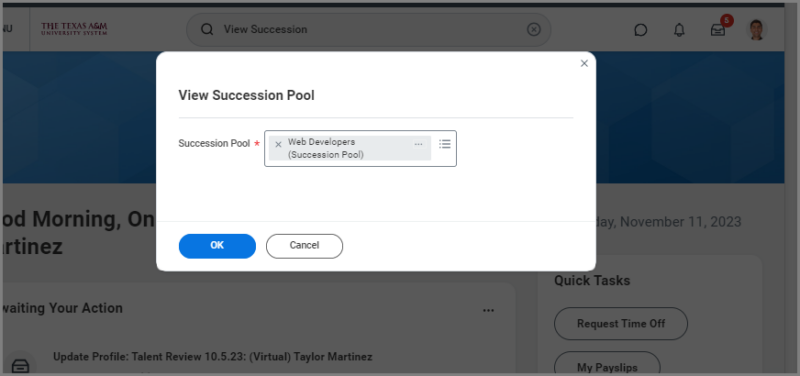
  4. Search for the View Succession Pool report in the search bar.Search view succession pool report
  5. From the View Succession Pool Page, select the Succession Pool you want to use. For this example we will use the Web Developers Succession Pool.Select the Succession Pool you want to add members to
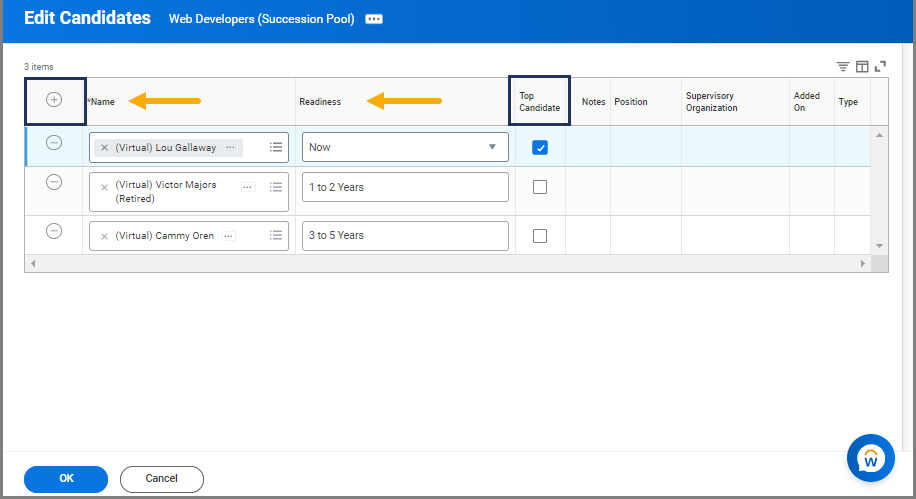
  6. On the Overview tab of the Web Developers (Succession Pool) page, select the Edit Candidates button to add employees to the Succession Pool.
  7. Select the Plus Sign button to add members by searching for their names or UINs.
  8. Indicate the Candidates Readiness to fill the role and check the box to indicate the top candidates.

Add members to succession pools

This completes Create Succession Pool task.

Quicklinks

  • Create a Succession Pool

  • ^ Top Of Page

    Copyright © 2026 Texas A&M University System All rights reserved.

    301 Tarrow Street, College Station, TX 77840 | MAP | Phone: (979) 458-7700 | email: support@tamus.edu
    State of Texas | Texas Homeland Security | Texas Veterans Portal | Statewide Search | Risk, Fraud & Misconduct Hotline | Privacy | Web Accessibility | State Link Policy | Campus Carry

    Texas A&M University System