This job aid described the process for an HR Partner or HR Contact to formalize the relationship between a Contingent Worker and The Texas A&M University System.
Contract Contingent Worker
Last updated on March 14, 2026
Page Loading...
Checking SSO...
Prerequisites
The Supervisory Organization for a Contingent Worker must be set up with the Job Management Staffing Model. If a Supervisory Organization must be created, please see the Managing Supervisory Organization job aid.
Important Information
- A Contingent Worker is an individual who is not a Texas A&M University System Employee or paid through Workday Payroll, but who may be a Manager of Texas A&M University System Employees or has an HR- or Payroll-related business need to have an account in Workday.
- The employing Supervisory Organization is responsible for ensuring appropriate approvals prior to initiating any Hire event (including any additional approvals required beyond what is configured in Workday).
- You will need to designate a Contingent Worker Sub-Type (Afghanistan Local Worker, Manager-Special Programs, Qatar Local Worker, Visiting Faculty/Scholar, or Non-Affiliated Graduate Student) while contracting the Contingent Worker.
- Contingent workers do not go through Workday Recruiting to become a Contingent Worker. A Pre-Hire record must be created if one does not already exist.
- Contingent workers will be clearly designated in Workday with a “[C]” next to their name.
- Contingent Workers can be later hired as an Employee. A Contingent Worker can apply for an unfilled position using the member’s external posting site. Alternatively, the hiring Supervisory Organization can do a direct hire using the Convert to Employee business process.
Getting Started
Locate the Supervisory Organization
- Navigate to the Supervisory Organization where you want to contract the Contingent Worker.
- Supervisory Organizations with a Job Management staffing model will have the name of the person who is authorized to hire in the name of the supervisory organization.
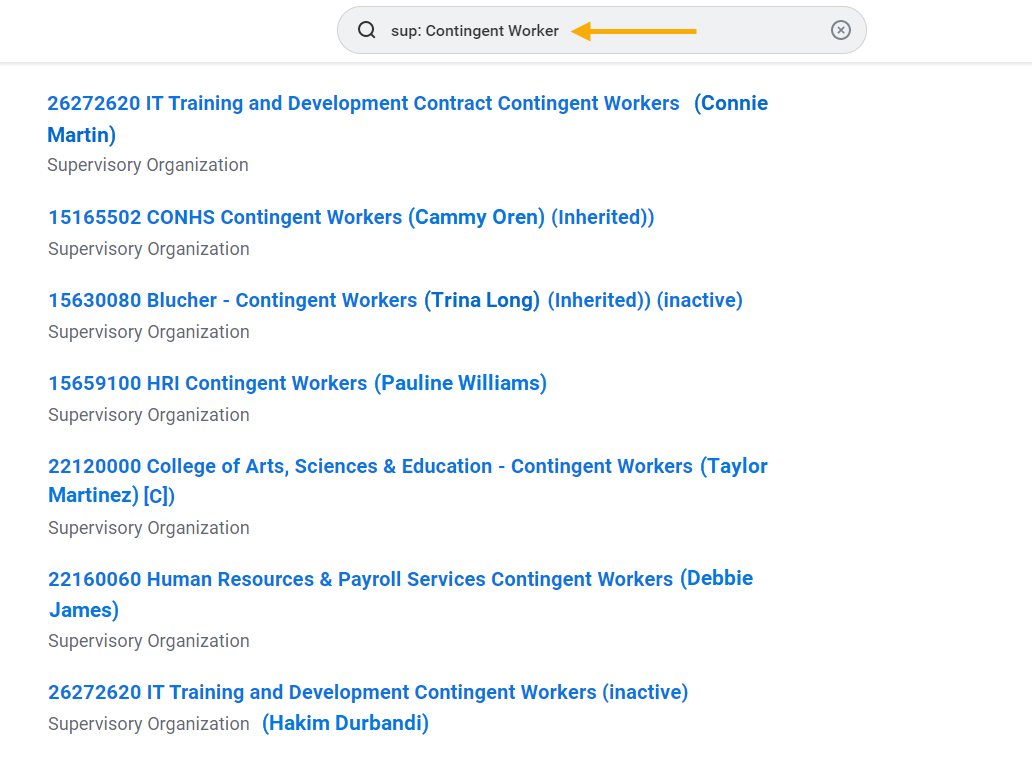
- Search for them using the “sup:” prefix and “Contingent Worker” or “CW”.
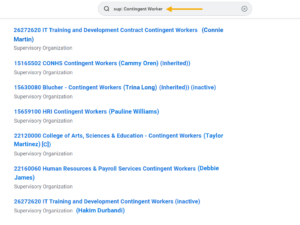 Note: The Supervisory Organization must be set up for the Job Management Staffing Model. Do not contract a Contingent Worker in a Supervisory Organization with a Position Management Staffing Model.
- Select the Supervisory Organization’s Related Actions icon. Then select Hire > Contract Contingent Worker.


Locate or Create a Pre-Hire Record
Before Contracting a Contingent Worker, a pre-hire record must exist for them. First, search Workday for an existing pre-hire record. If none exists, you will create a pre-hire record for the Employee.
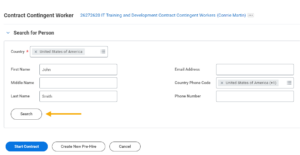
- On the Contract Contingent Worker page, enter a First Name and Last Name. Then select Search.
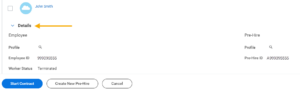
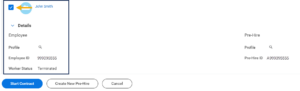
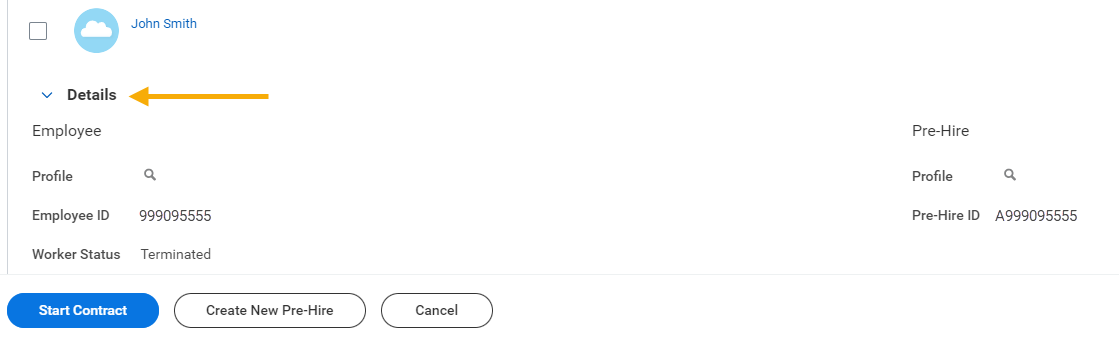
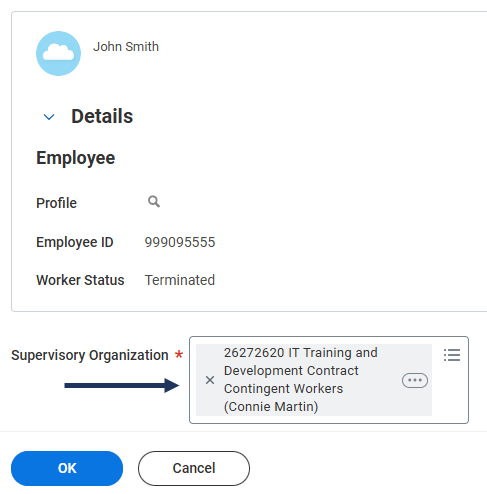
- Review the results by selecting the drop-down icon next to Details.
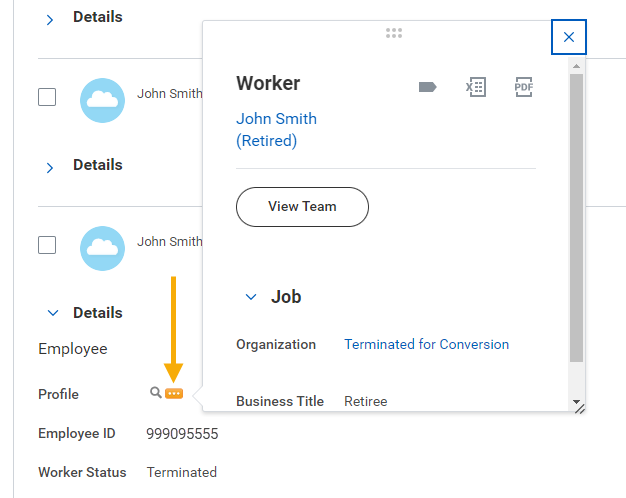
- Select the Related Actions icon next to Profile to view more details about the Worker.

- When you have located the correct Pre-Hire record, select the corresponding checkbox.
- Select Start Contract at the bottom of the page.
- Move to the Contract the Worker section of this job aid to continue.


Pre-Hire Record Not Found
If there are 0 results after searching for a pre-hire record and you have exhausted all possibilities, or if the results do not include the individual you are looking for and you have exhausted all possibilities, select Create New Pre-Hire.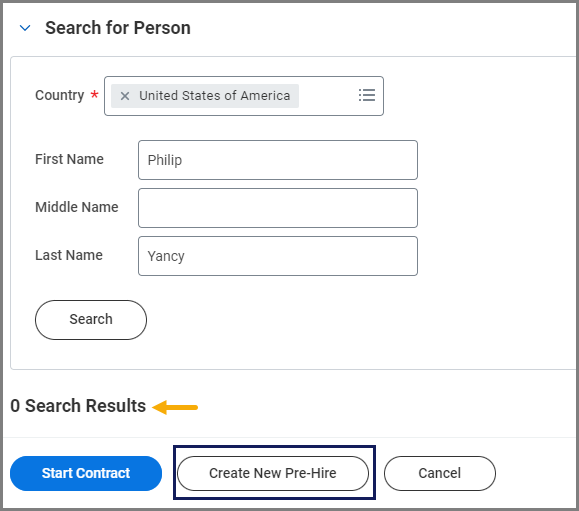
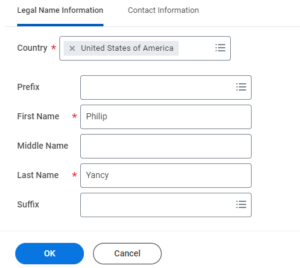
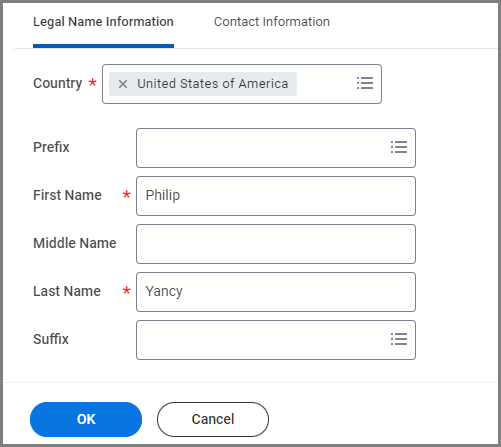
- On the Legal Name Information tab, enter the Worker’s First Name and Last Name.
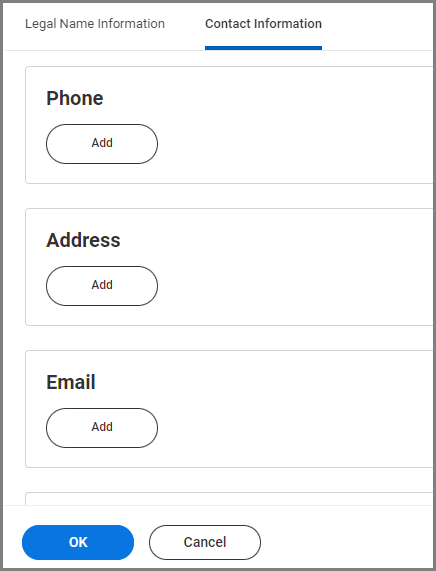
- On the Contact Information tab, enter the Worker’s address, phone number and email in the corresponding sections.

- Select OK.
- Select OK again to continue.
Contract the Worker
Once the correct pre-hire record has been selected or created, use the following steps to complete the Worker’s contract.
- Check that the correct Supervisory Organization is being used for this Worker’s contract.

- Select OK.
- Complete the following Contingent Worker Contract details: Contract Start Date, Reason (required), Contingent Worker Type, Job Profile, Time Type, Location and Work Space.

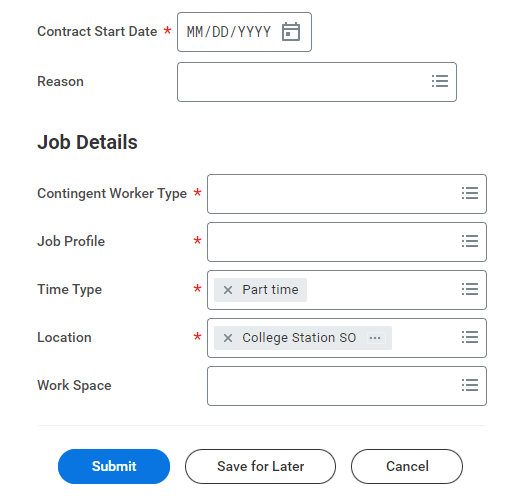
IMPORTANT: Contract Details in Workday will not be used. Do not enter data in the Contract Details section.
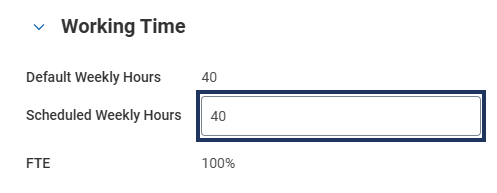
- Under Working Time, enter the Scheduled Weekly Hours.

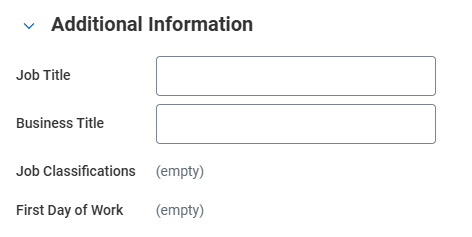
- Open the Additional Information section to fill out the Job Title and Business Title field if needed.

- Use the Select Files section under Attachments to upload any attachments, if required by your member.
- Workday Services recommends you enter the UIN in the comments section as a best practice to assist the UIN Partner later in the process.
- Select Submit.
Navigate to the Up Next tab for the next steps in the process.
Up Next
Change Organization Assignments
The Change Organization Assignments task autocompletes, defaulting to the organization assignments from the Supervisory Organization.
To Do Get UIN and edit the Contingent Worker ID (UIN Partner)
The UIN Partner receives a To Do Get UIN and edit the Contingent Worker ID.
- Follow the instructions on the To Do first.
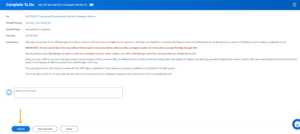
- Enter the UIN in the comments box. This is not required but is considered best practice.
- Select Submit to move the business process forward.

To Do: Review New Contingent Worker's Work Contact Information (HR Partner or HR Contact)
The HR Contact or HR Partner will receive a To Do Review Contingent Worker’s Work Contact Information to review or add a primary work email for the Worker. A Primary Work Email is required.
Up Next
Onboarding is triggered once these steps have been completed.
This completes the Contract Contingent Worker business process.