This job aid outlines the process for an Employee to enter time in Workday using Check In and Check Out.
Check In and Check Out
Last updated on September 3, 2025
Page Loading...Checking SSO..


Important Information
- The process is not required and it is important to know which time tracking method your member uses.
- This process is available for in and out time reporters only. If you report total hours worked per day (i.e., 8 hours), this functionality will not work.
Getting Started
Check In
- From the Workday menu, select Time.

- Under Time Clock, select Check In.

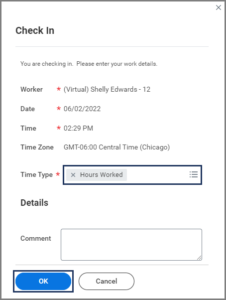
- The relevant details will auto-populate such as Date and Time. The Time Type field will auto-populate with Hours Worked. Select OK.
- Select Done.
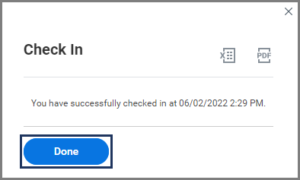
The Check In process is complete and the time clock has started.
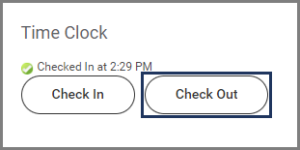
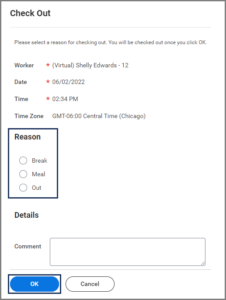
Check Out
Note: You will see the time you checked in above the Check In button.
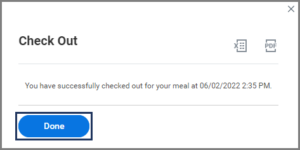
The Check Out process is complete.
Review and Submit Time
Important: If you’re a full-time employee, the Review button will not appear until all 40 hours for the week are accounted for.
-
- Review the time entered and enter any comments, as needed.
- Select Submit.
Important: If you are a full-time employee, the Submit button will not appear until all 80 hours are accounted for during the pay period.
The request will be routed to your Manager for approval.
Add, Edit or Delete Time
- From the Time app select This Week.
- Find the week you need to edit using the arrows next to the week dates at the top.
Add
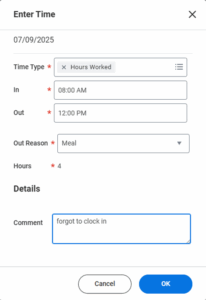
- To add a missing Check In and Out entry, select any empty slot on the day you need to edit.

- Enter the time In and Out, Out Reason, and add a Comment about why you are entering time.
- Select OK.
Edit / Delete
- To Edit an entry, select the time block you wish to Edit.
Note: You can edit any time as long it is not during the Time Period Lockout, (the day that Payroll is being processed.)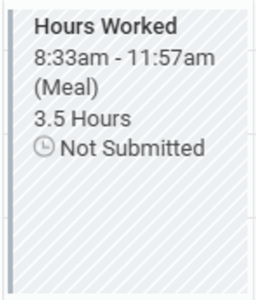
- In the window that appears, edit the time and leave a comment as to why you are editing the entry.
- To delete the entry, select Delete at the bottom and then OK.
- Select OK.
This completes the Check In / Check Out process for employees.
Timesheet Key

