This job aid outlines the process for the Benefits Partner, HR Contact, HR Partner, or System Benefits Support to change an Employee’s contact information in Workday.
Change Contact Information for Your Employee
Page Loading...Checking SSO..

Important Information
If the Employee is newly hired, you should not update their contact information prior to them completing their onboarding process through their Workday inbox tasks. Making changes prior to completing onboarding can create delays in processing their information in Workday.
Getting Started
- Navigate to the Employee’s Worker profile.
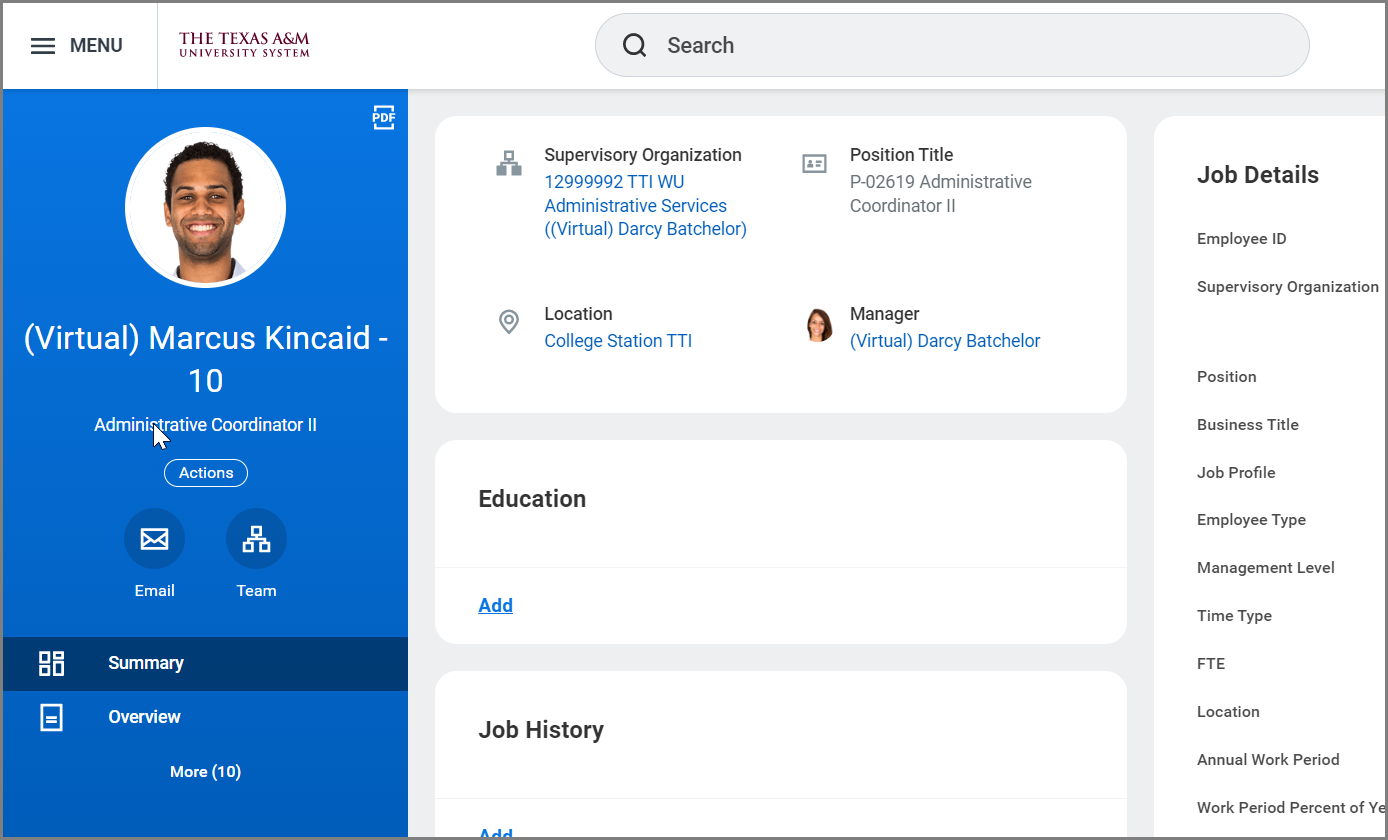
- Select Contact from the navigation menu and from the Contact tab, select the Edit button.
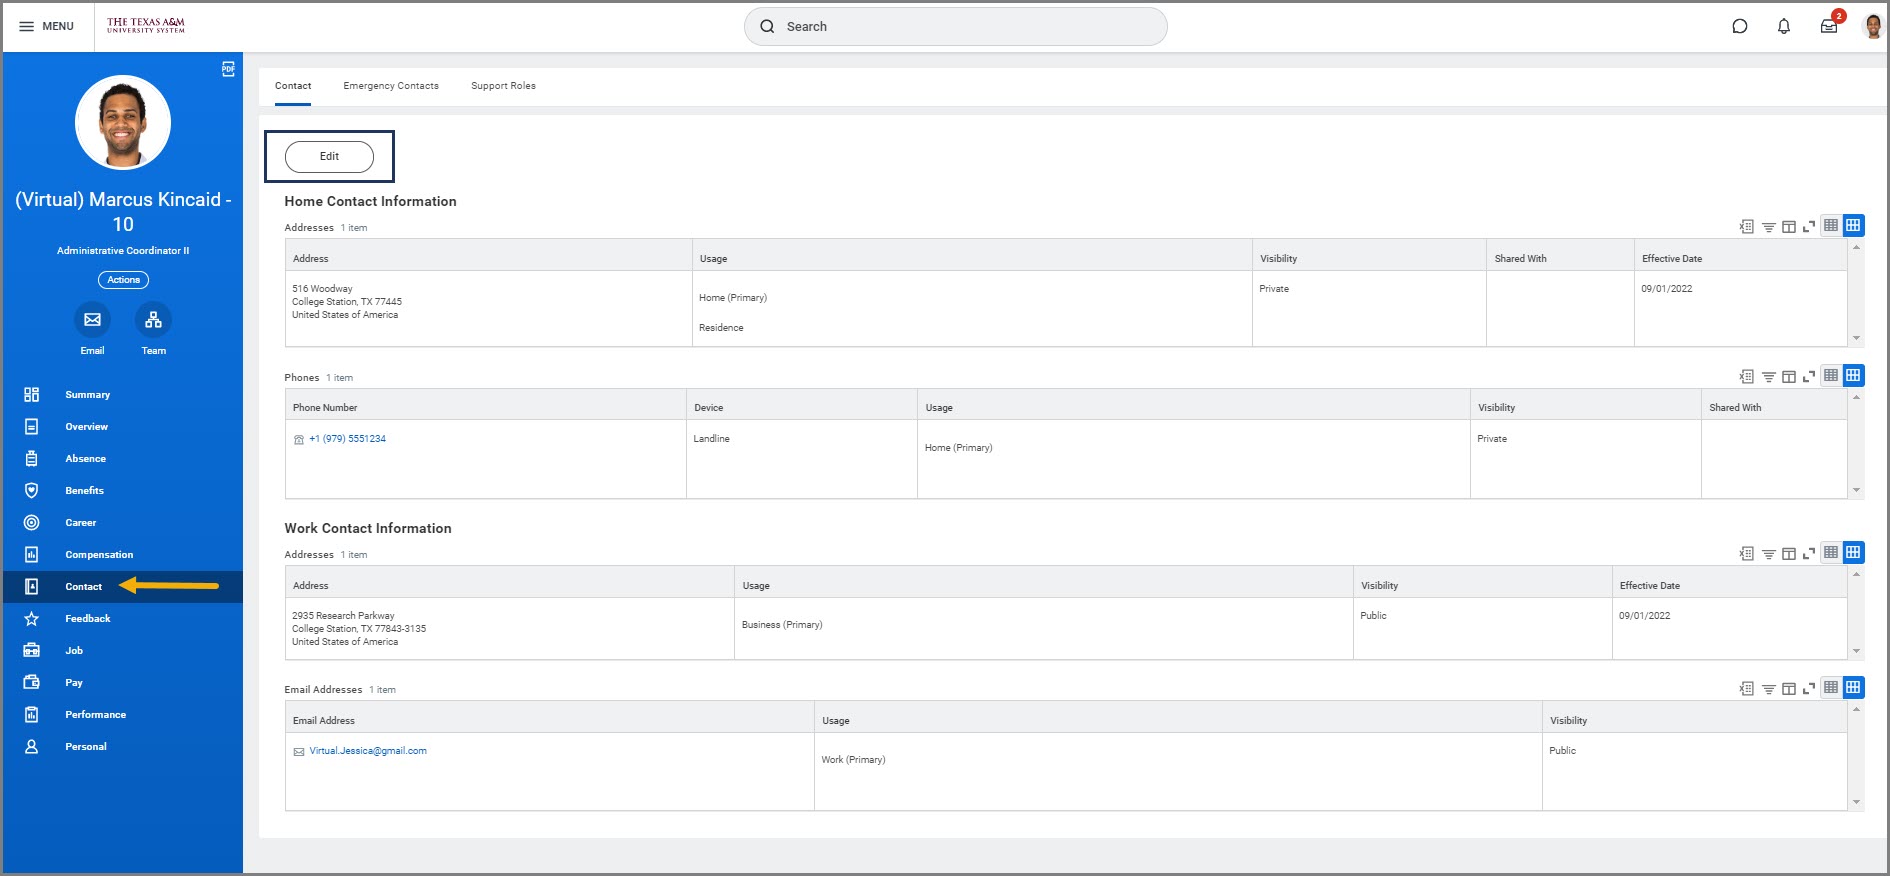
You have the option to update multiple sections of your contact information. Navigate to the section(s) of contact information that you need to update and enter the appropriate information.
Home Contact Information
In the Home Contact Information section, the Employee’s Primary Address and Primary Phone are required fields. However, there are several optional sections within the Home Contact Information section.
Primary Address (Required)
The Primary Address section is used to record the location of your residence. You must select the Usage type for the Employee’s Primary Address.
Enter the appropriate information. Additional information about some fields is provided below.
- Address Line 2. This line is optional. An apartment, building, or suite number associated with Address Line 1 goes here.
- Usage. Select the appropriate type, e.g., Mailing or Residence.
- Visibility. The visibility field determines if the contact information entered will be privately or publicly displayed within Workday. This field has been pre-populated, and the visibility for the Primary Address is private. This field cannot be edited.

Select the Submit button to complete the next steps of the business process, or move to the next section to continue updating more of your contact information.
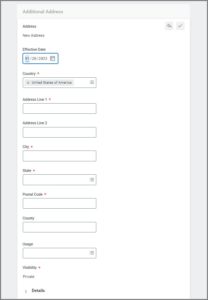
Additional Address
The Additional Address section is optional. Use this section if the Employee’s mailing address is different than their residential address.
Enter the appropriate information. Additional information about some fields is provided below.
- Address Line 2. This line is optional. An apartment, building, or suite number associated with Address Line 1 goes here.
- Usage. Select the appropriate type, Mailing.
- Visibility. The visibility field determines if contact information entered will be privately or publicly displayed within Workday. This field has been pre-populated, and the visibility for the Additional Address is private. This field cannot be edited.
Select the Submit button to complete the next steps of the business process, or move to the next section to continue updating more of your contact information.
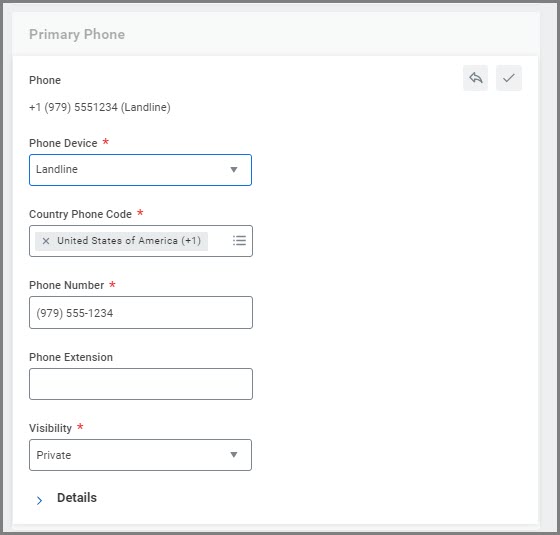
Primary Phone (Required)
A Primary Phone number is required. Enter the appropriate information. Complete the following fields.
- Phone Device. Select whether the Primary Phone is a Fax, Landline, Mobile or Pager.
- Phone Number. Enter the 10-digit telephone number (XXX-XXX-XXXX).
- Phone Extension. This field is optional.
- Visibility. This field automatically defaults to Private; however you can make this information Public.
Select the Submit button to complete the next steps of the business process, or move to the next section to continue updating more of your contact information.
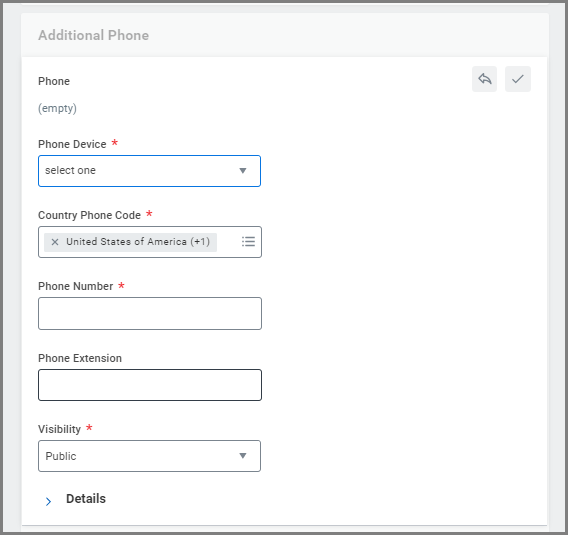
Additional Phone
The Additional Phone section is optional. If you entered a Landline for your Primary Phone number, you can use the Additional Phone section to record a personal mobile number.
In the Additional Phone section, the following fields are available:
-
- Phone Device. Select whether your Additional Phone is a Fax, Landline, Mobile or Pager.
- Phone Number. Enter the 10-digit telephone number (XXX-XXX-XXXX).
- Phone Extension. This field is optional.
- Visibility. This field automatically defaults to Private; however you can make this information Public.
Select the Submit button to complete the next steps of the business process, or move to the next section to continue updating more of your contact information.
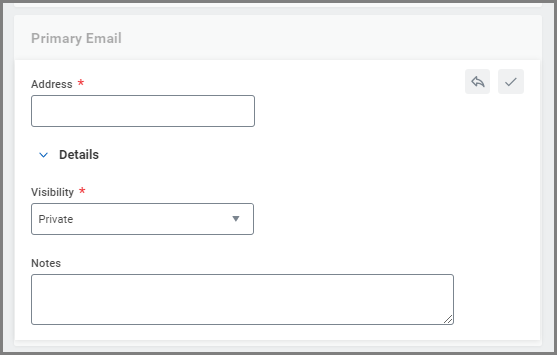
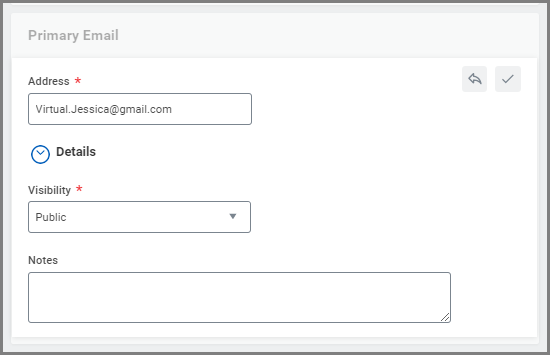
Primary Email (*Required)
*The Primary Email is optional during an Employee’s employment, but an email will be required if they end employment with The Texas A&M System.
- Address. Enter a valid email address.
- Visibility. This field automatically defaults to Private ; however you can make this information Public.
- Notes. This field is optional.
Work Contact Information
In the Work Contact Information section, there are three address types. The address types listed in this section are Business Location, Alternate Work Location and Additional Address.
Business Location
The Business Location is the main office address for your A&M system member; it is not editable.

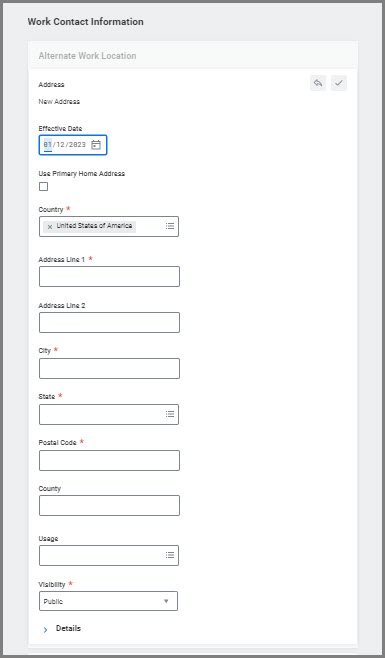
Alternate Work Location
The Alternate Work Location is to record your assigned Primary Work Station; this is usually a member facility.
- If the Employee does not have a current Alternate Work Location, select Add.
- Enter the appropriate information. Additional information about some fields is provided below.
- Address Line 2. This line is optional. An apartment, building, or suite number associated with Address Line 1 goes here.
- Usage. Select Primary Work Station and Mailing or Shipping if appropriate.
- Visibility. The visibility field determines if the contact information entered will be privately or publicly displayed within Workday. Select Public when the address is for the Primary Work Station.
Select the Submit button to complete the next steps of the business process, or move to the next section to continue updating more of your contact information.
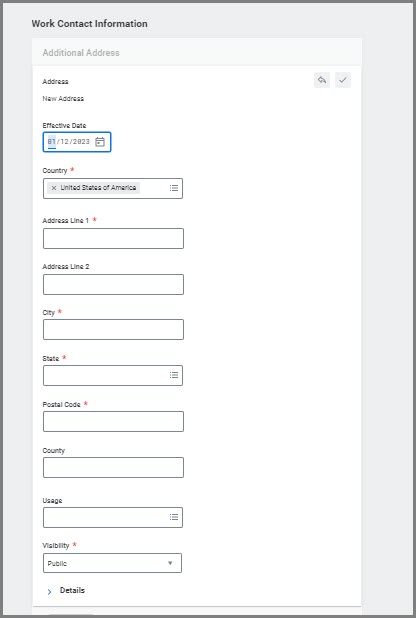
Additional Address
The Additional Address section is to record the remote work location for an approved Flexible Work Arrangement. If you the Employee does not have an approved Flexible Work Arrangement, this section should be blank.
- If the Employee does not have a current Additional Address, select Add.
- Enter the appropriate information. Additional information about some fields is provided below.
- Address Line 2. This line is optional. An apartment, building, or suite number associated with Address Line 1 goes here.
- Usage. Select Remote Work Location.
- Visibility. The visibility field determines if the contact information entered will be privately or publicly displayed within Workday. Select Private when the address is for a Remote Work Location.
Select the Submit button to complete the next steps of the business process, or move to the next section to continue updating more of your contact information.
Primary Phone
The Primary Phone section is optional. This section can be used to record the Employee’s direct office telephone number.
- If the Employee does not have a current Primary Phone, select Add.
- Enter the appropriate information. Complete the following fields.
- Phone Device. Select whether the Primary Phone is a Fax, Landline, Mobile or Pager.
- Phone Number. Enter the 10-digit telephone number (XXX-XXX-XXXX).
- Phone Extension. This field is optional.
- Visibility. This field automatically defaults to Public for this field; however you can make this information Private.

Select the Submit button to complete the next steps of the business process, or move to the next section to continue updating more of your contact information.
Additional Phone
The Additional Phone section is optional. If you entered a direct office number for the Primary Phone section, you can use the Additional Phone section to record a work related Mobile number.
- If the Employee does not have a current Additional Phone, select Add.
- Enter the appropriate information. Complete the following fields.
- Phone Device. Select whether the Additional Phone is a Fax, Landline, Mobile or Pager.
- Phone Number. Enter the 10-digit telephone number (XXX-XXX-XXXX).
- Phone Extension. This field is optional.
- Visibility. This field automatically defaults to Private; however you can make this information Public.

Select the Submit button to complete the next steps of the business process, or move to the next section to continue updating more of your contact information.
Primary Email (Required)
The Primary Email is required. The email recorded in this section should be the Employee’s work email.
- If the Employee does not have a current Primary Email, select Add.
- The following fields are available:
- Address. Enter a valid email address.
- Visibility. This field automatically defaults to Public for this field; however you can make this information Private.
- Notes. This field is optional.
Next Steps
Now that you have completed updates to the Employee’s contact information, select Submit.
Note: If you have made changes specifically to the Employee’s Primary Address, there are tasks that will route to the Employee’s inbox.
Navigate to the Up Next tab for the next steps in the process.
Up Next
To Do: Update Address with TRS
When you change the Employee’s Primary Address they will receive the To Do: Update Address with TRS. The To Do directs the Employee to update their home address information in the Teacher Retirement System (TRS).

After updating their address in TRS, they will need to return to the To DO, and select Submit to move the business process forward.
Complete State Withholding Elections Inbox Task
If you have updated the Employee’s Primary Address to a state with State Payroll Taxes, they will receive an Inbox Task to Complete State Withholding Elections. If they need assistance with completing this task, refer them to the Complete Your W-4 job aid.

This inbox task will then route to the Payroll Partner for approval.
This completes the Change Contact Information for your Employee business process.