This job aid outlines the process for an Employee to add or edit Dependents.
Add a Dependent in Workday
Last updated on May 22, 2025
Page Loading...Checking SSO..

Important Information
- You must add a Dependent or edit a Dependent’s personal information before starting a benefit change.
- You must enter life event changes within 31 days of the life event.
- Supporting documentation is required when a Dependent is added or information is updated.
- In case of Divorce, you must first change the relationship of your spouse and any stepchildren to Ex-Spouse or Ex-Stepchild so that they will receive a COBRA notice. You should also update their address if needed.
Getting Started
Add Dependent(s) in Workday
In order to add coverage to a dependent, they must be entered into Workday first.
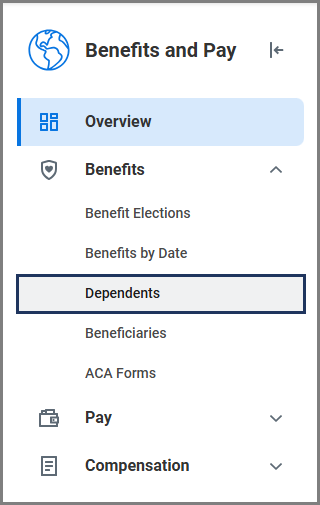
- From the Workday Homepage, select Menu > Personal > Benefits and Pay.

- In the hub menu under Benefits, select Dependents.
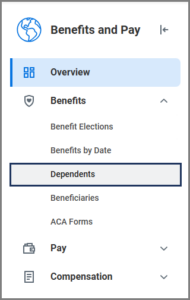
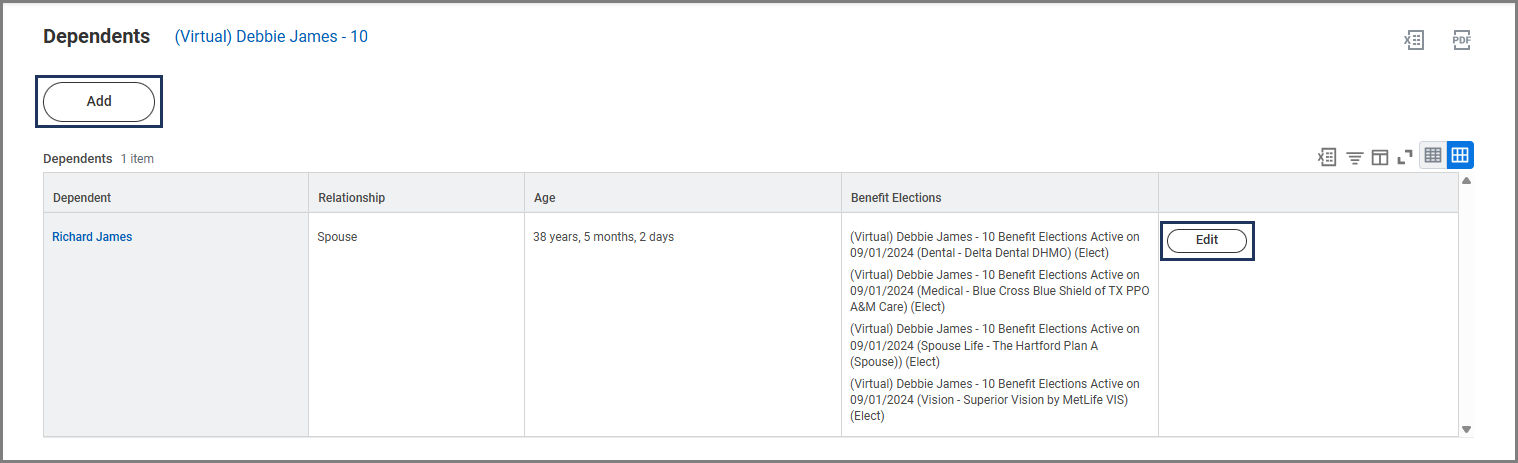
- On the Dependents page, perform one of the following actions:
- Select Add to add a new Dependent
- Select Edit to update an existing Dependent


- In the Dependent Options section, add or edit the information including:
- Effective Date. Enter today’s date or the date this person can legally be identified as a Dependent for benefits purposes.
- Reason. Enter the reason for adding or editing the Dependent.
Note: Select the pencil icon to open fields for editing.
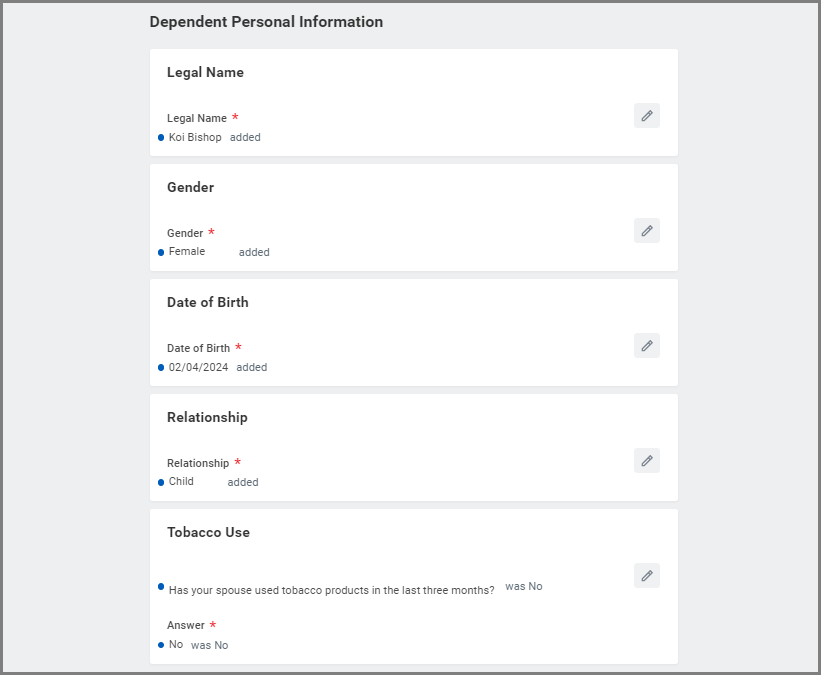
- In the Dependent Personal Information section, add the following information:
- Legal Name. Enter the Dependent’s full name
- Gender. Select the appropriate option
- Date of Birth. Enter the birthdate for the Dependent
- Relationship. Select the appropriate option
- Tobacco Usage. Select Yes or No
IMPORTANT: Only System Benefits Administration can update the Disability Status field. Contact your Benefits Office for assistance with this section.
- In the Contact Information section, add the following information:
- Primary Address
- Primary Phone
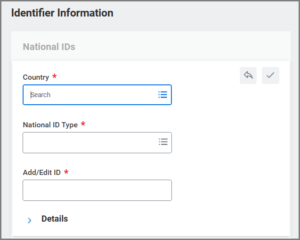
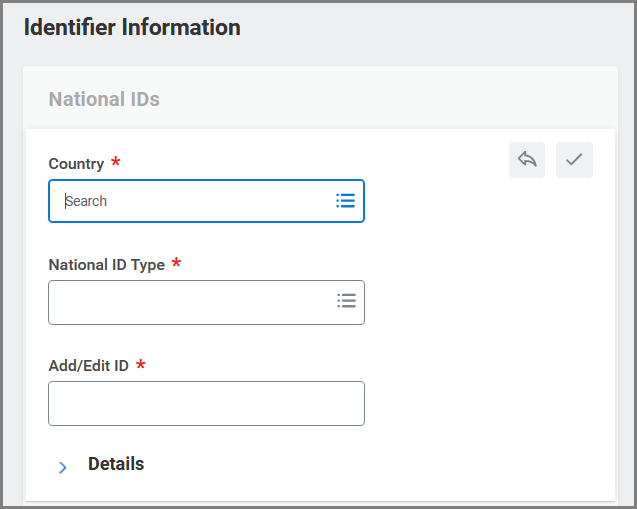
- Add information in the Identifier Information section for the Dependent’s National ID.
- Country
- National ID Type (SSN/ ITIN)
- Add/Edit ID Number
- Select Submit.
Navigate to the Up Next tab for your next steps in the process.
Up Next
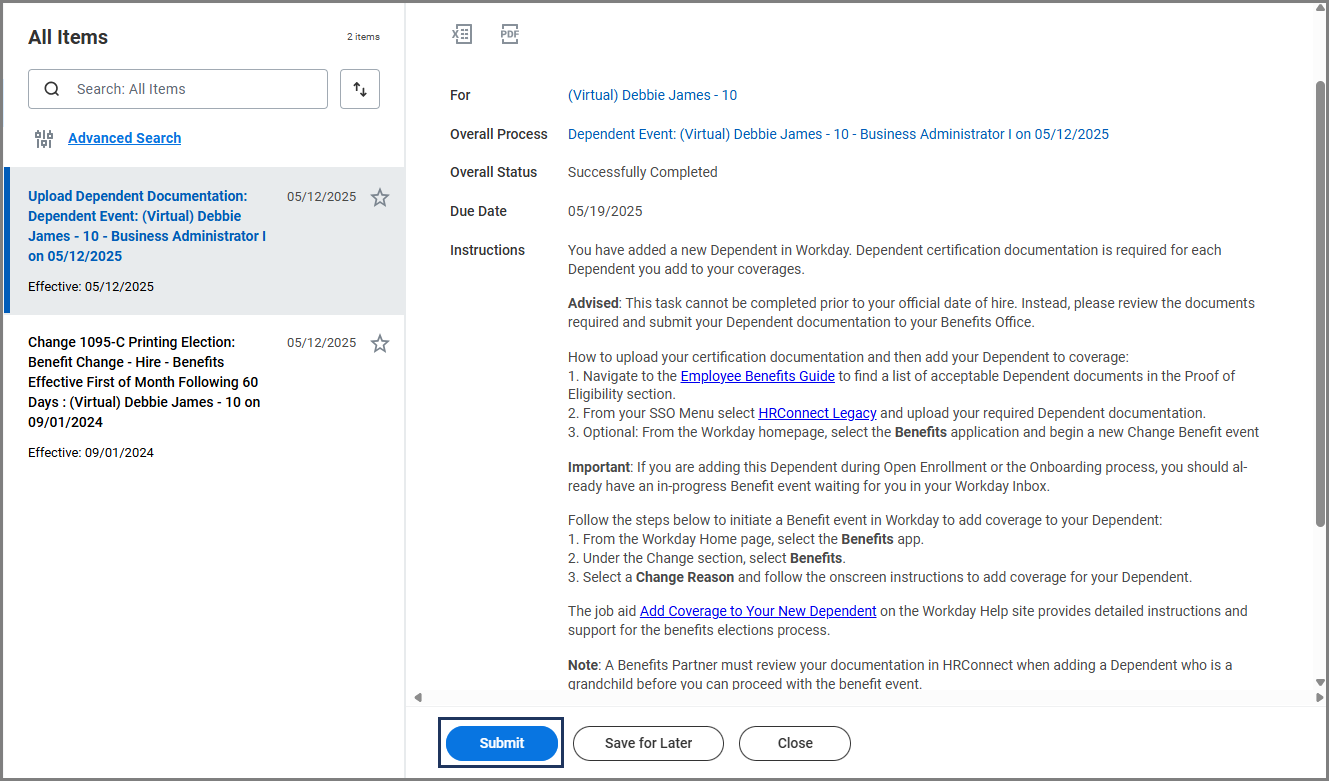
To Do: Upload Dependent Documentation
After submitting your new Dependent information in Workday, you will receive a To Do asking for supporting documentation to be uploaded into the HRConnect system. You will receive a To Do for every dependent you add.
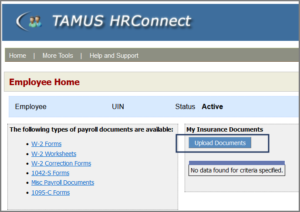
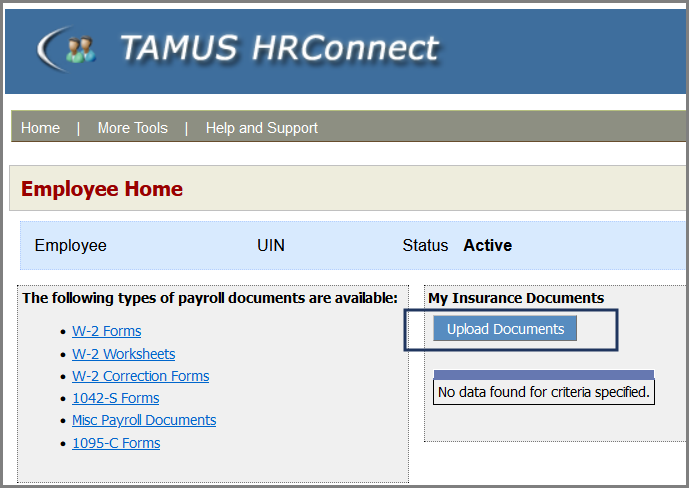
- From the inbox item, select the HRConnect Legacy link provided.Note: Open the link in a new browser tab to make returning to Workday easier after you have completed the task on HRConnect.

- Select Upload Documents
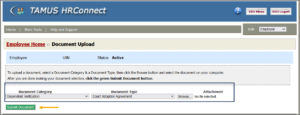
- Select the Document Category, Document Type and upload the supporting documentation for the Dependent by selecting the Browse button.
- Select Submit Document after attaching the document.
- Select the Submit For Approval button after uploading the necessary documentation. Once you have uploaded the document, you will see a message display that the documents were submitted successfully.

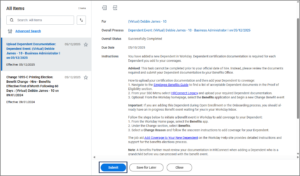
- Return to the Upload Dependent Documentation To Do in your Workday inbox.
- Select Submit at the bottom of the To Do after you have uploaded your documents on HRConnect.


IMPORTANT: You will need to repeat the processes on this page for each Dependent.
To Do: Review Dependent Documentation
Your Benefits Partner will receive a To Do to review the Dependent documents you uploaded into HRConnect.
Adding Coverage to Your Dependents
If you are adding dependents because you already have a benefit event in your inbox, such as Open Enrollment or Hire, use the Complete Open Enrollment job aid to complete adding coverage to your dependents.
If you you are adding Dependents due to a life event, such as Marriage or Birth/Adoption, use the Change Benefits (Life Event) job aid to complete adding coverage to your dependents.