This job aid outlines the activities for a Benefits Partner to add a Surviving Dependent in Workday using the Hire and Onboarding business processes.
Add a Surviving Dependent
Last updated on April 25, 2025
Page Loading...
Checking SSO...
Important Information
- All Surviving Dependents are hired in one of the System Member’s Non-Employee Benefits Administration Supervisory Organizations.
- If the Surviving Dependent has EGWP (Medicare Part D) coverage under the Retiree’s plan and will continue this coverage, you must notify System Benefits Administration (SBA) after completing the activities to add a Surviving Dependent in Workday.
- The Hire business process must be initiated by a security role who is not the Manager of the Supervisory Organization.
- If the Surviving Dependent subsequently will be employed in a working position, the Change Job business process must be used to change from a Non-Employee Benefits Only worker to another worker type in the new Supervisory Organization.
Getting Started
Initiate Hire
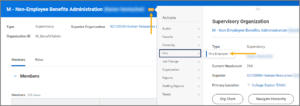
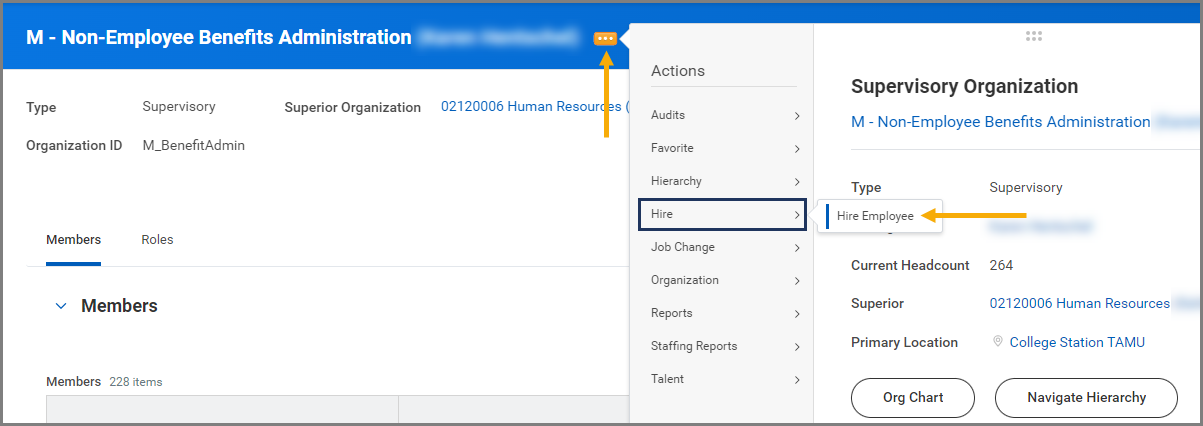
- Navigate to the Supervisory Organization where you need to hire a Surviving Dependent.Important: Make sure you are in your member’s non-employee benefits. You can find it by using your member’s code.
Ex: For Surviving Dependents associated with System Office you would search for S-Non-Employee Benefits - Select the Supervisory Organization’s Related Actions icon and select Hire > Hire Employee.
Locate or Create Pre-Hire Record
A pre-hire record is required to hire an Employee in Workday. First, search Workday for an existing pre-hire record. If none exists, you will create a pre-hire record for the Employee.
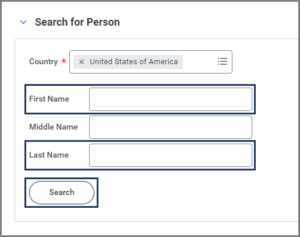
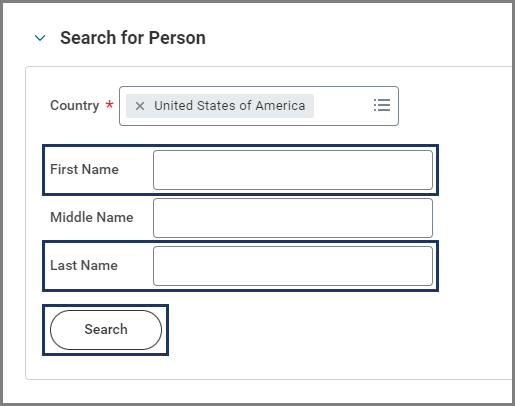
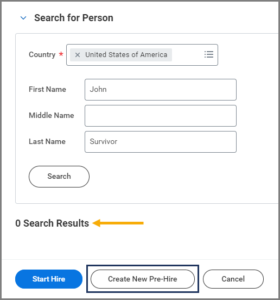
- Enter the First Name, Last Name and select Search.
- If you can locate a correct pre-hire record of the Surviving Dependent, select the checkbox and proceed to the next step. If the pre-hire does not appear, skip to the Pre-Hire Record Not Found section below.
- Select Start Hire at the bottom of the page.

- Move to the Hire Details section of this job aid to continue.

Pre-Hire Record Not Found
- If there are 0 results and you have exhausted all possibilities, or if the results do not include the individual you are looking for and you have exhausted all possibilities, select Create New Pre-Hire at the bottom of the page.
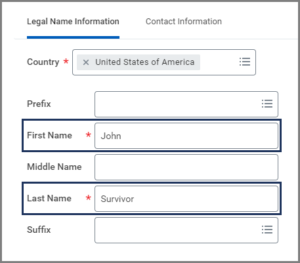
- On the Legal Name Information tab, add a First Name and Last Name.
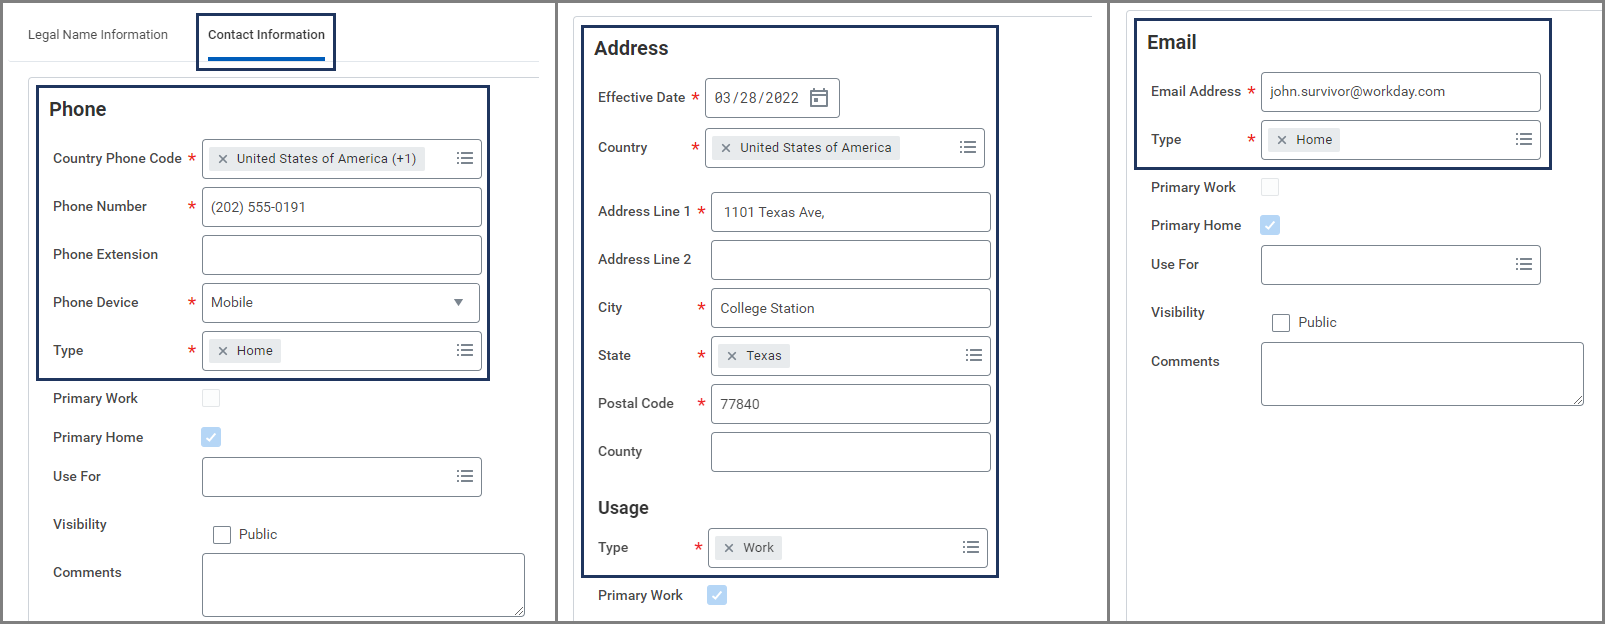
- Select the Contact Information tab and complete all required fields in the Phone Number, Address, and Email sections.
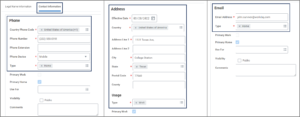
- Select OK and proceed to the next section.


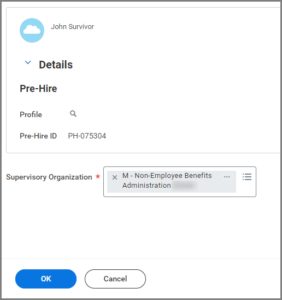
Hire Details
- The Supervisory Organization will auto-populate. Select OK to continue.
- On the next page, complete the following Hire details:
- Hire Date. This is the date of death of Employee/Retiree.
- Reason. Select Hire > Use for Benefits Purposes Only (Other Benefits-Only Reason).
- Job Profile. Enter Surviving Dependent.

Note: The remaining fields will auto-populate or can be left blank. You only need to update the fields listed above.
Important: If the First day of work, Employee Type, Location, Job Title, Business Title, Time Type, Scheduled Weekly Hours, and Continuous Service Date fields are not auto-populating, you may be in the wrong supervisory organization.
Note: If a workstation has more than one location, select the College Station location. Enter any additional information, as needed.
- Enter any comments, as needed.
- Select Submit.
Navigate to the Up Next tab for the next steps in the process.
Up Next
Assign Organizations (Benefits Partner)
The business process will route to the Benefits Partners to Assign Organizations.
NOTE: This step may autocomplete and will not appear in your Inbox. The business process will move to the Confirm New Hire step.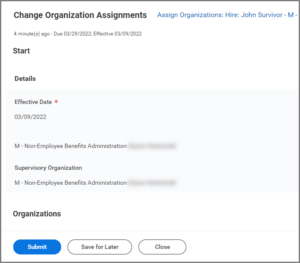
To Do: Confirm New or Rehire Worker Record (UIN Partner)
This To Do directs the UIN Partner to confirm whether the Surviving Dependent currently undergoing the Hire process does or does not already exist in Workday. If an existing individual was duplicated by creating a new Pre-Hire record, the Hire process needs to be canceled immediately, and the To Do should not be submitted.
The employing Supervisory Organization should use TAMUS UIN Manager / UIN Search from SSO to search for possible matches to the individual. If a match is located, document the UIN. Only if no possible matches are found should you proceed with creating a new UIN. Remember to follow your System Member guidelines for using UIN Manager / UIN Search.
By submitting this To Do, the UIN Partner completes the Hire process. It is important to clarify any doubts prior to hitting submit. Conducting a Global Search in Workday using the UIN can help to confirm.
- Open the To Do: Confirm New or Rehire Worker Record.
- Follow the instructions of this To Do carefully.
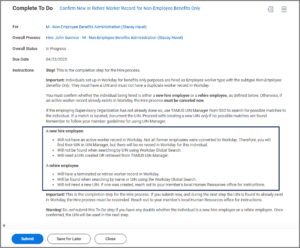
- Select Submit.

Important: If the rehire was hired as a new hire, and the person is shown to exist in Workday, do not submit this To Do. Stop and cancel the Hire process.
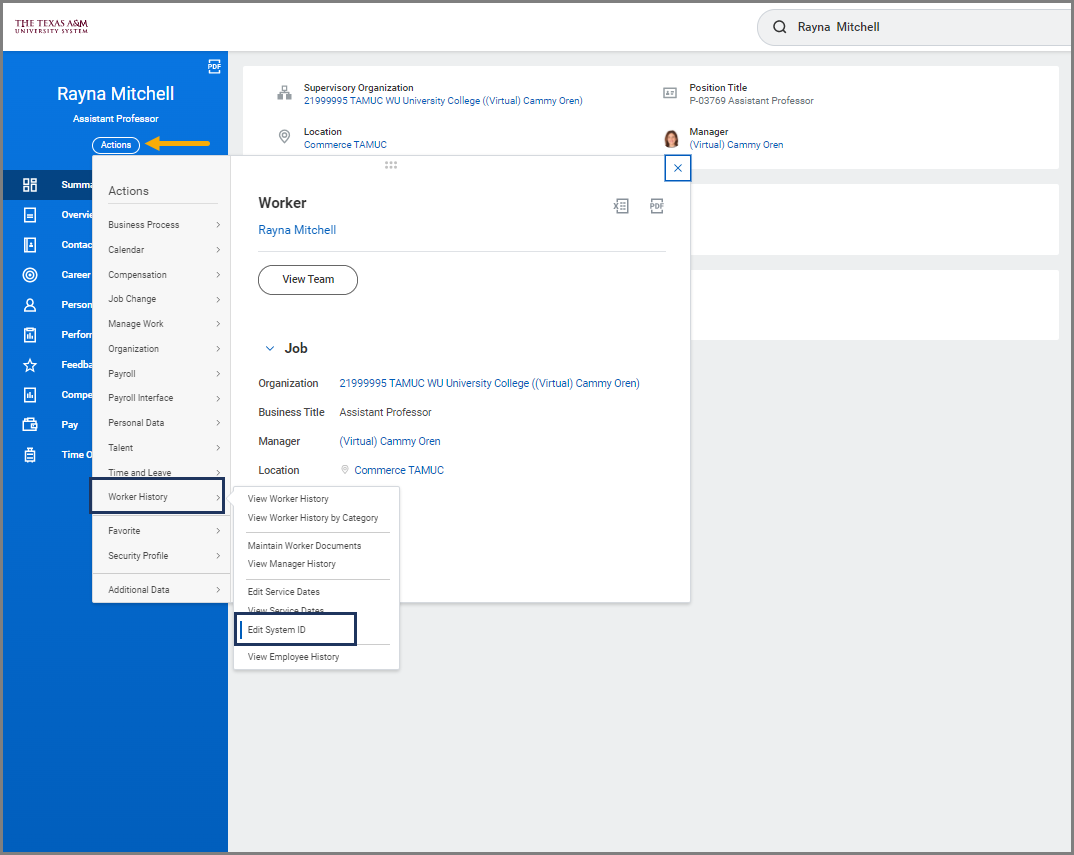
To Do: Get the UIN and edit the Employee ID (UIN Partner)
You should have already used the Global Search functionality in Workday and the UIN Search application to look for any possible record that may exist for the Surviving Dependent to be hired to avoid creating duplicate records. The UIN should have already been retrieved or a new one created using UIN manager in the previous To Do. It is now time to enter the UIN into the Worker Profile as their Employee ID.
Important: The To Do should NOT be submitted until the Edit System ID task has been completed as described below.
- Open the To Do: Get the UIN and edit the Employee ID.
- Follow the instructions of this To Do carefully.
- Navigate to the Employee’s Worker History and select Edit System ID.

- In the Employee ID field, replace the Workday generated Employee ID with the UIN provided by UIN manager.
Note: If you find that the Worker already has a UIN in the Employee ID field, no action is needed. This individual is a rehire. Select OK and continue.
ERROR: This ID already exists! If you receive this error, stop. Do not hit submit on the To Do. You need to contact your HR office immediately to have the Hire business process rescinded. This error means it is a duplicate Pre-Hire record for this individual in Workday and must be fixed.
Remember: Return to the To Do in your inbox, enter the UIN in the comments box and select Submit.
Onboarding (Benefits Partner)
The Benefits Partner will receive two inbox items: Enter Personal Information and Enter Contact Information for the Surviving Dependent.
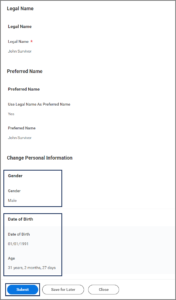
Enter Personal Information
- Navigate to your Inbox.
- Select the Enter Personal Information action item for the Surviving Dependent in your inbox.
- Enter any available personal information for the Surviving Dependent. Gender and Date of Birth are required fields.

Enter Contact Information
- Select the Enter Contact Information action item for the Surviving Dependent in your Inbox.
- Enter any available personal information for the Surviving Dependent.
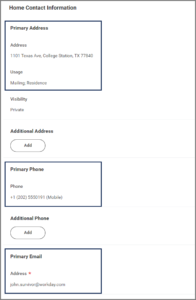

Note: Primary Address, Phone, Email and Usage will automatically populate and are required fields. The Primary Email for Work Contact Information is also required but will need to be entered.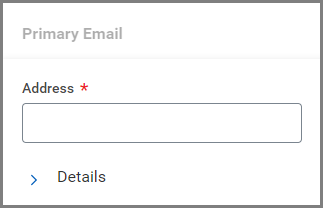
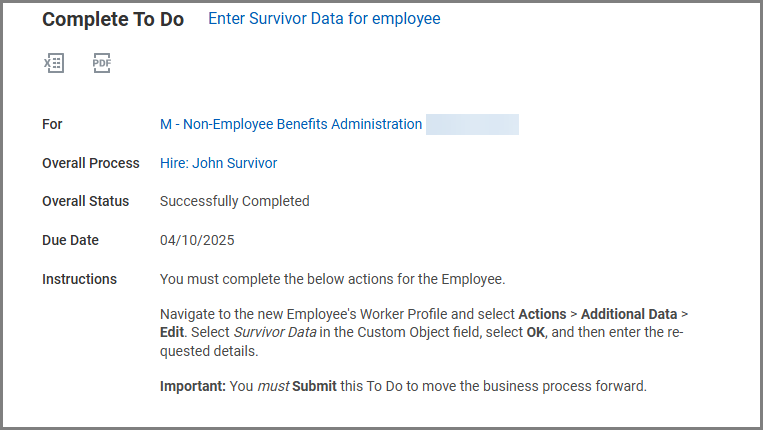
Enter Survivor Data for Employee (Benefits Partner)
Next, you will enter Survivor data for the Employee. Additionally, you may receive the To Do: Add Medicare Information if the Surviving Dependent is over the age of 65.
- From your inbox, select the To Do: Enter Survivor Data for Employee.

- Follow the instructions on the To Do.
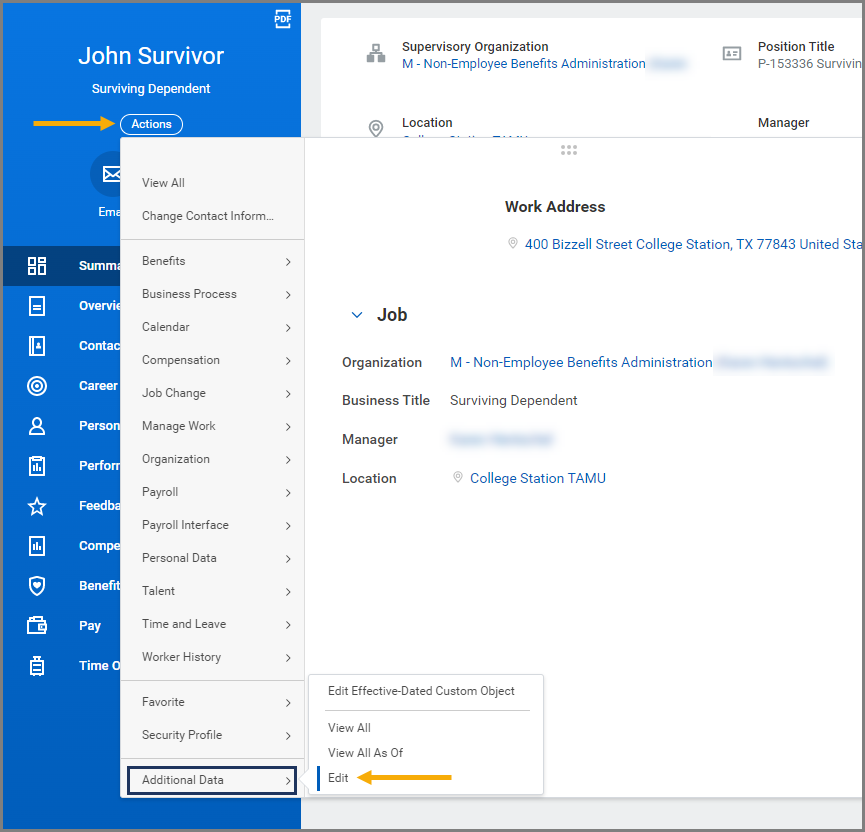
- Navigate to the Surviving Dependent’s Worker Profile. Select Actions > Additional Data > Edit.

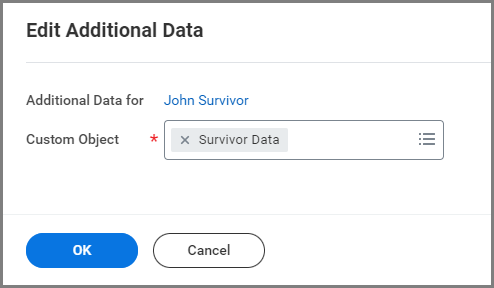
- Enter Survivor Data in the Custom Object field.

- Select OK.
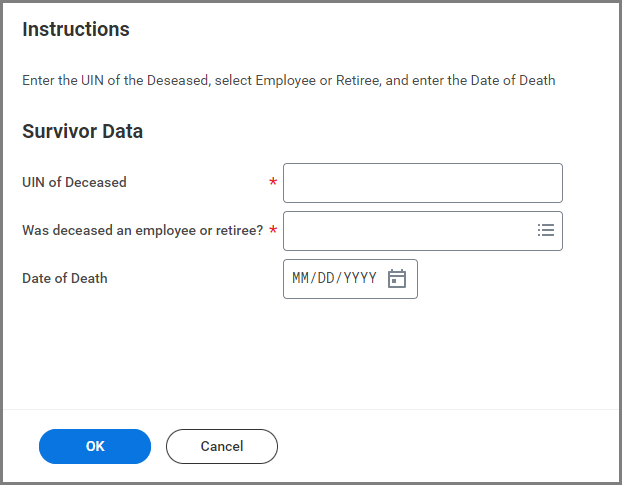
- Enter the UIN of the Deceased, select Employee or Retiree, and enter the deceased’s Date of Death.

- Select OK.
- Select Done.
- Return to the To Do: Enter Survivor Data for Employee and select Submit.

- Select Done.
Important: You must complete the Enter Survivor Data for Employee and the Manage Medicare (if applicable) To Dos to move the business process forward. Refer to the job aid Managing Medicare Information for Your Employee.
ID Change and Benefit Change (Benefits Partner)
You will receive two inbox tasks: ID Change and a Benefit Change. First, you will need to add the Surviving Dependent’s Social Security number.
ID Change
- From your inbox, select the ID Change action item.
- In the National IDs section, select the Plus Sign (+) icon to add a new National ID.
- Complete the following fields:
- Country. Enter United States of America.
- National ID Type. Select Social Security Number.
- Add/Edit ID. Enter the Surviving Dependent’s Social Security number.
- Verification Date. This will auto-populate to today’s date. This field is located to the right of the other fields and may require horizontal scrolling to view.
- Enter any comments, as needed.
- Select Submit.

Benefit Change
- Next, select the Change Benefit Elections event in your inbox.

- Select Let’s Get Started. Complete the elections on behalf of the Surviving Dependent, as applicable.
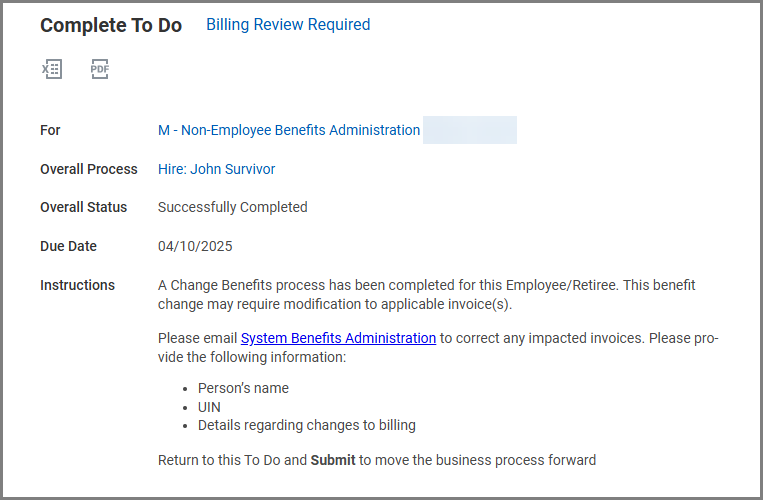
Note: As part of the Change Benefits step, Benefits Partners may also receive a To Do to notify System Benefits Administration after submitting the benefit event.
Verify Existing Enrollment for Medicare Part D EGWP (Benefits Partner)
If the Surviving Dependent has Medicare as a Dependent of the Deceased, they may already be enrolled in EGWP. If Medicare and EGWP coverage will continue, review the existing enrollment (if any) and notify SBA to update the EGWP status for the Surviving Dependent.
- Navigate to the Deceased’s Worker Profile.
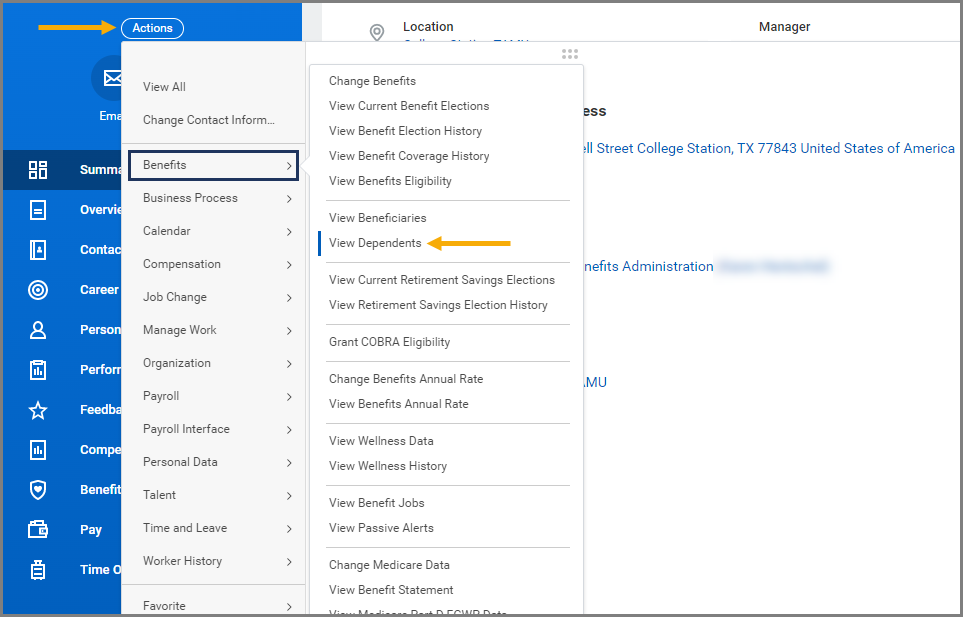
- Select Actions > Benefits > View Dependents.

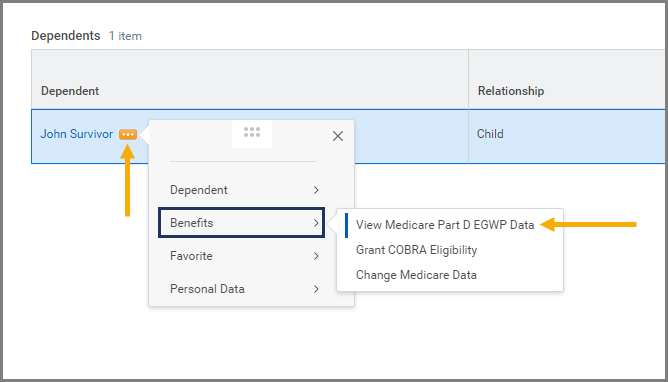
- On the Dependent’s screen, select the Related Actions Select Benefits > View Medicare Part D EGWP Data.

- Review the information, if any, on the EGWP screen.

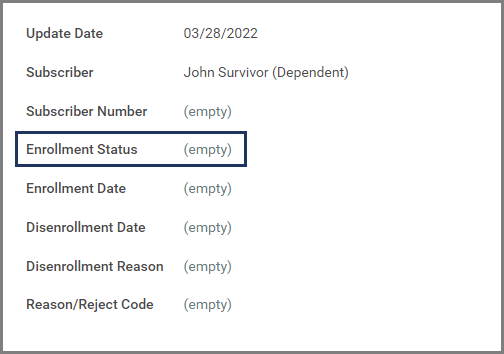
Note: If the screen is blank, no further action is needed. If the screen displays data and the Surviving Dependent will continue EGWP coverage, you must submit a ticket to SBA to transfer EGWP enrollment for the Surviving Dependent.
This completes the Add a Surviving Dependent business process.
Note: You must terminate a survivor if they elect to cancel coverage.