This job aid outlines the tasks for a HR Partner, HR Contact, and Manager to create a position.
Member version: TAMUCreate Position
Page Loading...Checking SSO..

Prerequisites
The employing Supervisory Organization is responsible for ensuring appropriate approvals and budget authority prior to initiating any Create Position event (including any additional approvals required beyond what is configured in Workday).
Important Information
- Costing allocations do not dictate when an Employee gets paid. An Employee will get paid if the date is within the annual work period. If no costing allocations are assigned for a period of time the salary will be charged to a System Member’s default account.
Getting Started
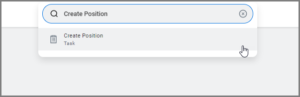
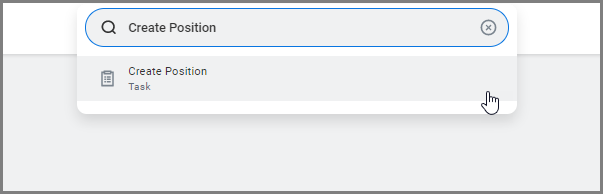
- Navigate to the Create Position task.
- Enter the Supervisory Organization where the position needs to be created and select OK.

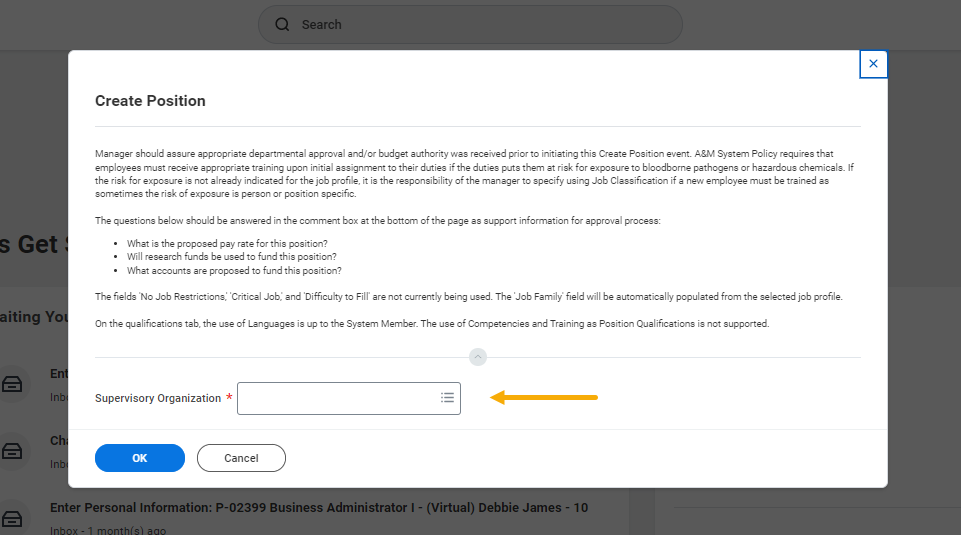
Note: If the Manager initiates the business process, the Supervisory Organization will pre-populate.
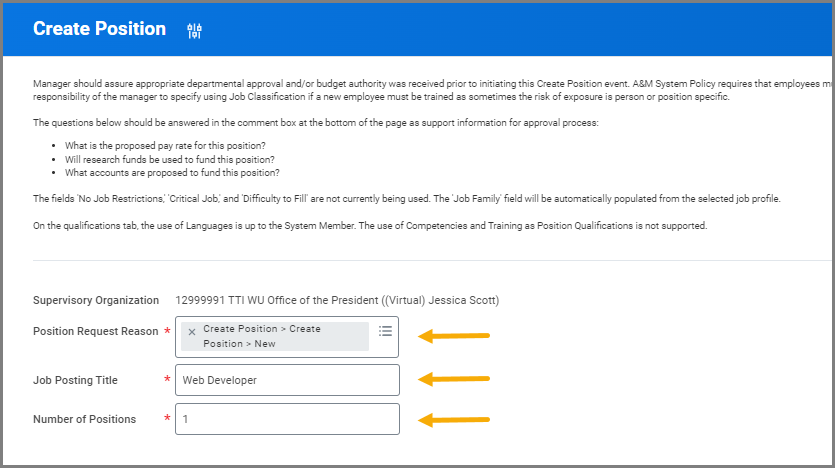
- Complete the following fields: Position Request Reason, Job Posting Title and Number of Positions.

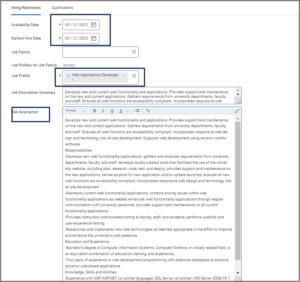
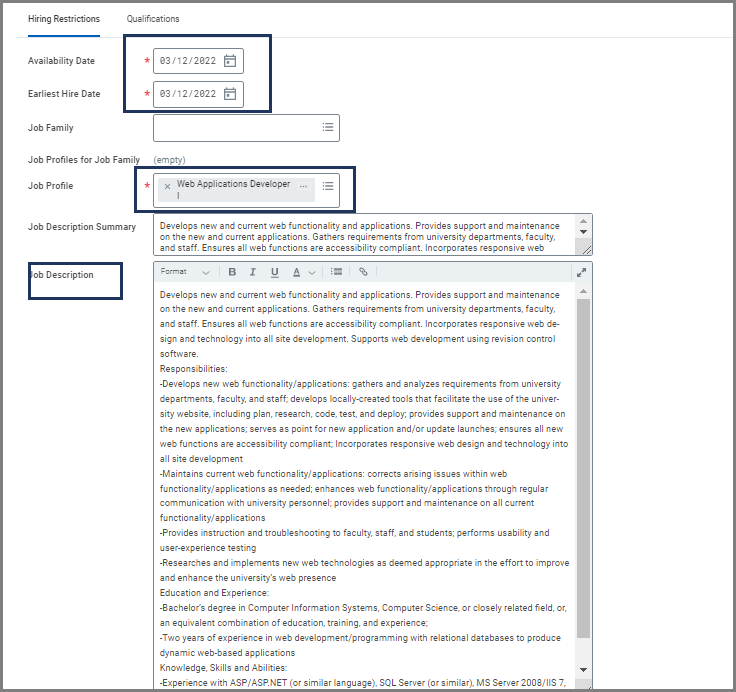
- On the Hiring Restrictions tab complete the following fields:
- Availability Date. This is the first date any event can be initiated on the position, including creating a requisition. It is recommended to put today’s date.
- Earliest Start Date. This date effects the hire date. It is recommended to use the same date for the Availability Date and Earliest Hire Date.
- Job Profile
Note: After you enter the Job Profile, the corresponding Job Description Summary and Job Description will default (if available). You will leave Job Family blank.
-
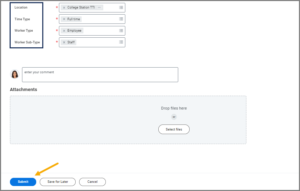
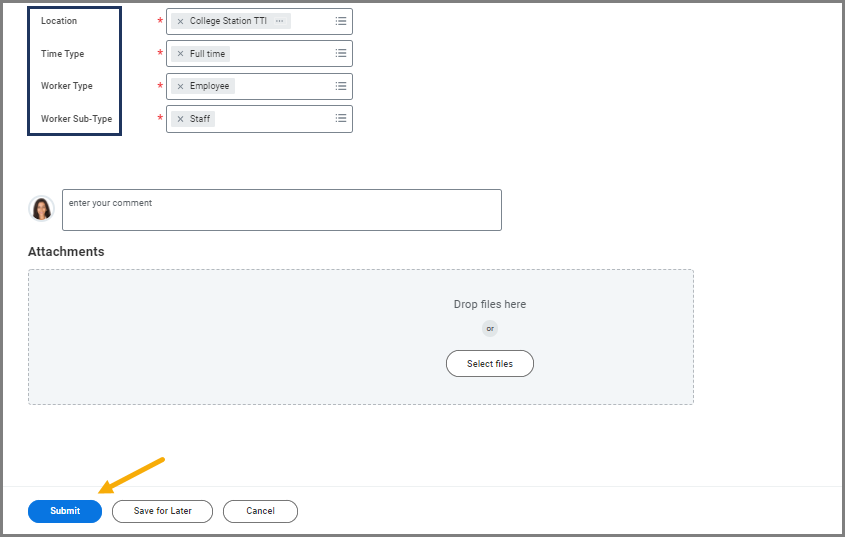
- Location
- Time Type
- Worker Type (Employee or Contingent Worker)
- Worker Sub-Type (Staff, Faculty, etc)
- Enter any comments as needed.
- Select Submit.
Potential Reviews and Approvals
The HR Partner will receive and inbox action item to review the Create Position event. In some cases this may route to the Research Partner.
Navigate to the Up Next tab for the next steps in the process.
Up Next
Request Default Compensation Change (HR Partner or HR Contact)
Depending on your member preferences, either the HR Partner or HR Contact will then receive an inbox action for Default Compensation Change. Default compensation is required for a Faculty and Staff worker type position.
- Navigate to your Inbox.
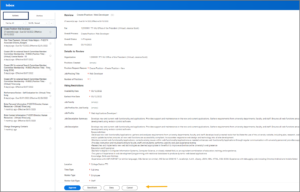
- Select the Default Compensation action item.
- Scroll down to the Salary or Hourly section applicable to the position. Select the Edit icon.
- Complete the following:
-
-
Amount. Enter the monthly salary or hourly pay rate
-
Frequency.
-
Salary positions – must change Frequency to Monthly,
-
Hourly positions – will auto-populate with Hourly
-
-

- Select Approve.
Change Organization Assignments
The Change Organization Assignments task auto completes, defaulting to the organization assignments from the Supervisory Organization.
Approve Position Details (HR Partner or Faculty Partner)
The HR Partner (Faculty Partner for faculty positions) receives an inbox action item to do a consolidated approval on the position.
- Select the Create Position action item in your inbox.
- Review all the details about the position and select Approve, Send Back or Deny.
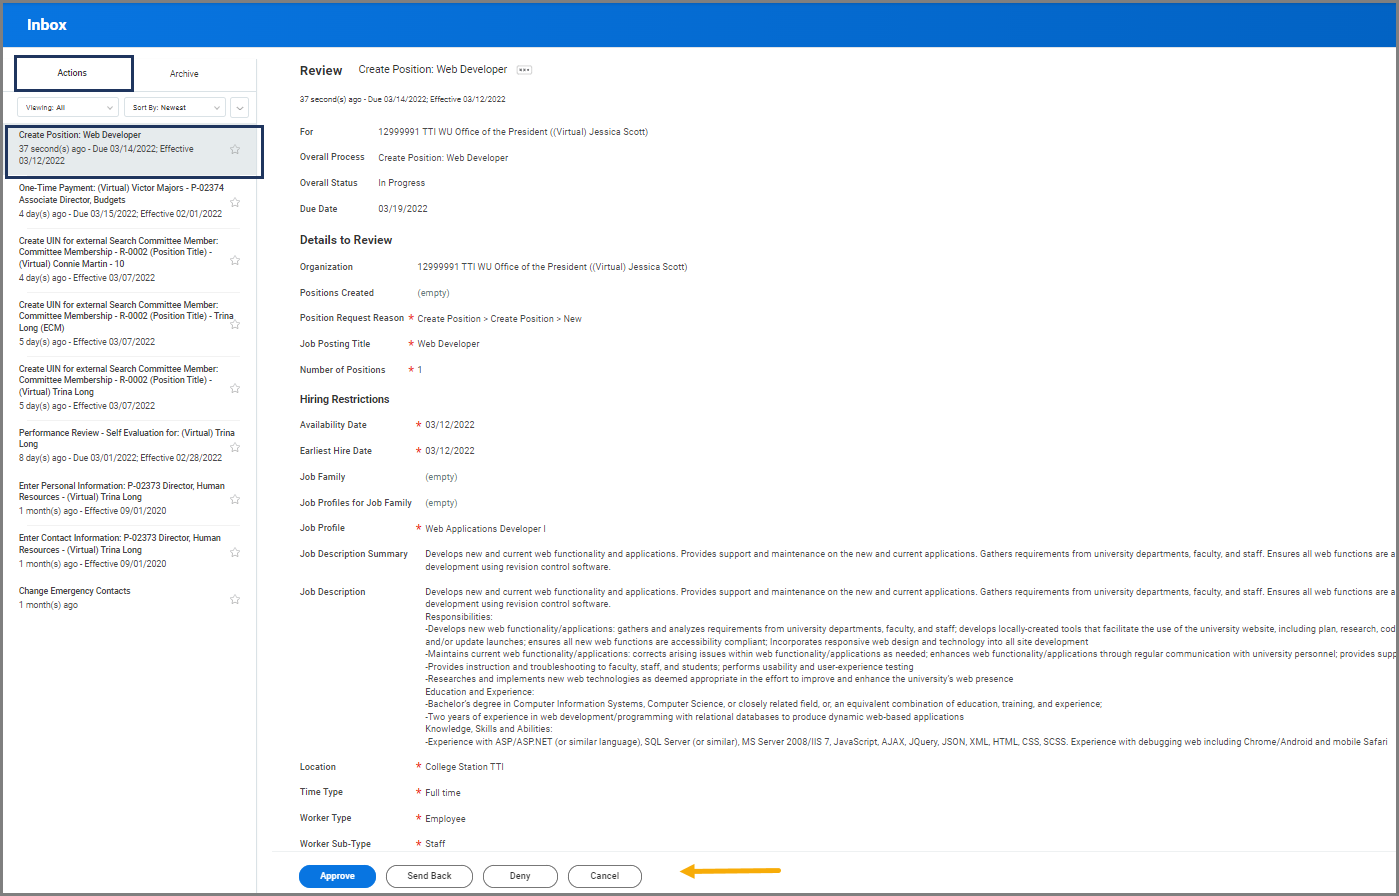
The business process is routed for additional approvals. Approval routing is based on Employee Type and Job Family.
Assign Costing Allocation (Budget Contact)
The Budget Contact receives the inbox action item to assign costing allocations for the Position Restrictions.
Note: Assigning Costing Allocation is not required for positions with Student Worker types.
- Navigate to your Inbox and select the Costing Allocation for Create Position action item.
- On the Assign Costing Allocation for Create Position page, select Add to assign the costing allocation for the position.


Important: You are assigning costing allocations for the Position Restrictions, not the worker. This information is used to encumber after 9/1 (if new and unfilled) and used when the position is vacated (if your Member encumbers vacant positions and the position is not closed).
When the Hire business process begins, the Assign Costing Allocations business process will be initiated again, but this time for the worker themselves.
- Complete the following fields:
- Start Date. When creating a position, it is recommended to put this date as the day you are creating the position.
- End Date. (Optional). This date indicates the last date that the salary / wages will be charged to the designated account.
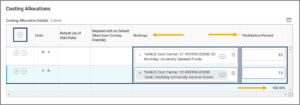
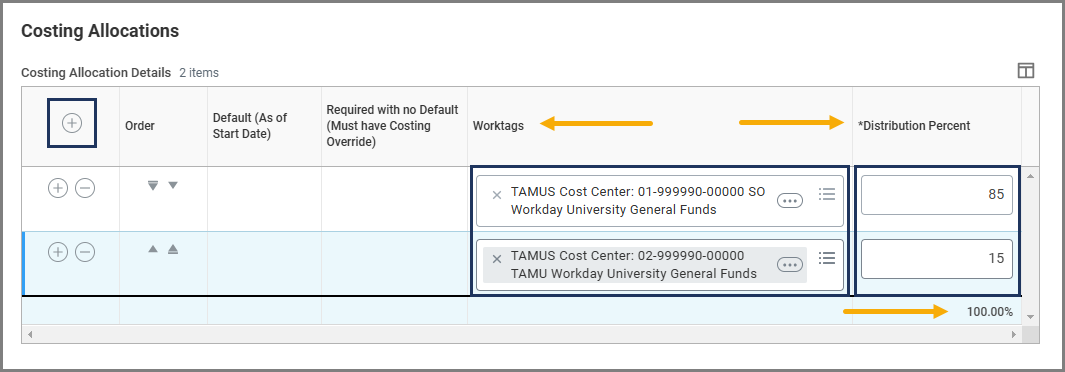
- Worktags. Select the Prompt icon to select the TAMUS cost center from which this position will be paid. One or more cost centers may be needed.
- Distribution Percent. If the position will be paid out of one cost center, the cost center’s Distribution Percent will default to 100.

- If the position will be paid out of multiple cost centers, select the Plus Sign (+) icon to create a new row and add additional cost centers as needed. Designate the appropriate percentage for each cost center under the Distribution Percent column, ensuring that the percentages from all cost centers add up to 100%.
- In the event you need multiple cost sets for different time periods, you will need to enter an End Date for the previous cost set(s) so the dates do not overlap with the new cost set. Then select the Add button above the table. For the new cost set, repeat the steps above.

- Select Submit.

Reviews and Approvals
The Assign Costing Allocation business process will route for approvals. Once approved, the Create Position business process is complete. A notification is sent to the Manager and HR Contact when a new Faculty or Staff position is successfully created.
Note: When multiple Executive Approvers are assigned to an organization, all Executive Approvers will be required to approve select tasks to move the process forward.
This completes the Create Position business process.