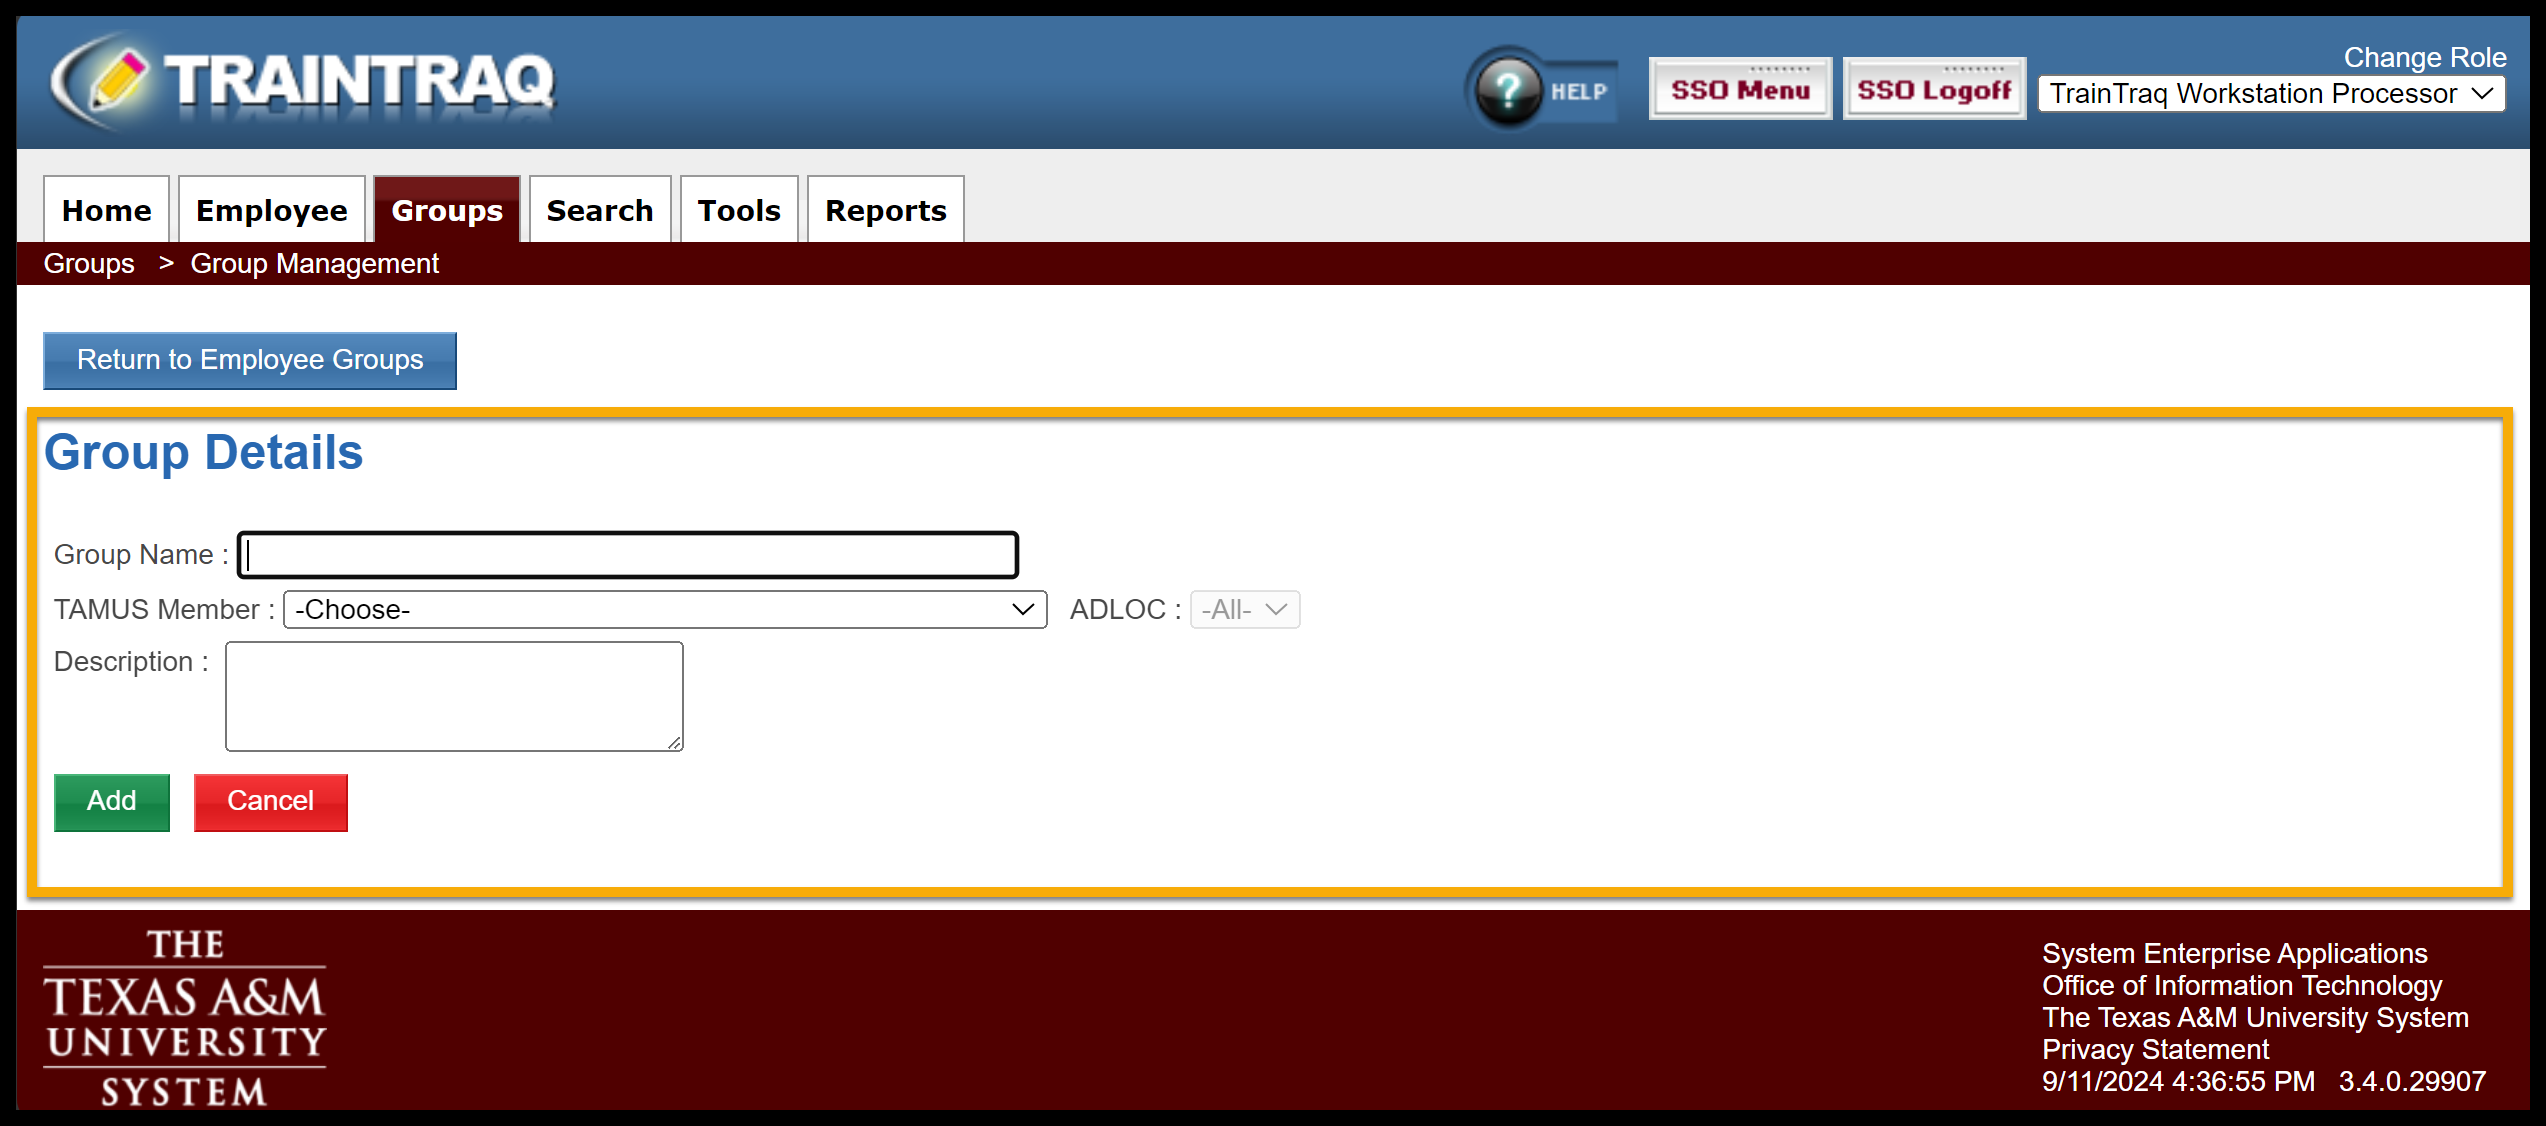
The Employee Groups page allows you to create a new employee group.
NOTE: Before creating an employee group, it is important to understand that groups are a static list of employees. This means that you will need to regularly review and manage the list. You should also check to see if creating an assignment rule would satisfy your needs. For more information on making this decision, read Assignment Rules vs. Employee Groups: Which Do I Use?.
To create a new employee group:
- Select the Groups tab.
- Select Employee Groups.
- Review the list of current employee groups to ensure an identical group does not already exist.
- Click the Create New Group button. The Group Details page displays.


- Enter a descriptive name for the group into the Group Name field.
- Select the appropriate workstation (TAMUS Member) and ADLOC (Also known as department) using the drop-down menus provided. If the employee group is for employees in multiple ADLOCs, leave the ADLOC field blank.
- Enter a detailed description of the group into the Description field. Include the purpose of the group, and the contact information of the person maintaining the group. For example: Employees who need to complete child protection training due to work with minors. Contact: Camps@abc.edu
- Click the Add button. The Group Details page refreshes to display the details entered for the group.
Now that your employee group has been created, click the Return to Employee Groups button to edit the membership of your group. For more details, see Managing Employee Groups.
